A design-build project in collaboration with Thuan La and Lauren Lam. (Construction images at the bottom of the page)
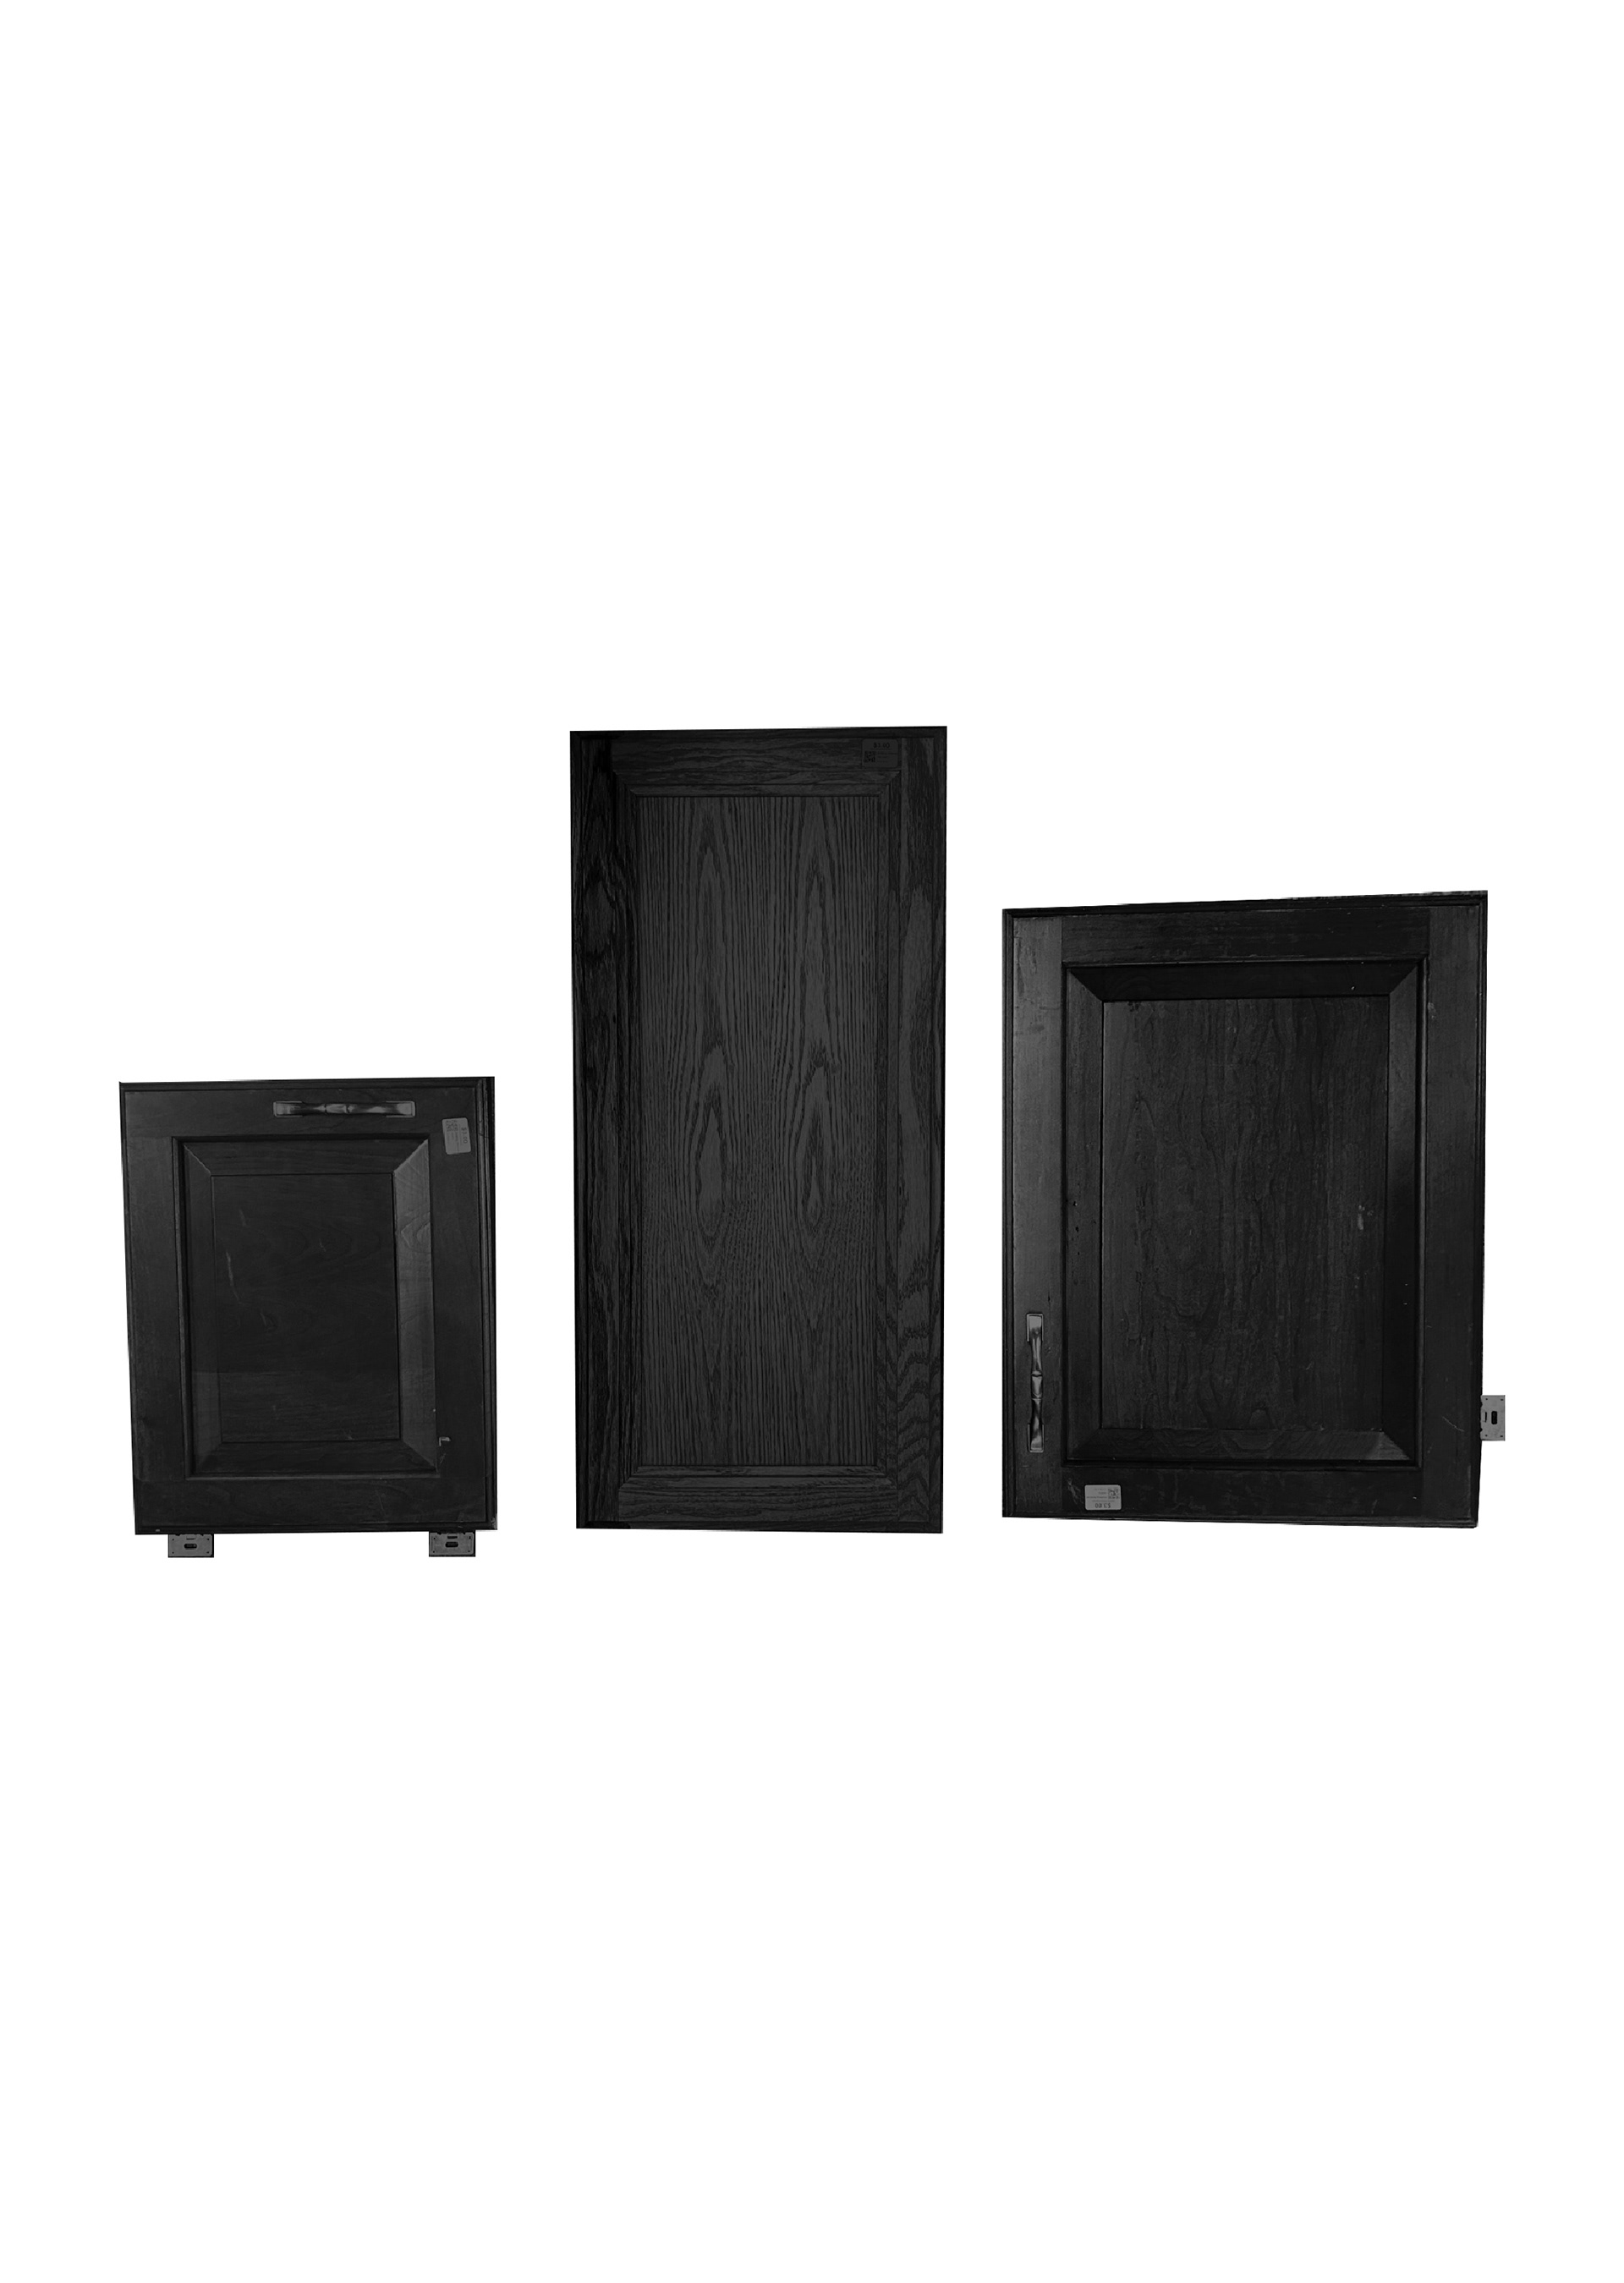
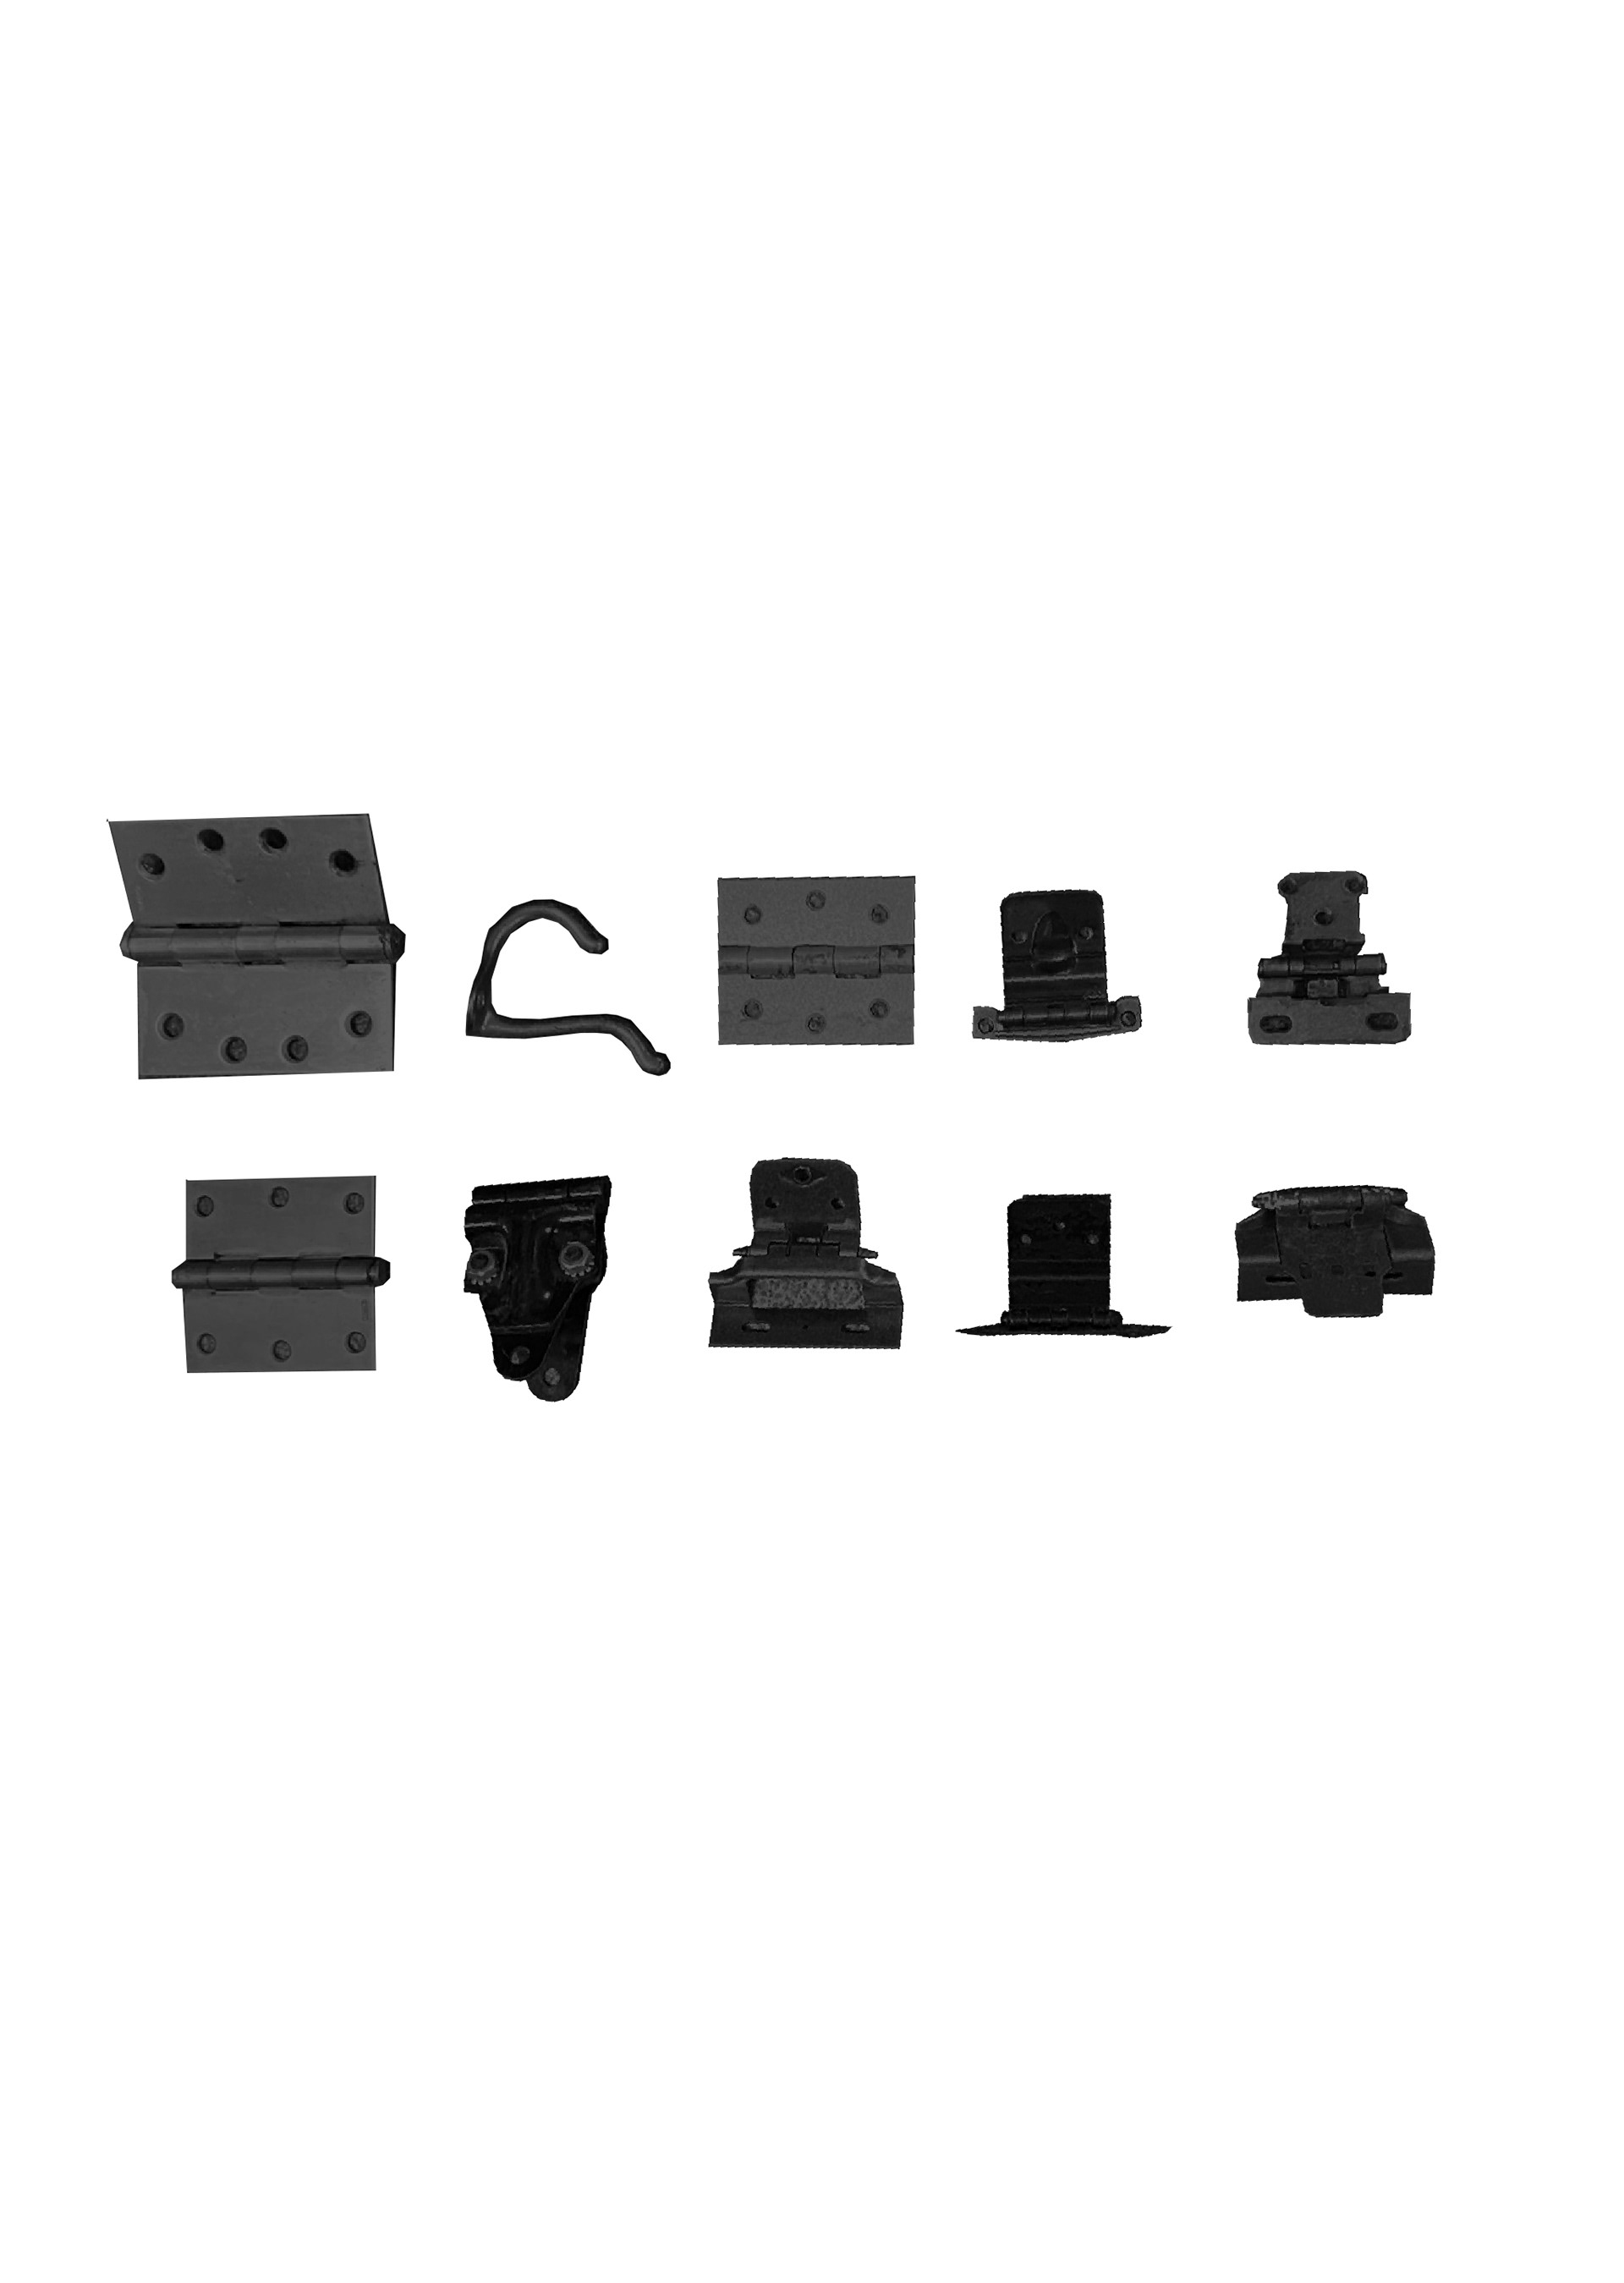
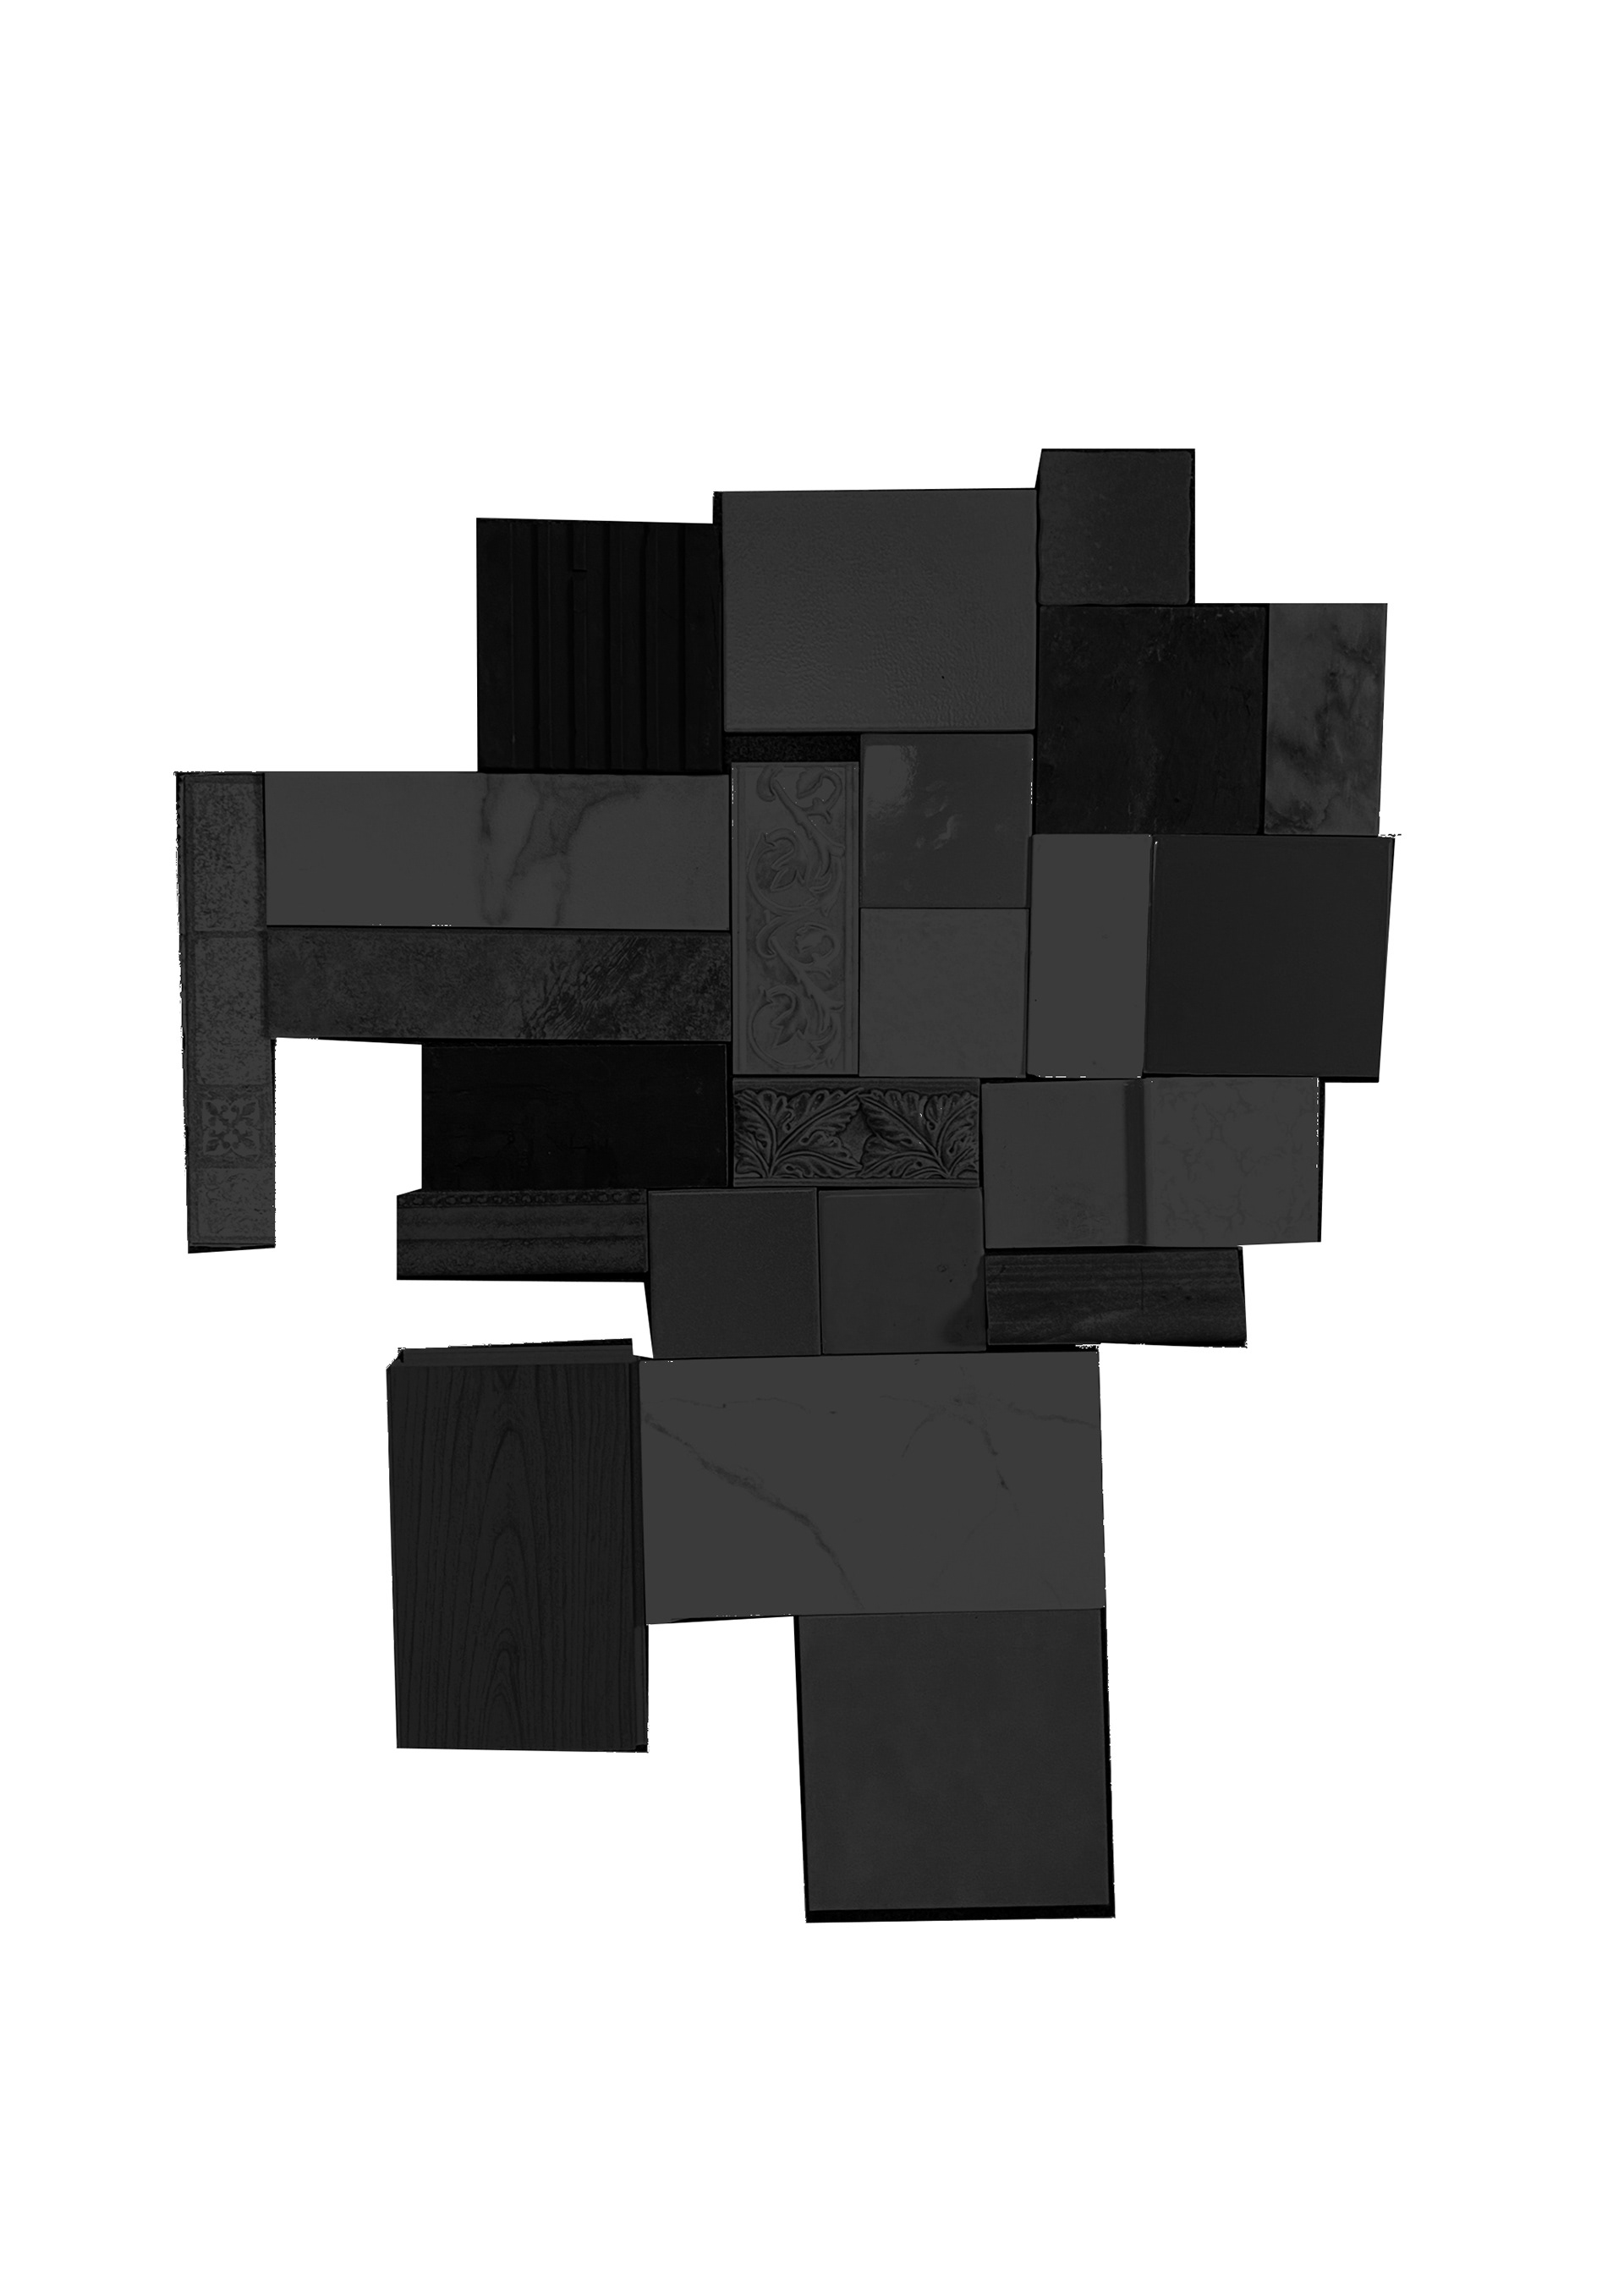
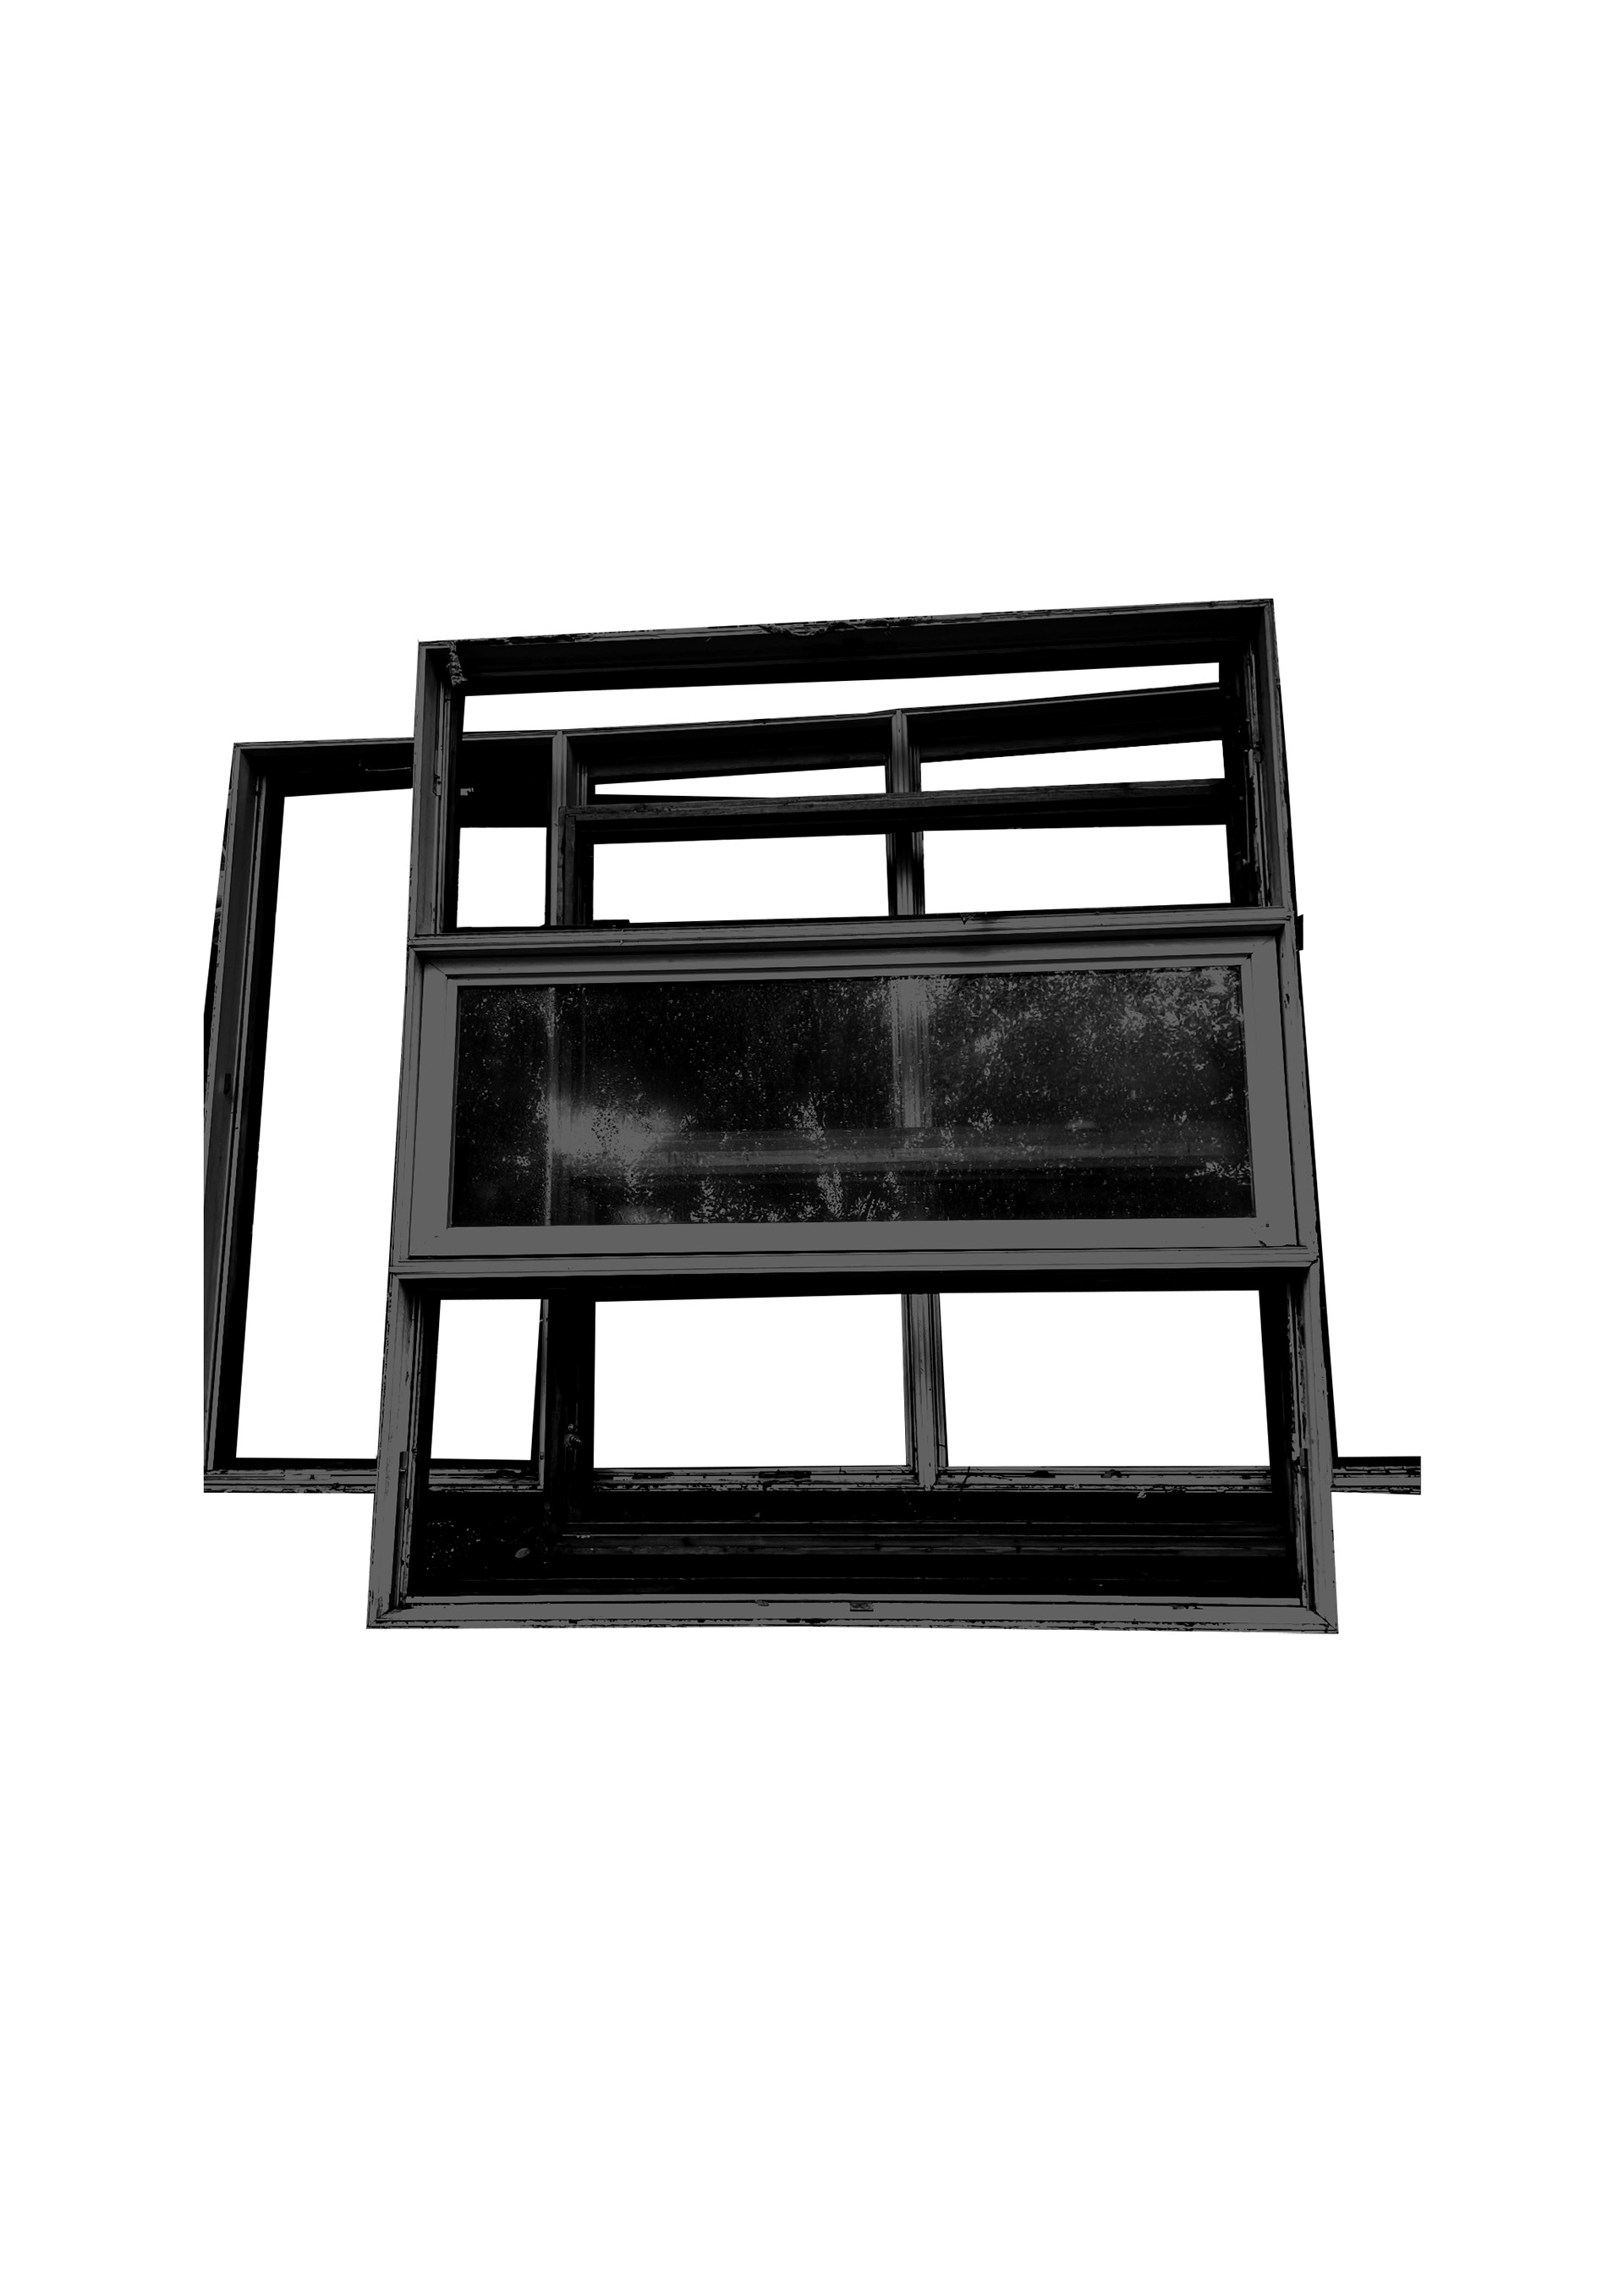
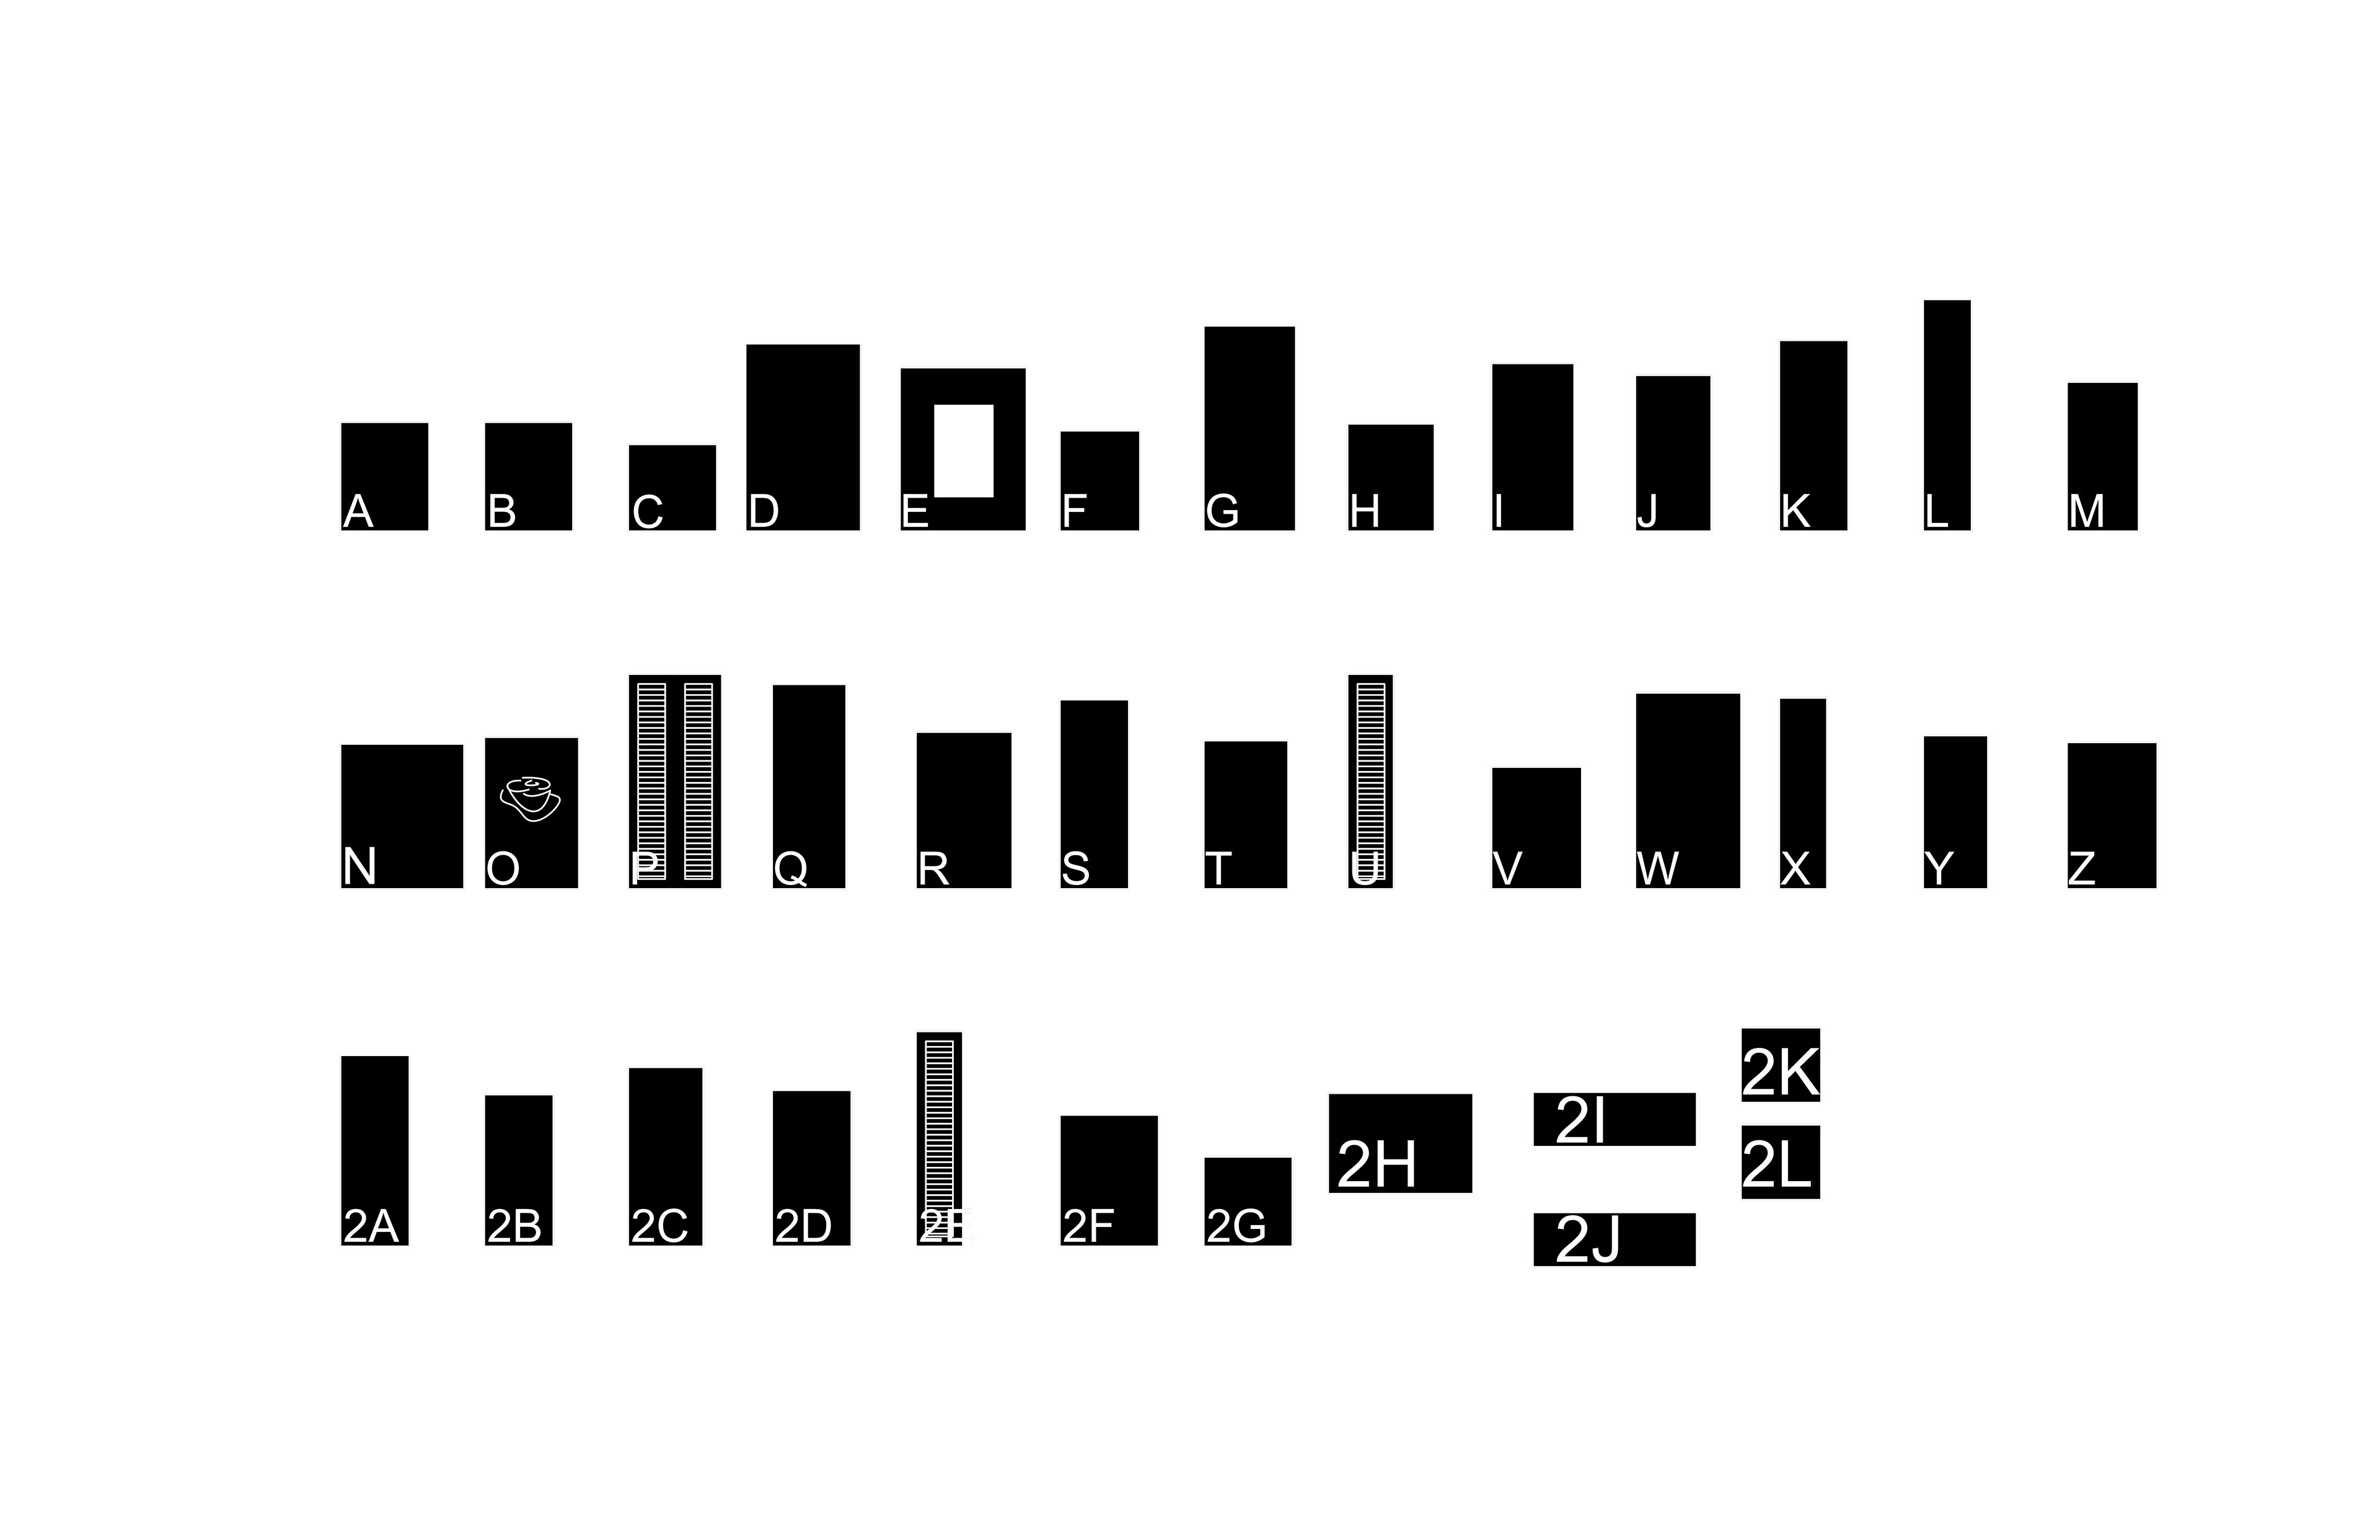
Found objects at Ithaca ReUse Center
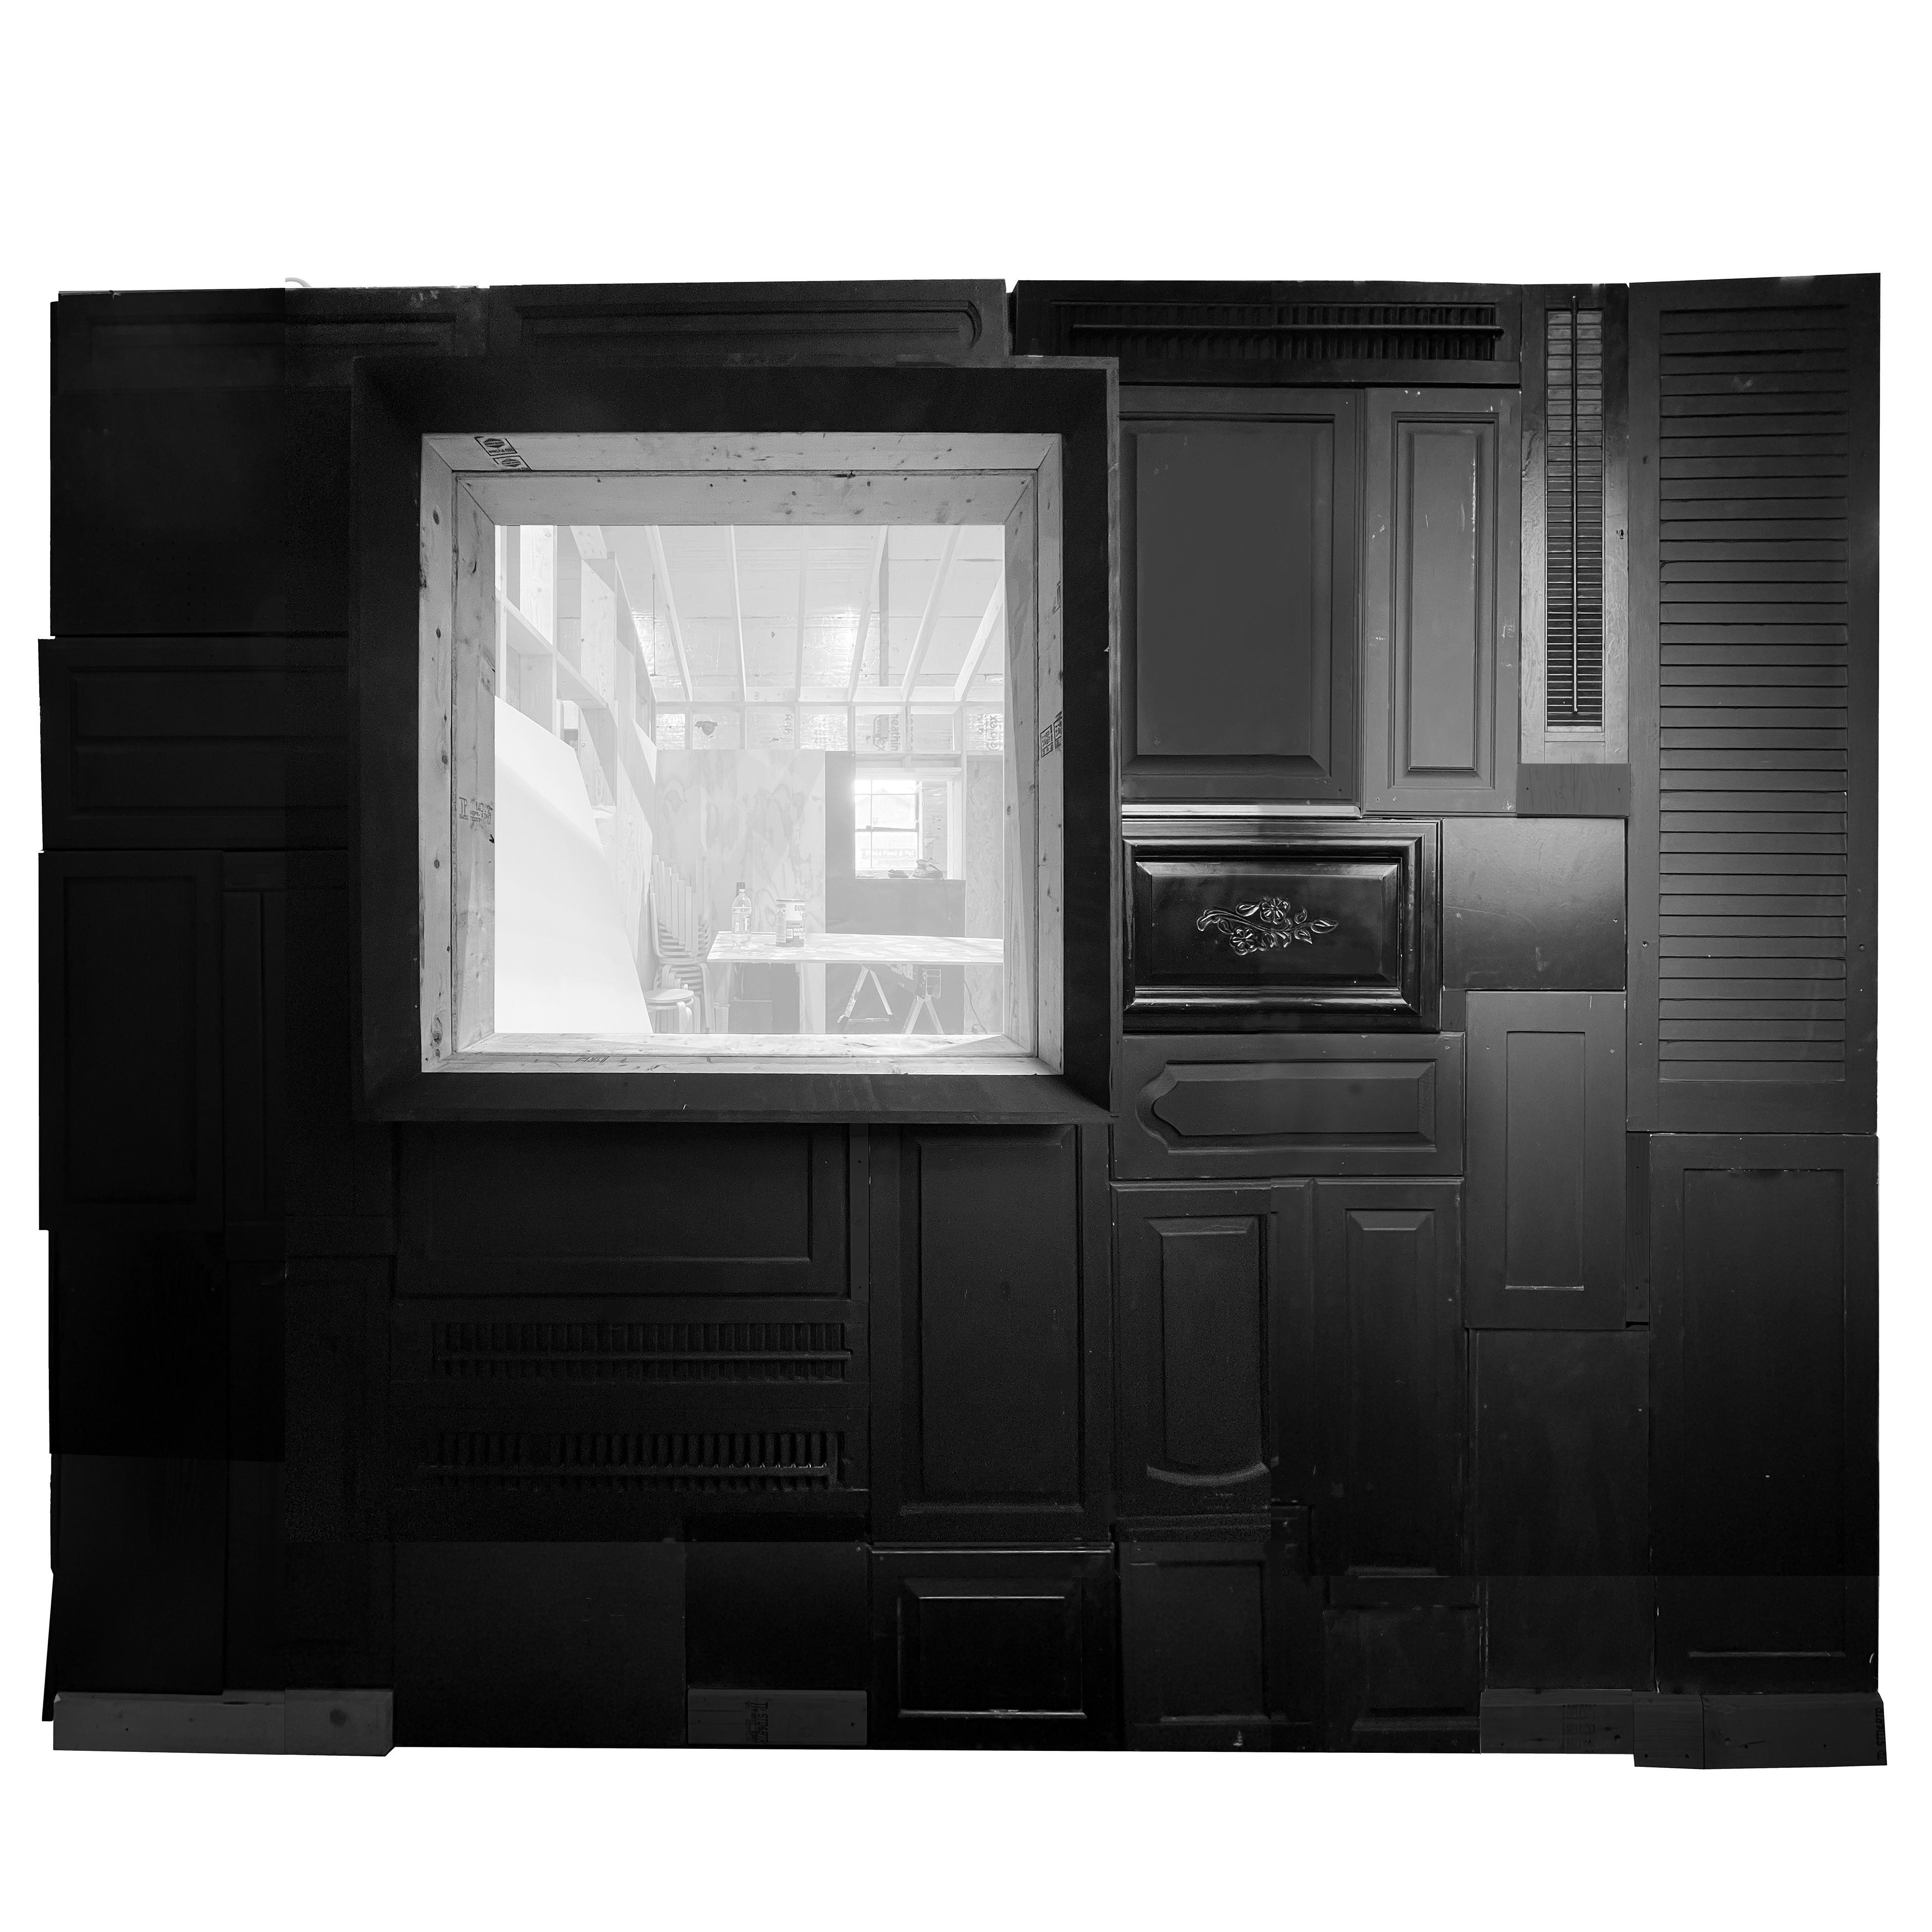
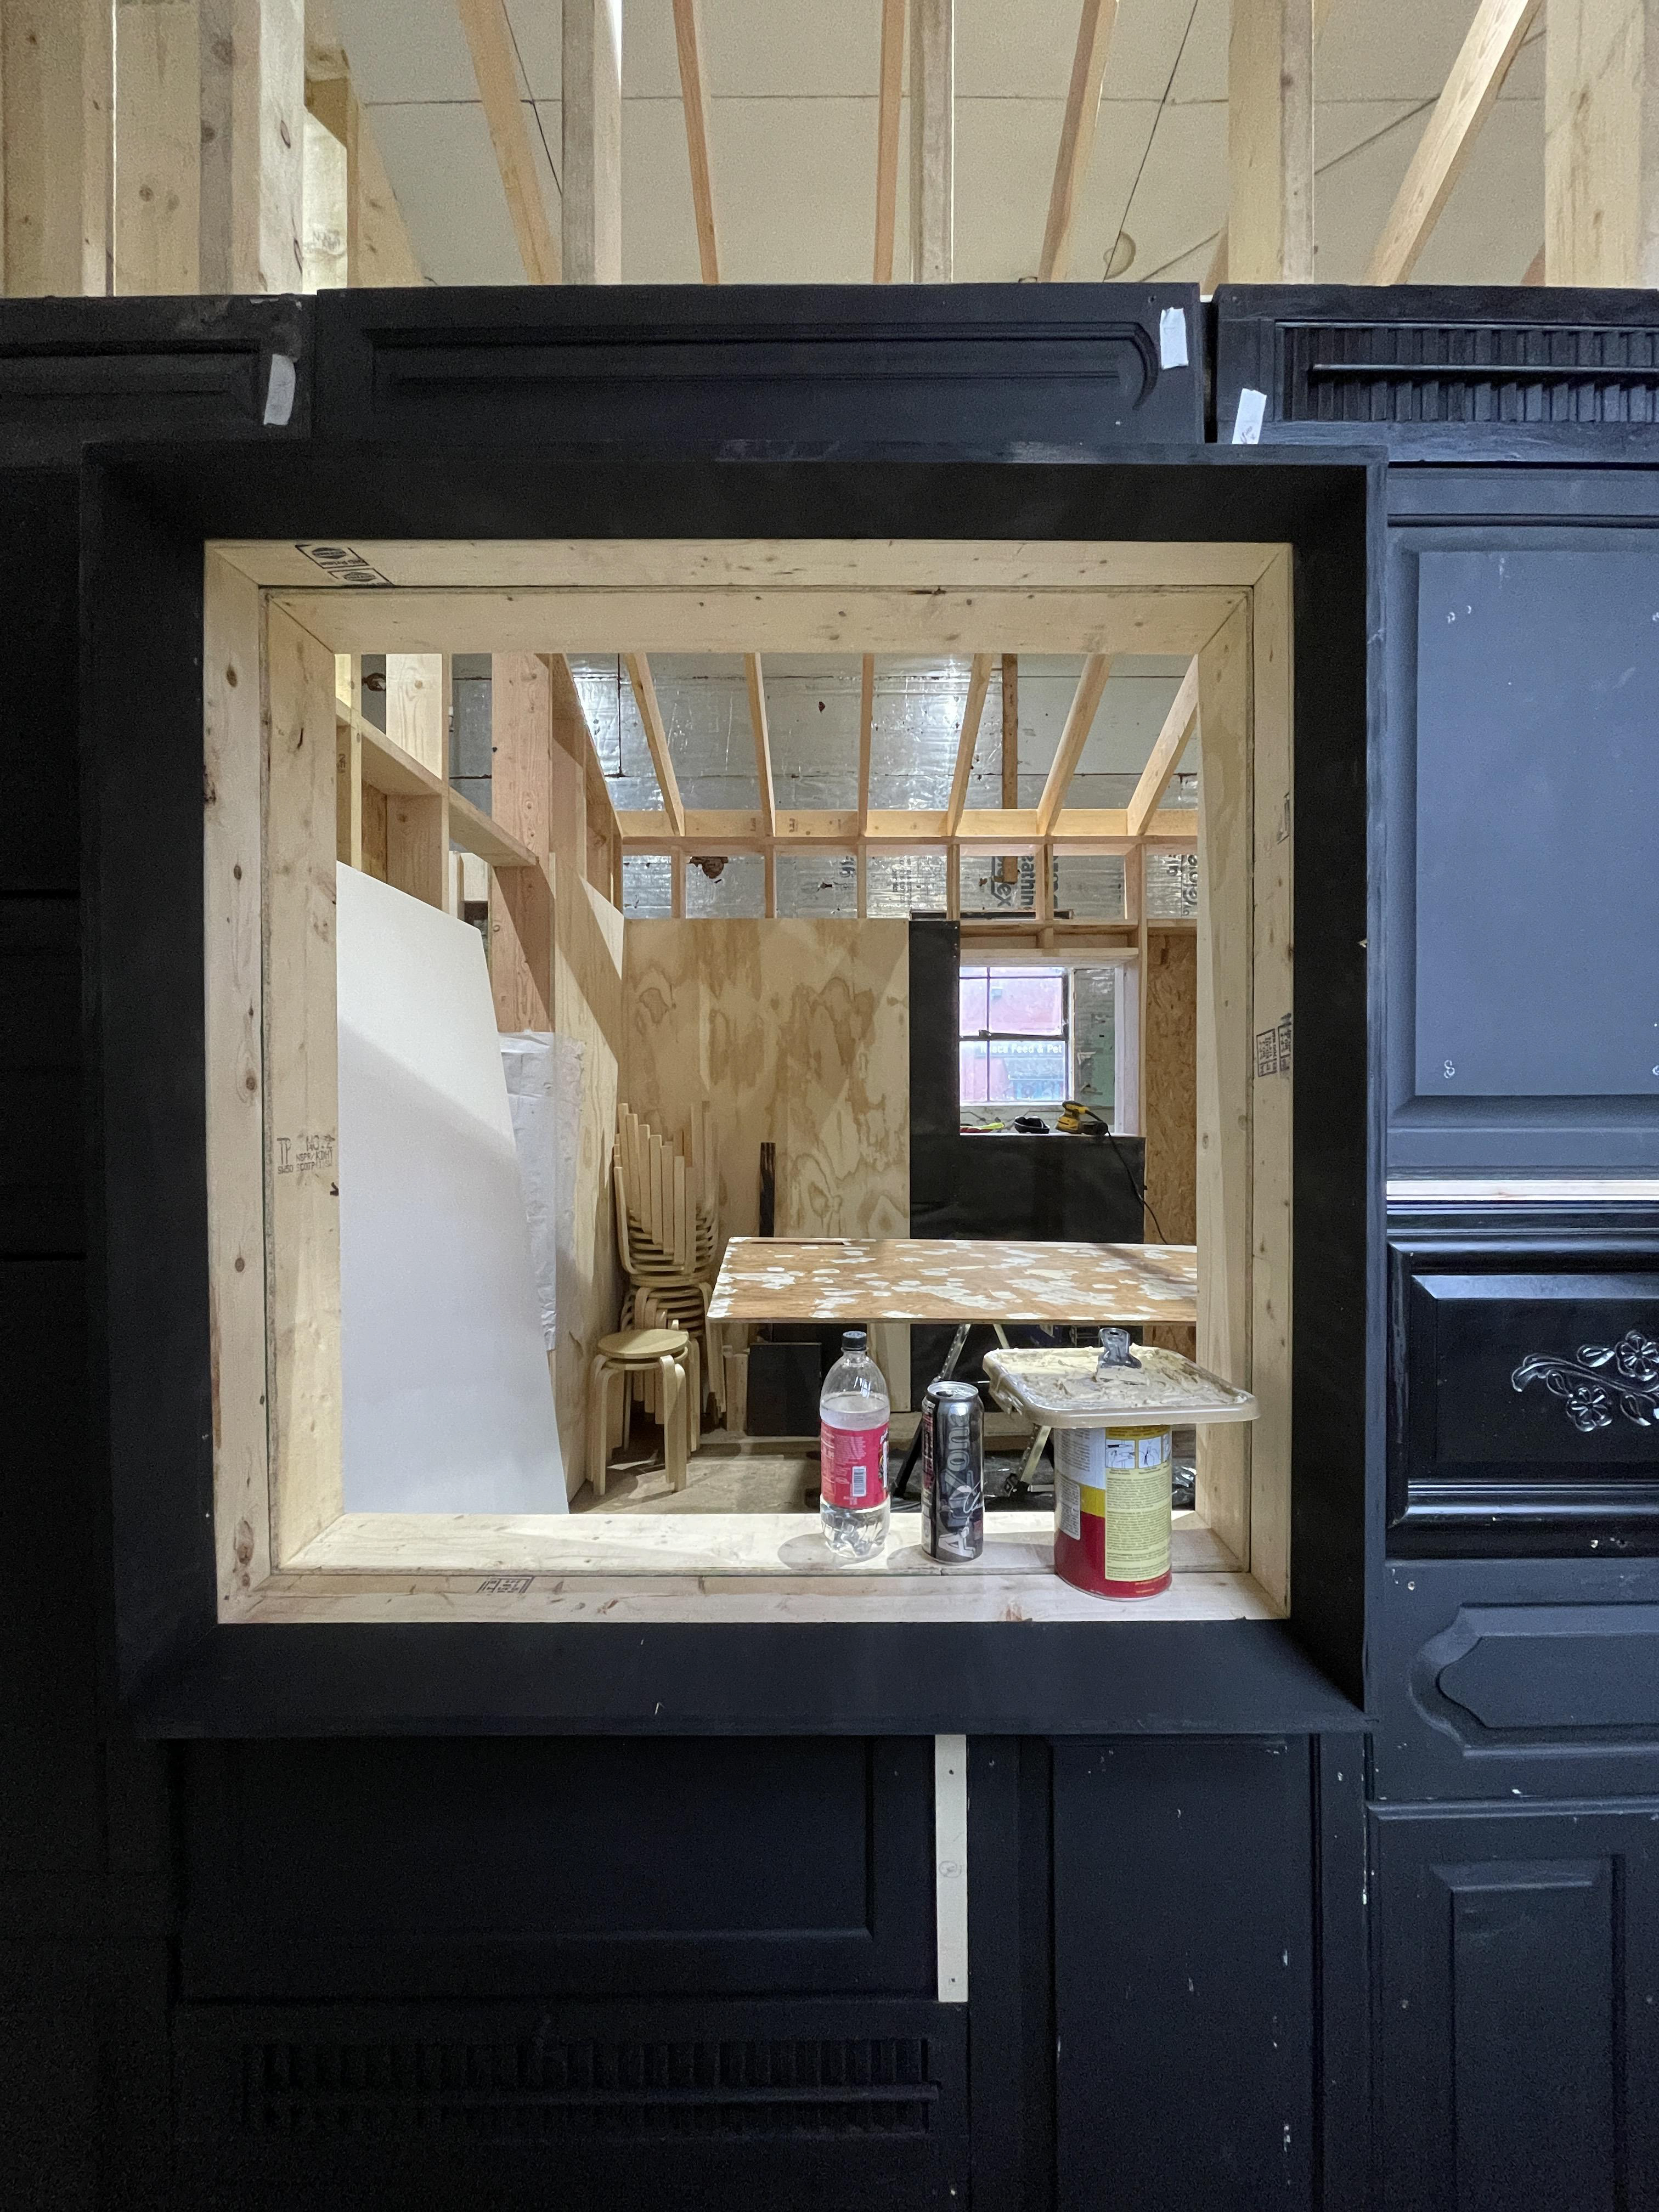
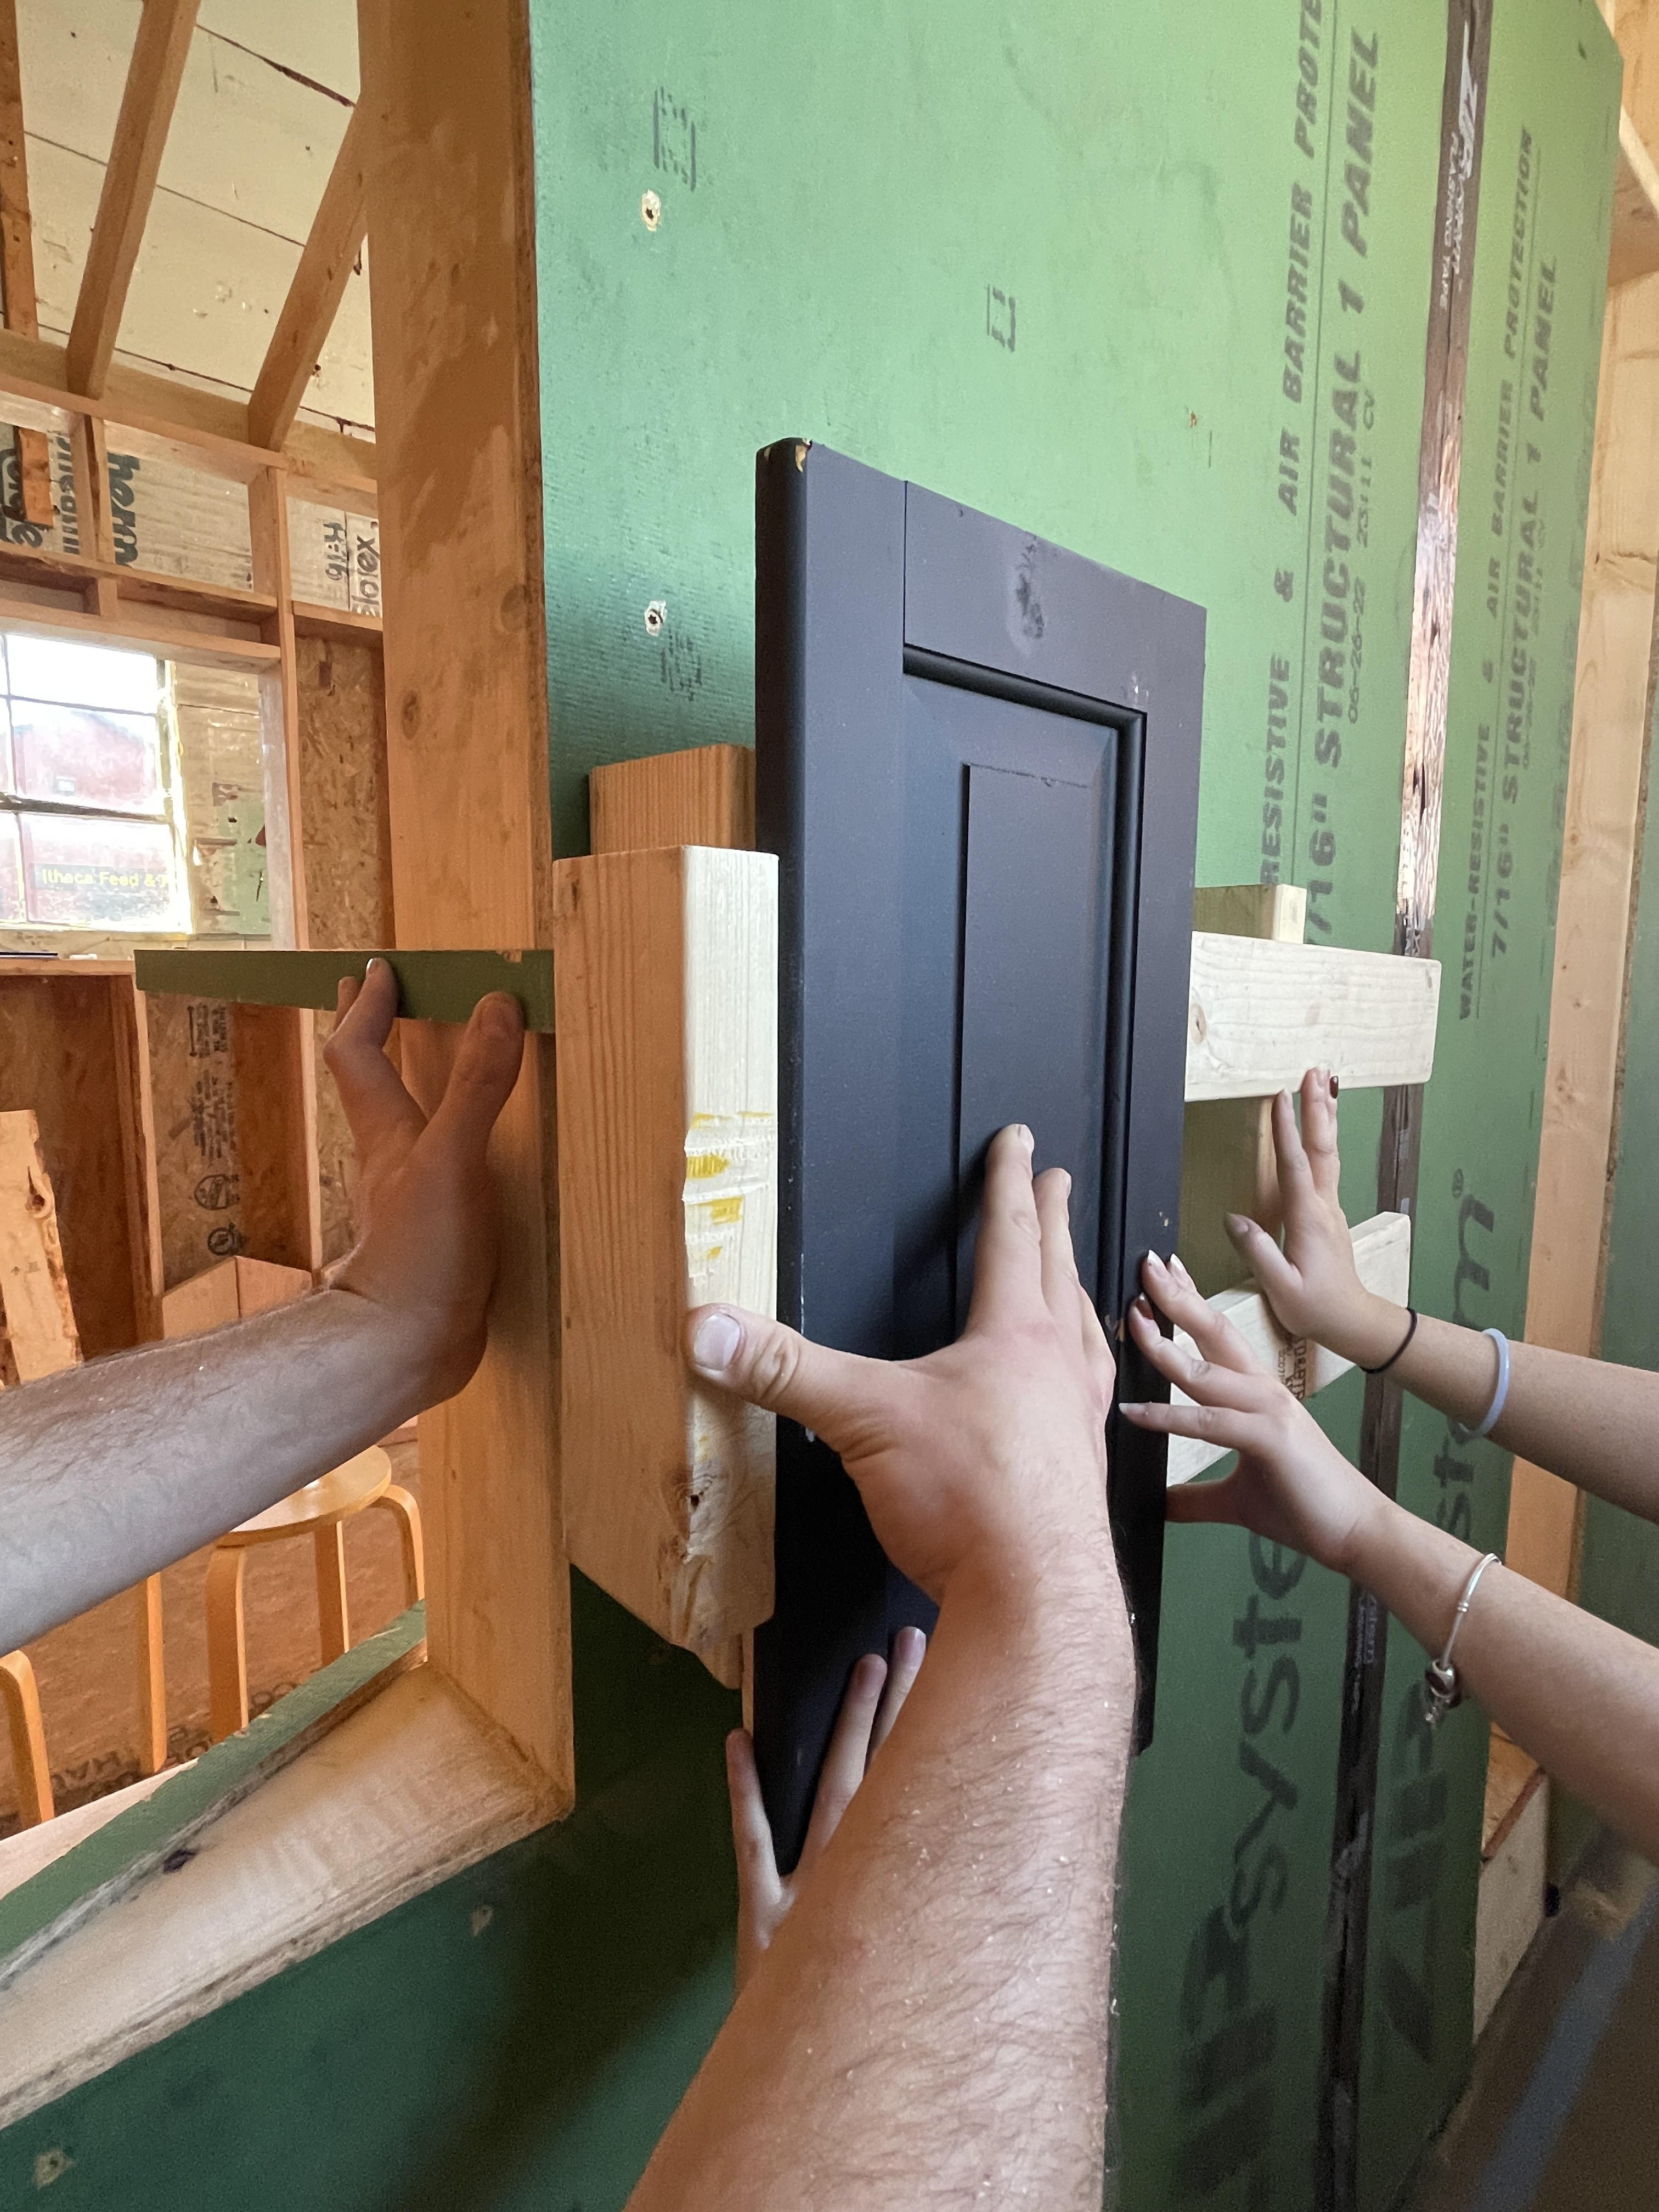
In our final wall design shown in the built assembly, we chose to use recycled cabinet doors as a rain-screen. Our group was passionate about our reuse narrative, and we strived to re-use in every way we could in order to not only keep materials out of our landfills, but also to raise awareness for recycling and ways to reuse in the way that we design and build in the architectural practice. Pictured on the left are some of the found items from Ithaca Reuse. There we found hinges, cabinet doors, windows, tiles, bricks, and rubble. In the constraints of the studio, we were given the prompt of designing a light wood frame structure, with a set form with a slight kink and angled roof. We were tasked to find ways to reuse in every way that we could throughout our wall section and find sustainable ways for designing our wall to reduce waste of energy and reach passive house standards in our effective R-values and limit thermal bridging. The design of our wall changed throughout the semester as we learned more about building, even as we were constructing the final built ADU.
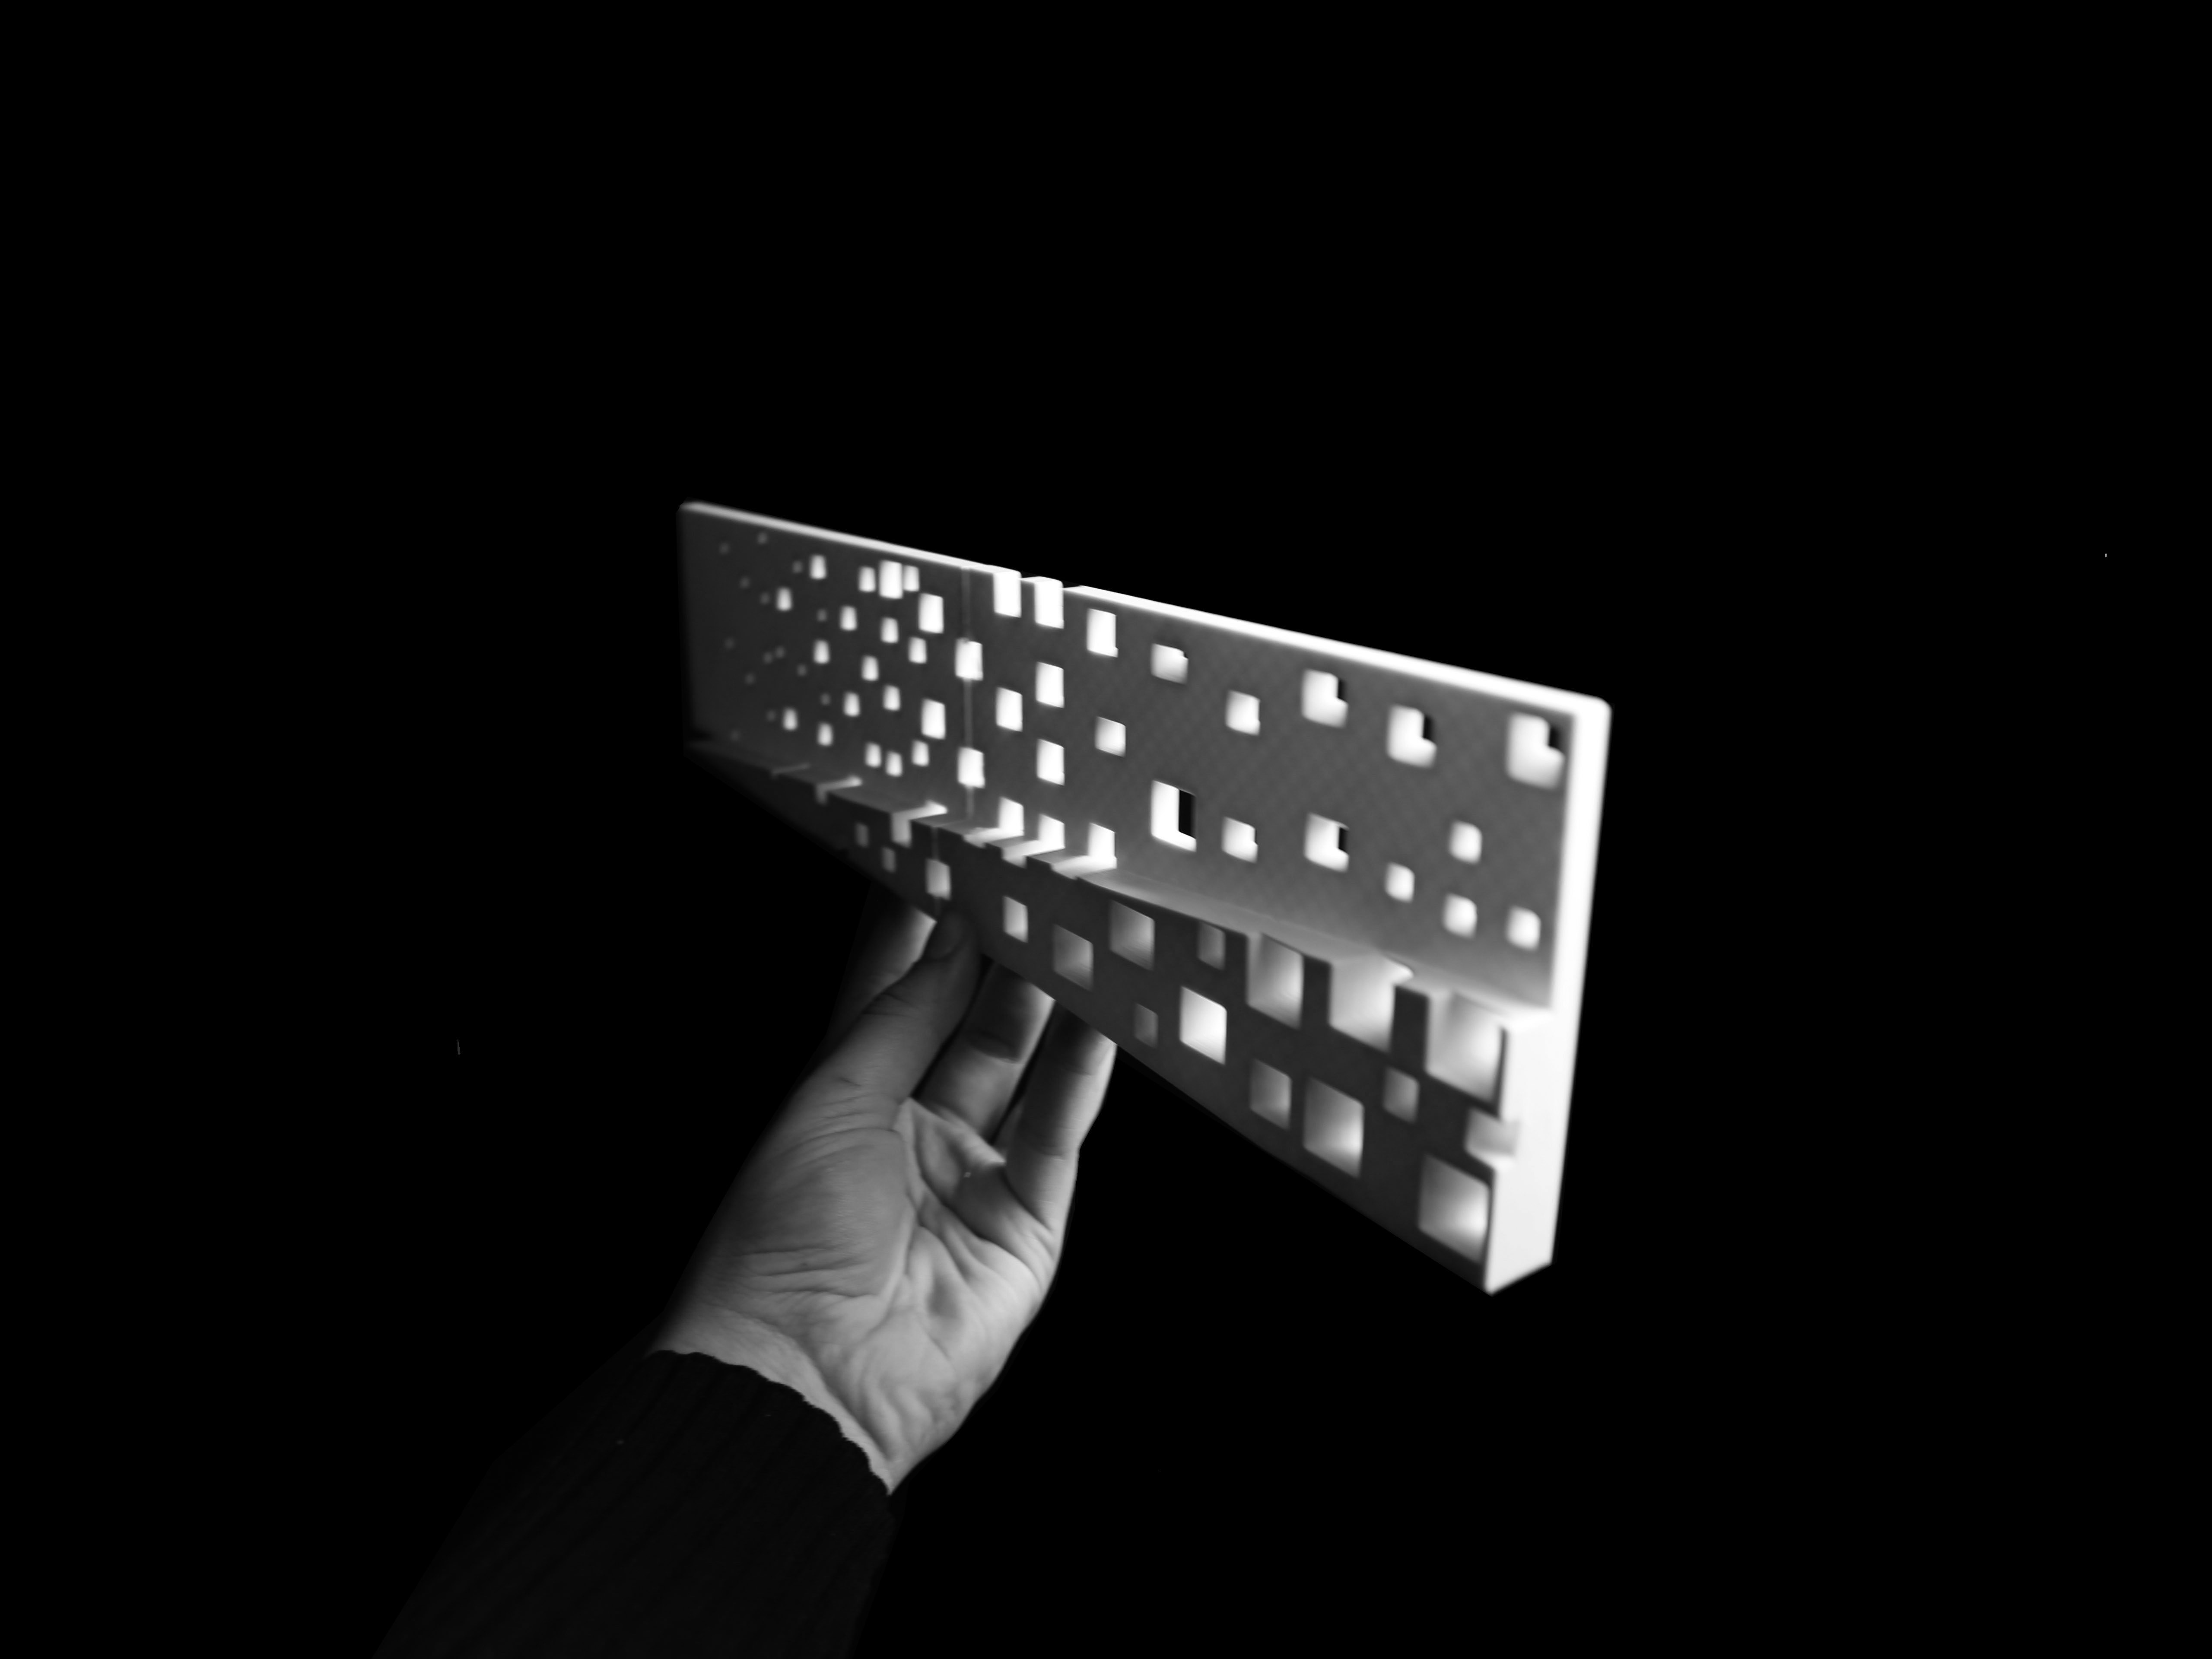
Cabinet Wall Assembly Iterations
Initial wall section iterations: reused windows, rubble, and doors/cabinets
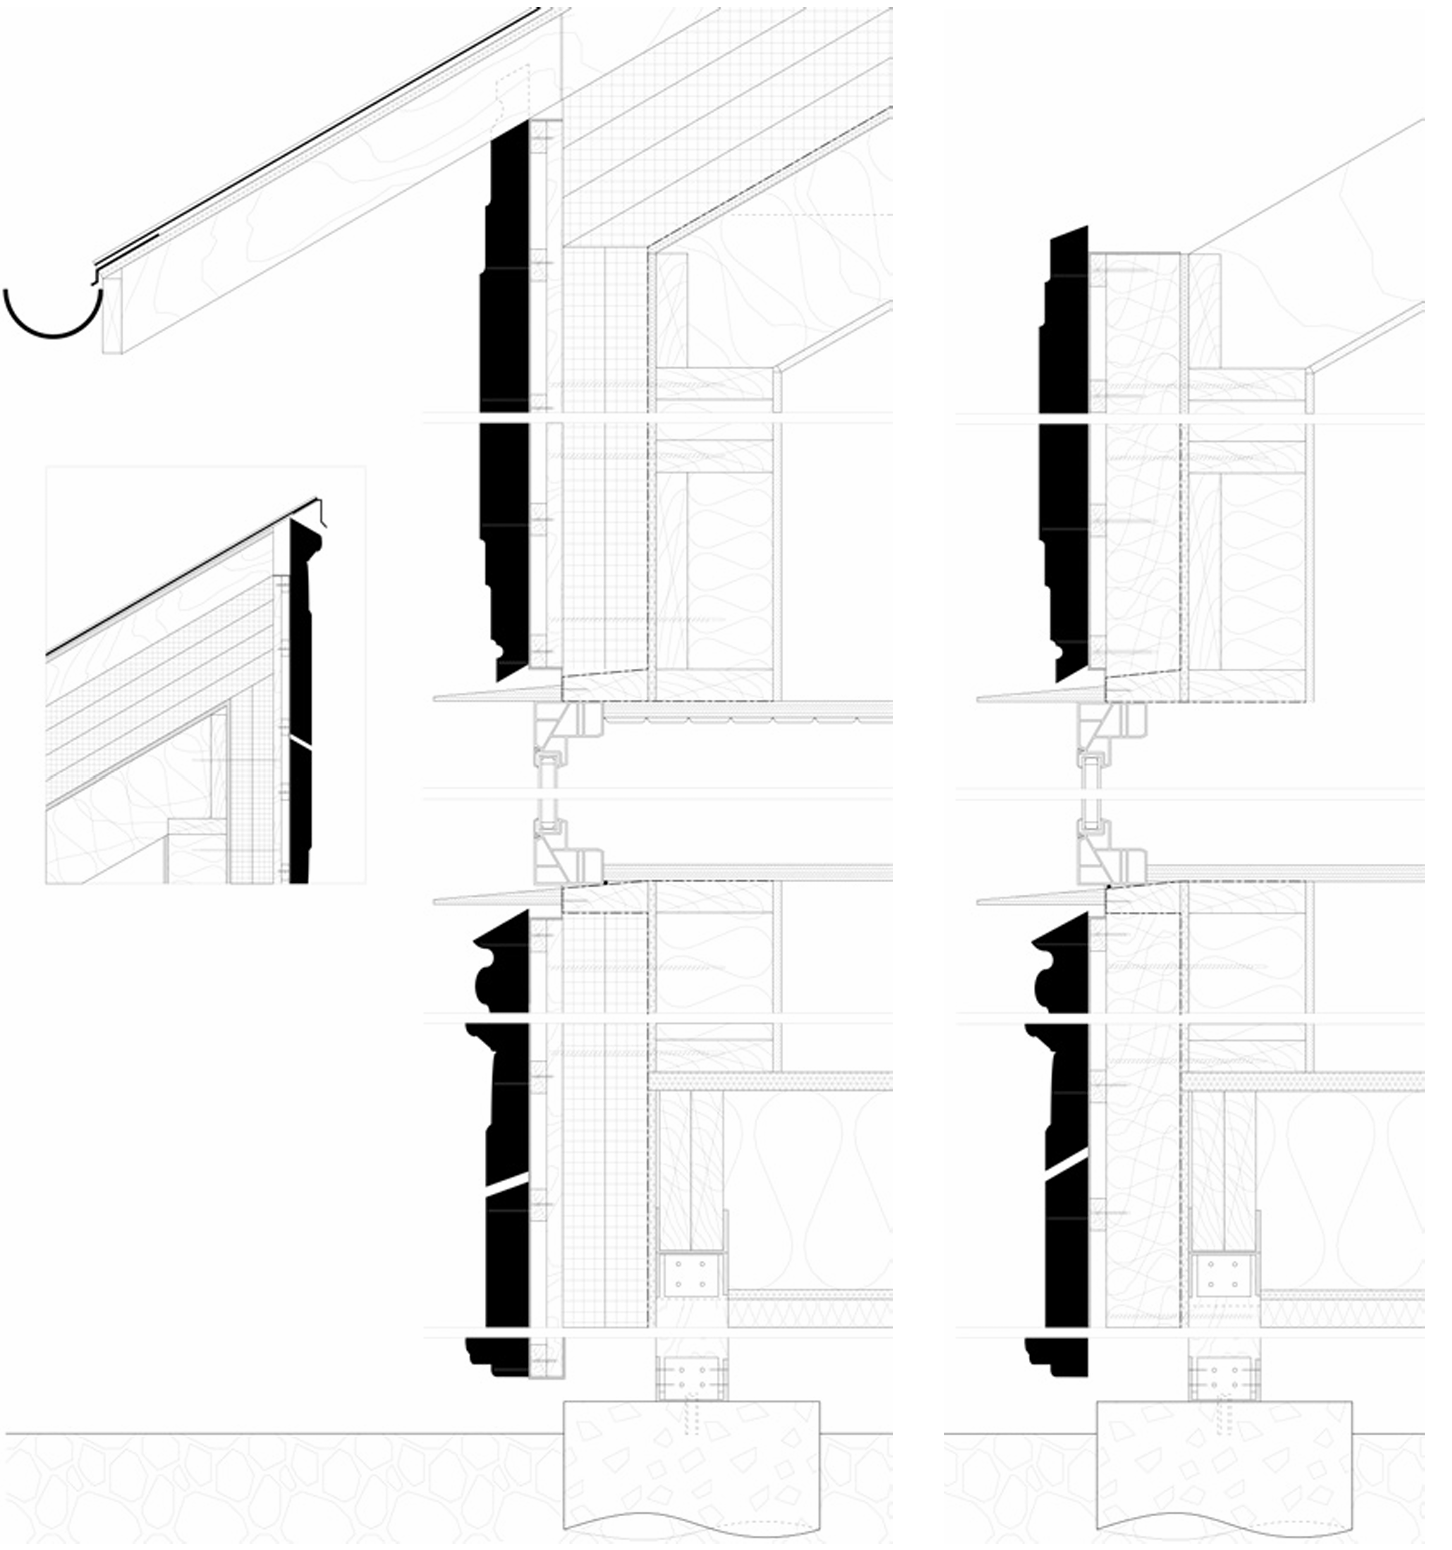
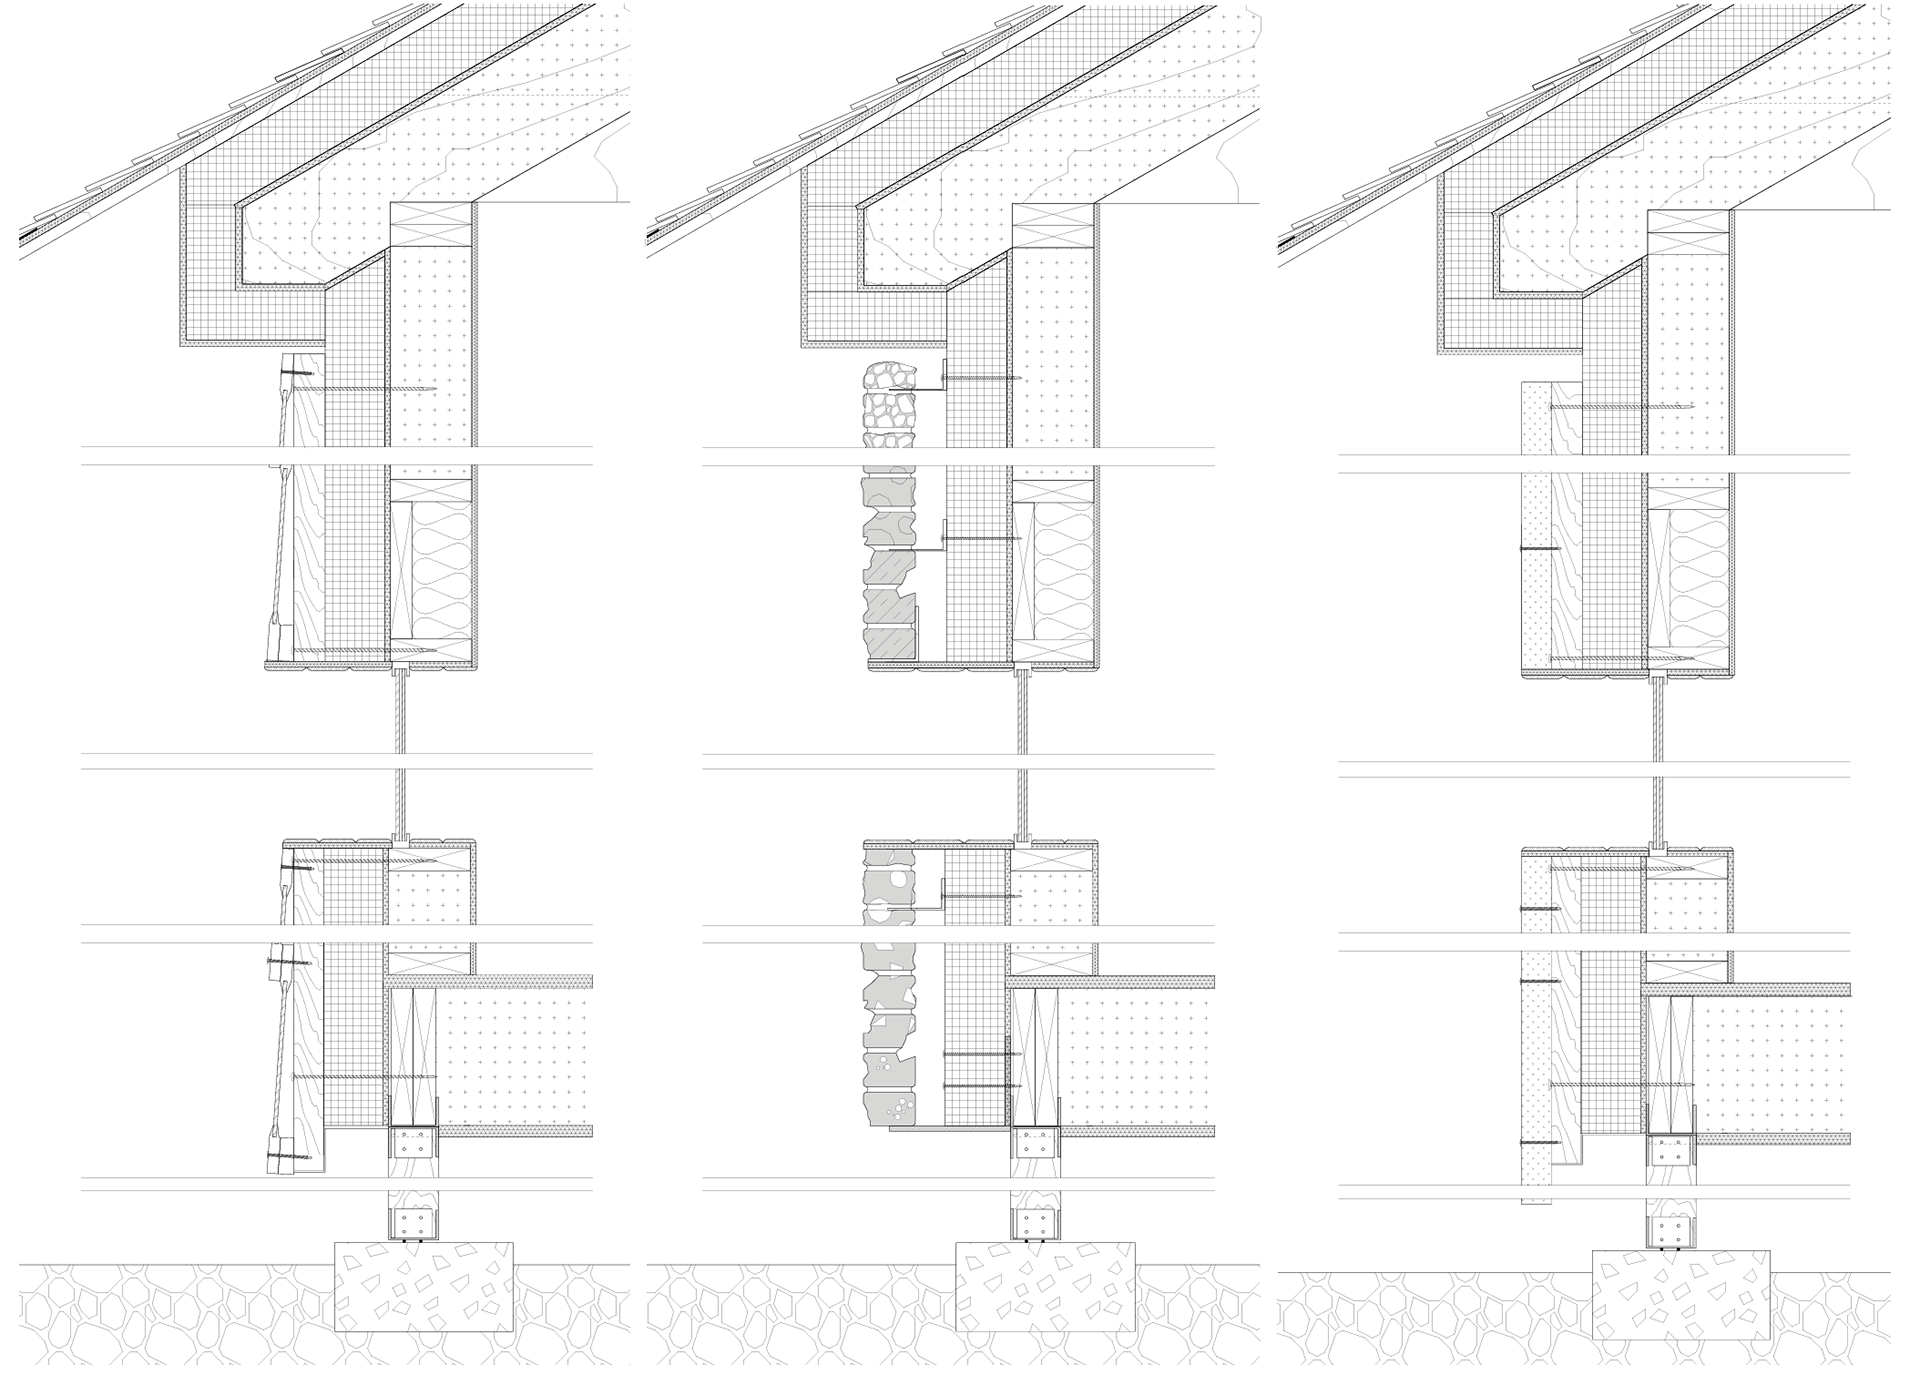
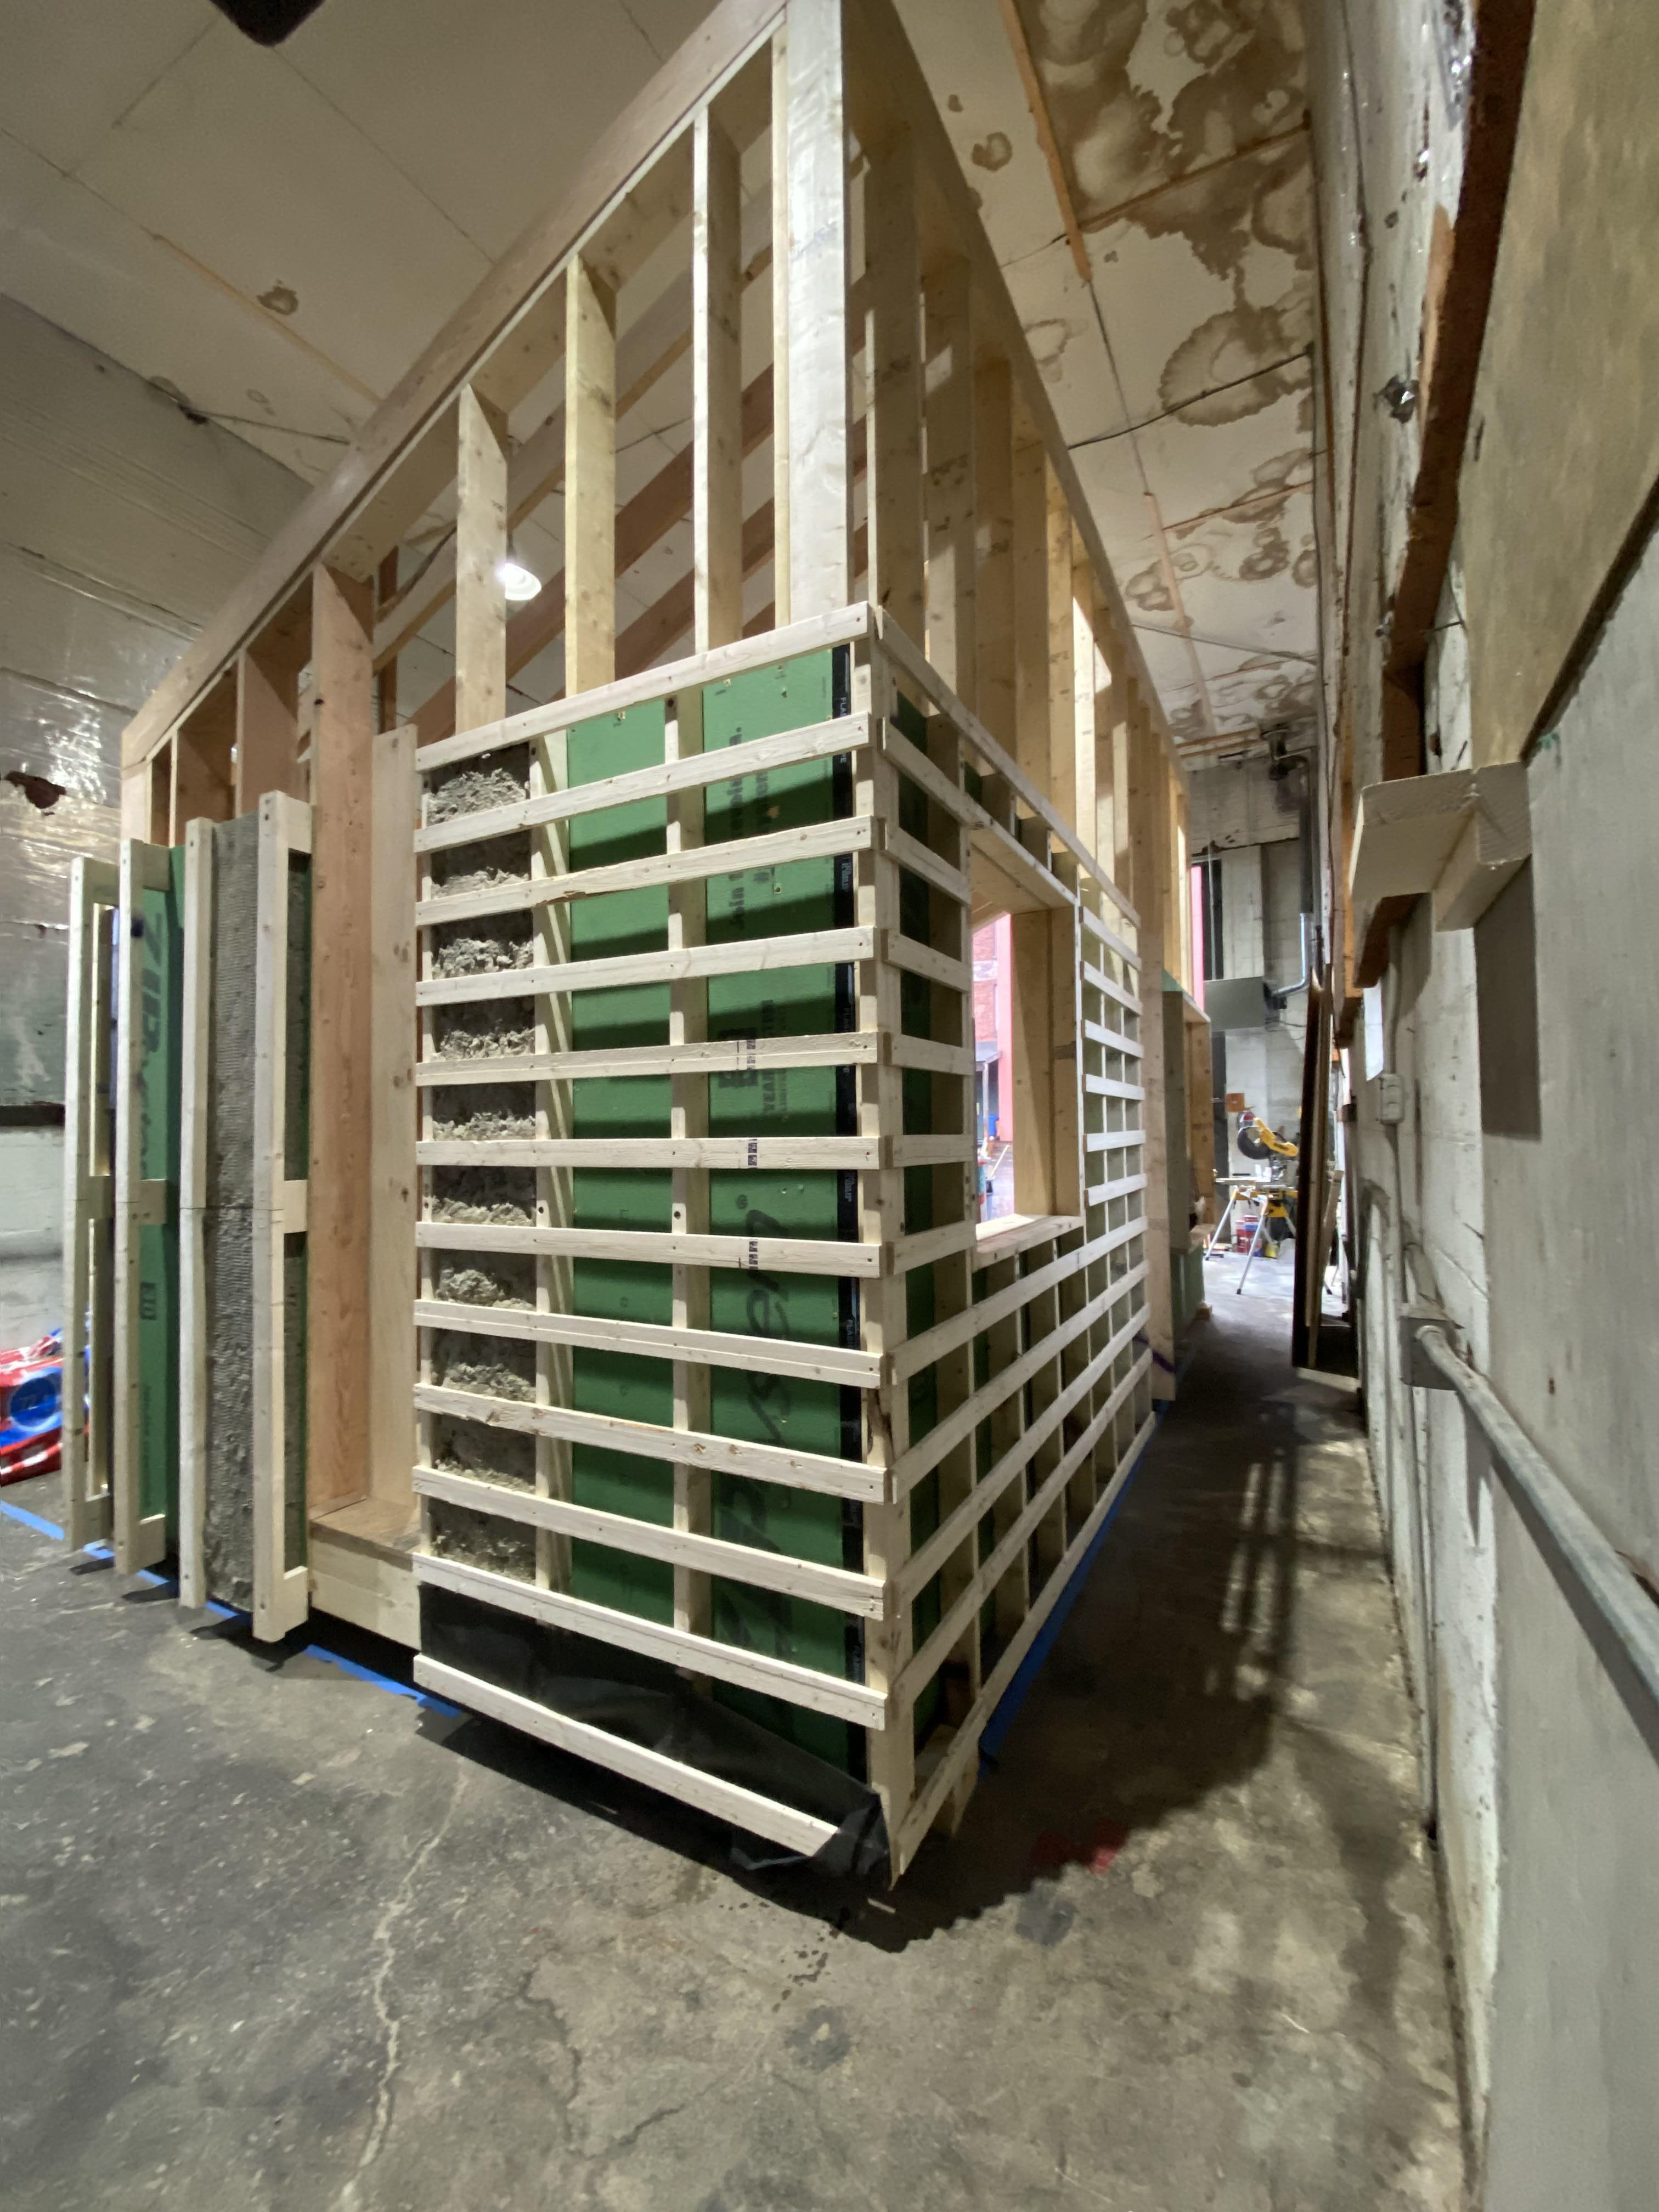
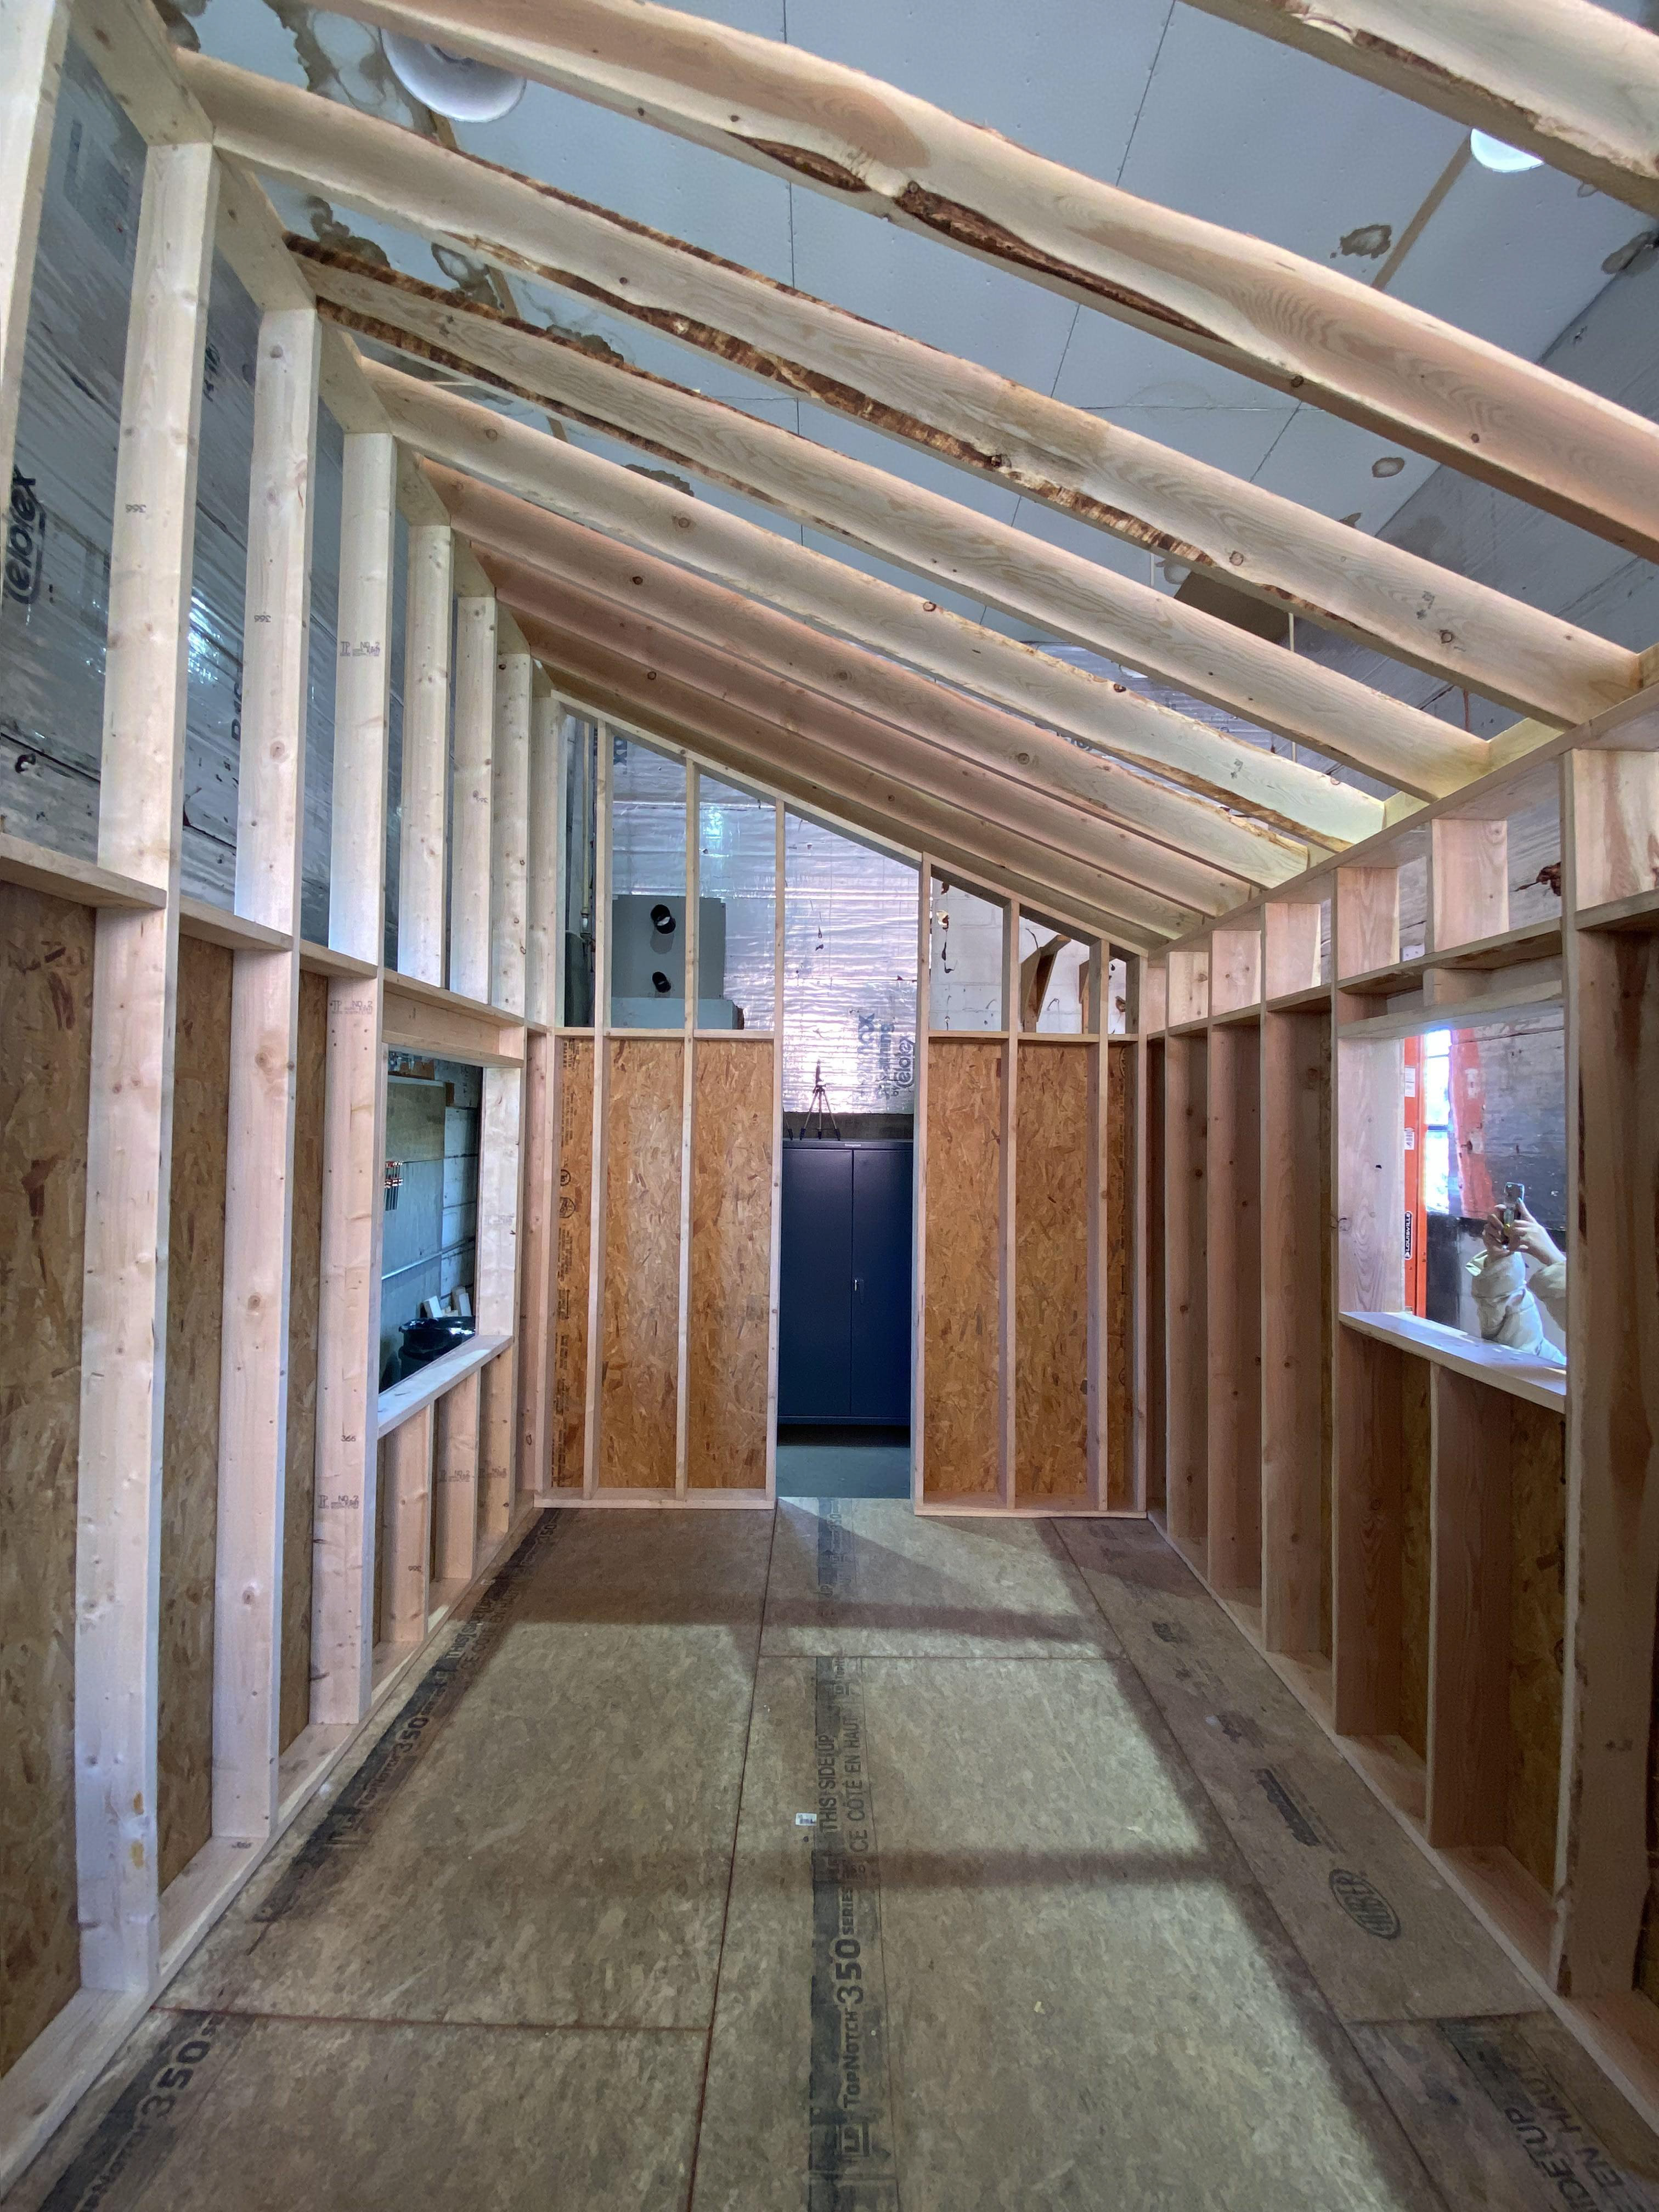
Our design has two final wall sections: the original ADU design and the as built 1:1 model. The as-built version retains the original building science strategy of a mix of interior and exterior insulation, with efficient design changes to this studio’s budgetary constraints.
The wall section to the left shows our final designed wall section that included R-23 batt mineral wool insulation on the interior between the studs, ZIP panels for waterproofing, OSB interior finish, 8 inches of exterior rigid insulation, a two-layer furring system using horizontal then vertical furring strips, and finally the cabinet doors as a rain-screen.
The wall section on the right shows our final as-built wall section. As we built the final ADU, we ran into things such as time constraints, ease of construction, and a limited budget. Due to these factors, we had to alter our designed wall section as we built it out. The changes that we made included making a 2x4 exterior furring strips attached to the interior 2x6 structural studs for R15 insulation on the exterior, eliminating the need for the vertical furring strips, so we were able to attach 1x3 furring strips the 2x4’s horizontally every 8 inches on center, which greatly decreased the cost. We also ended up using reclaimed 70-year-old plywood from the floorboards of our professor’s house in Ithaca. To use the reclaimed boards, we patched the holes, sanded the boards, and painted them white to give relief from all black exterior.
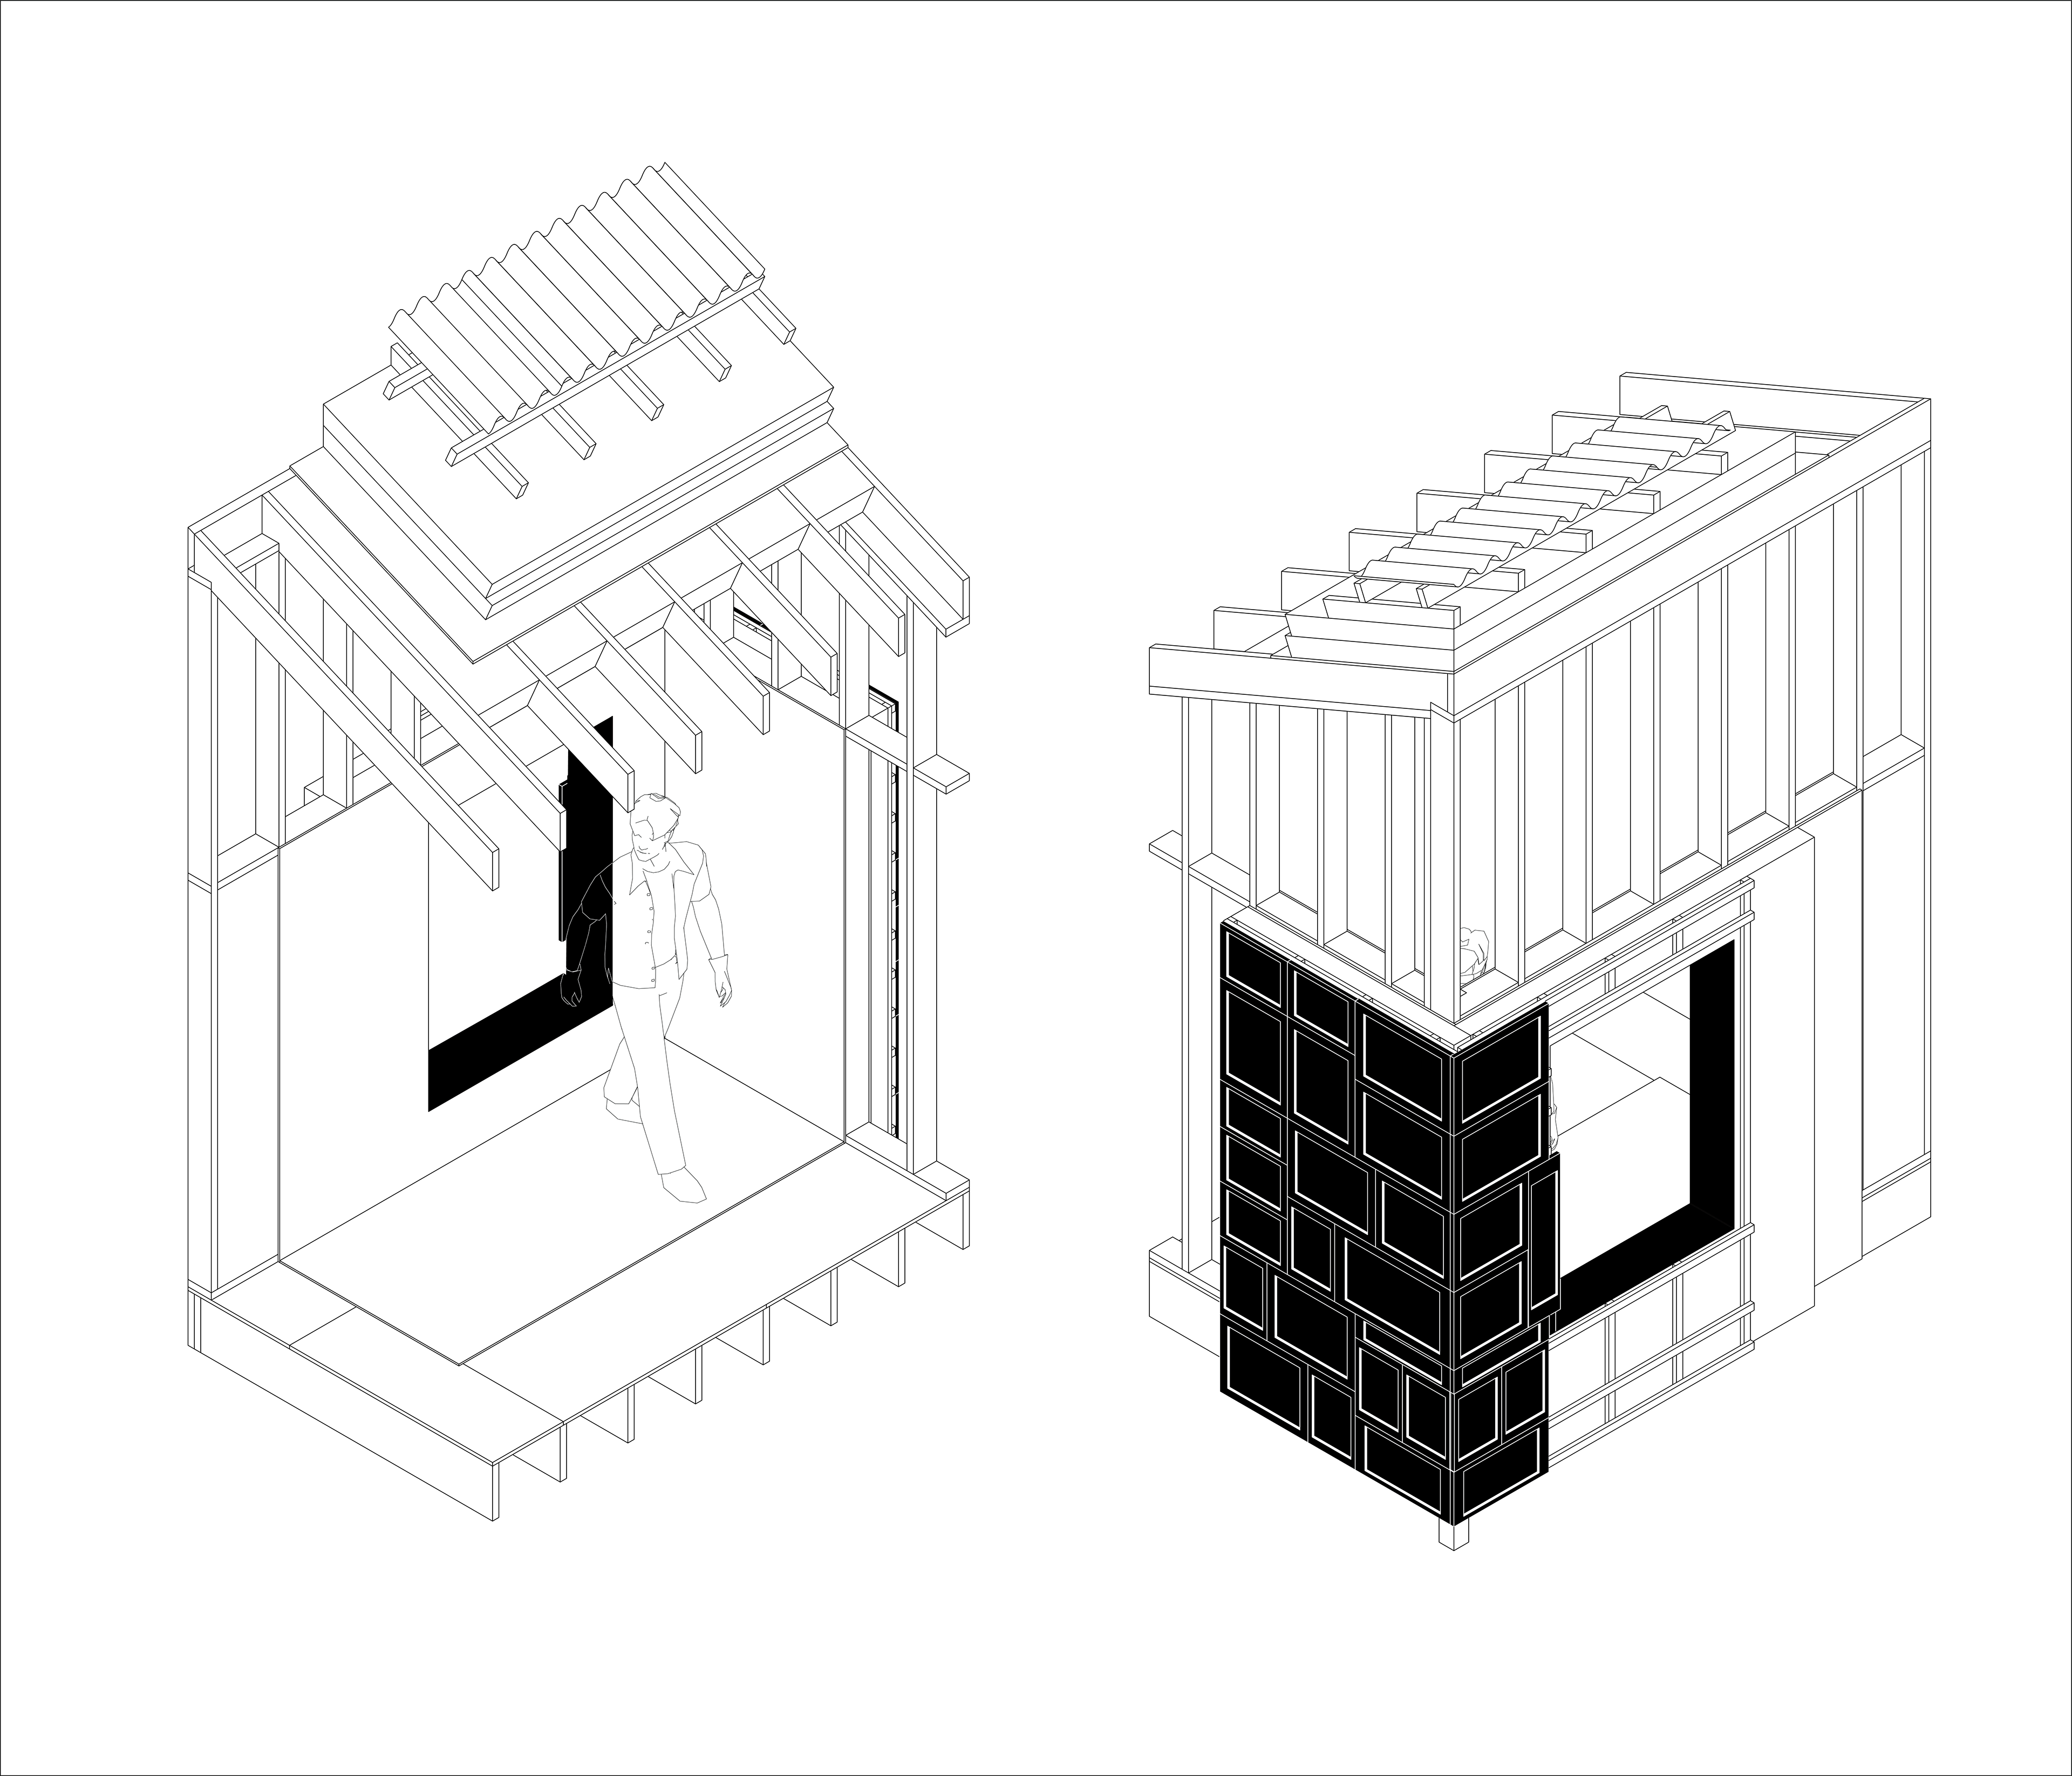
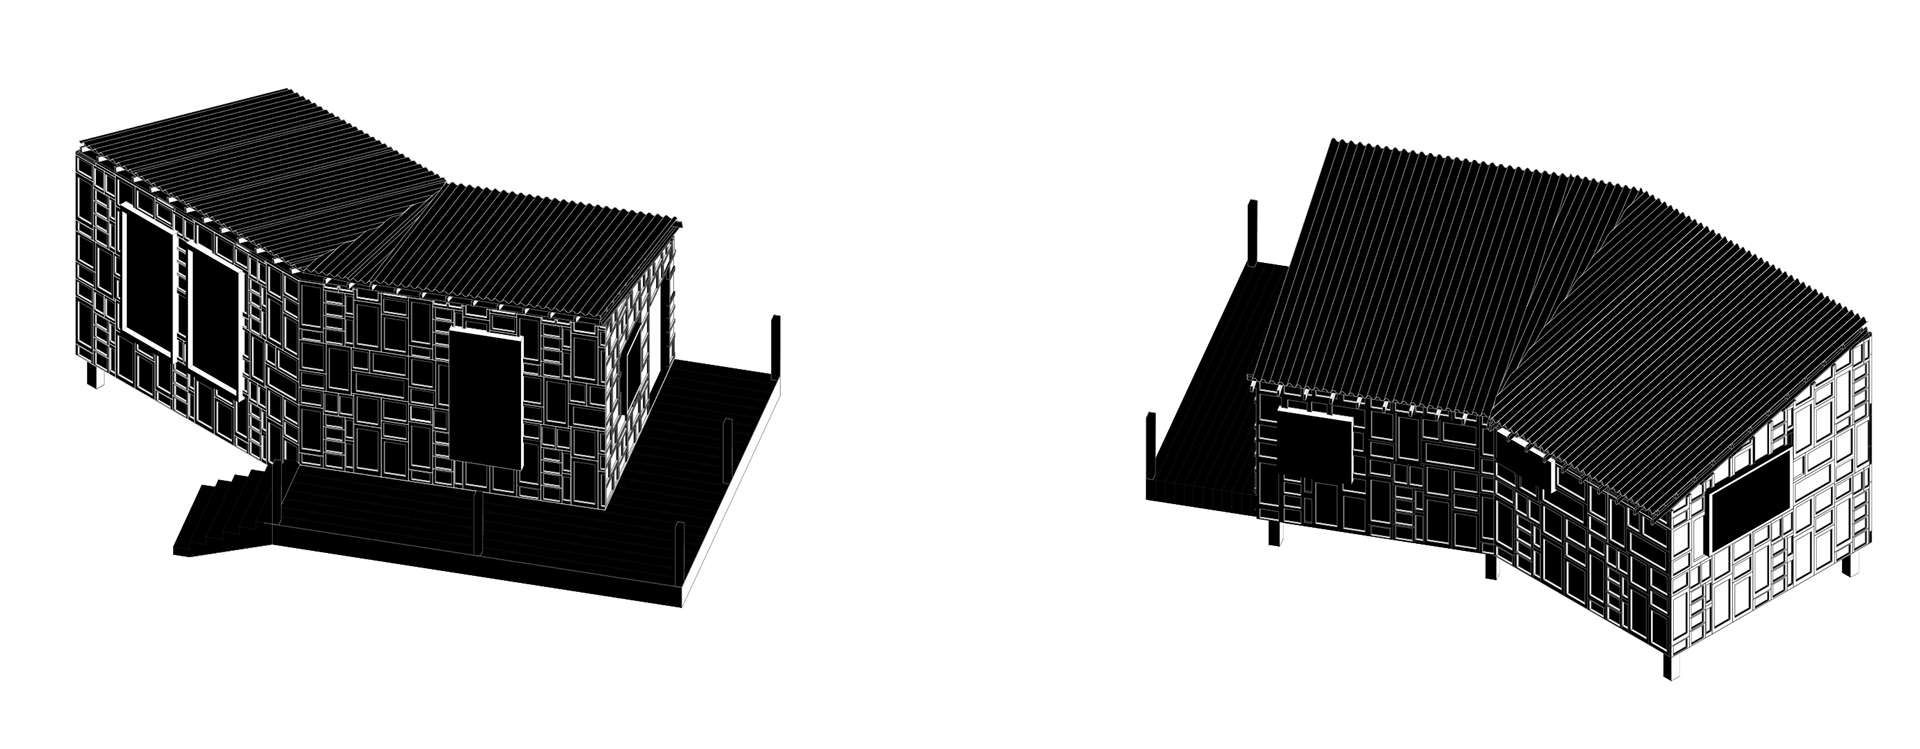
Cut-away axonometric drawing of final ADU
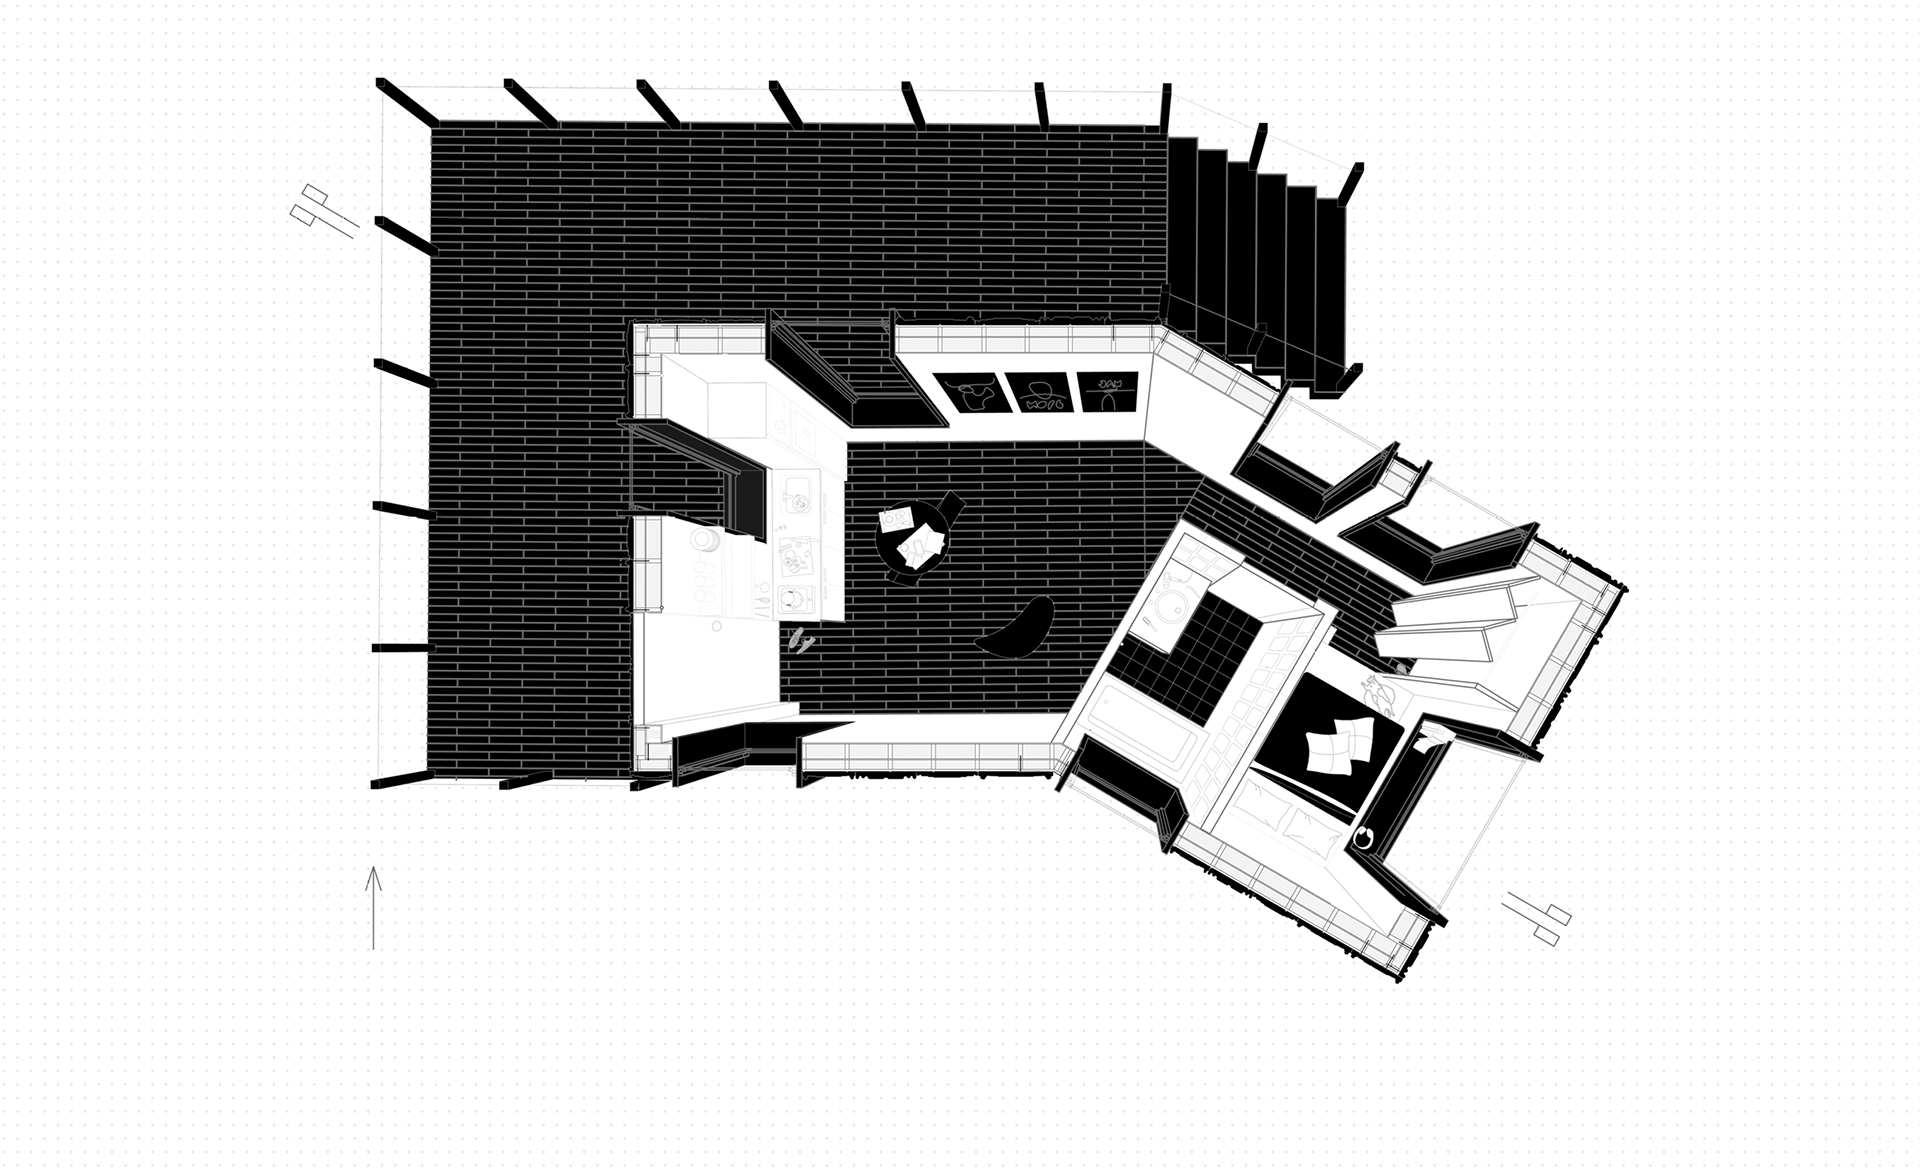
Floor plan perspective
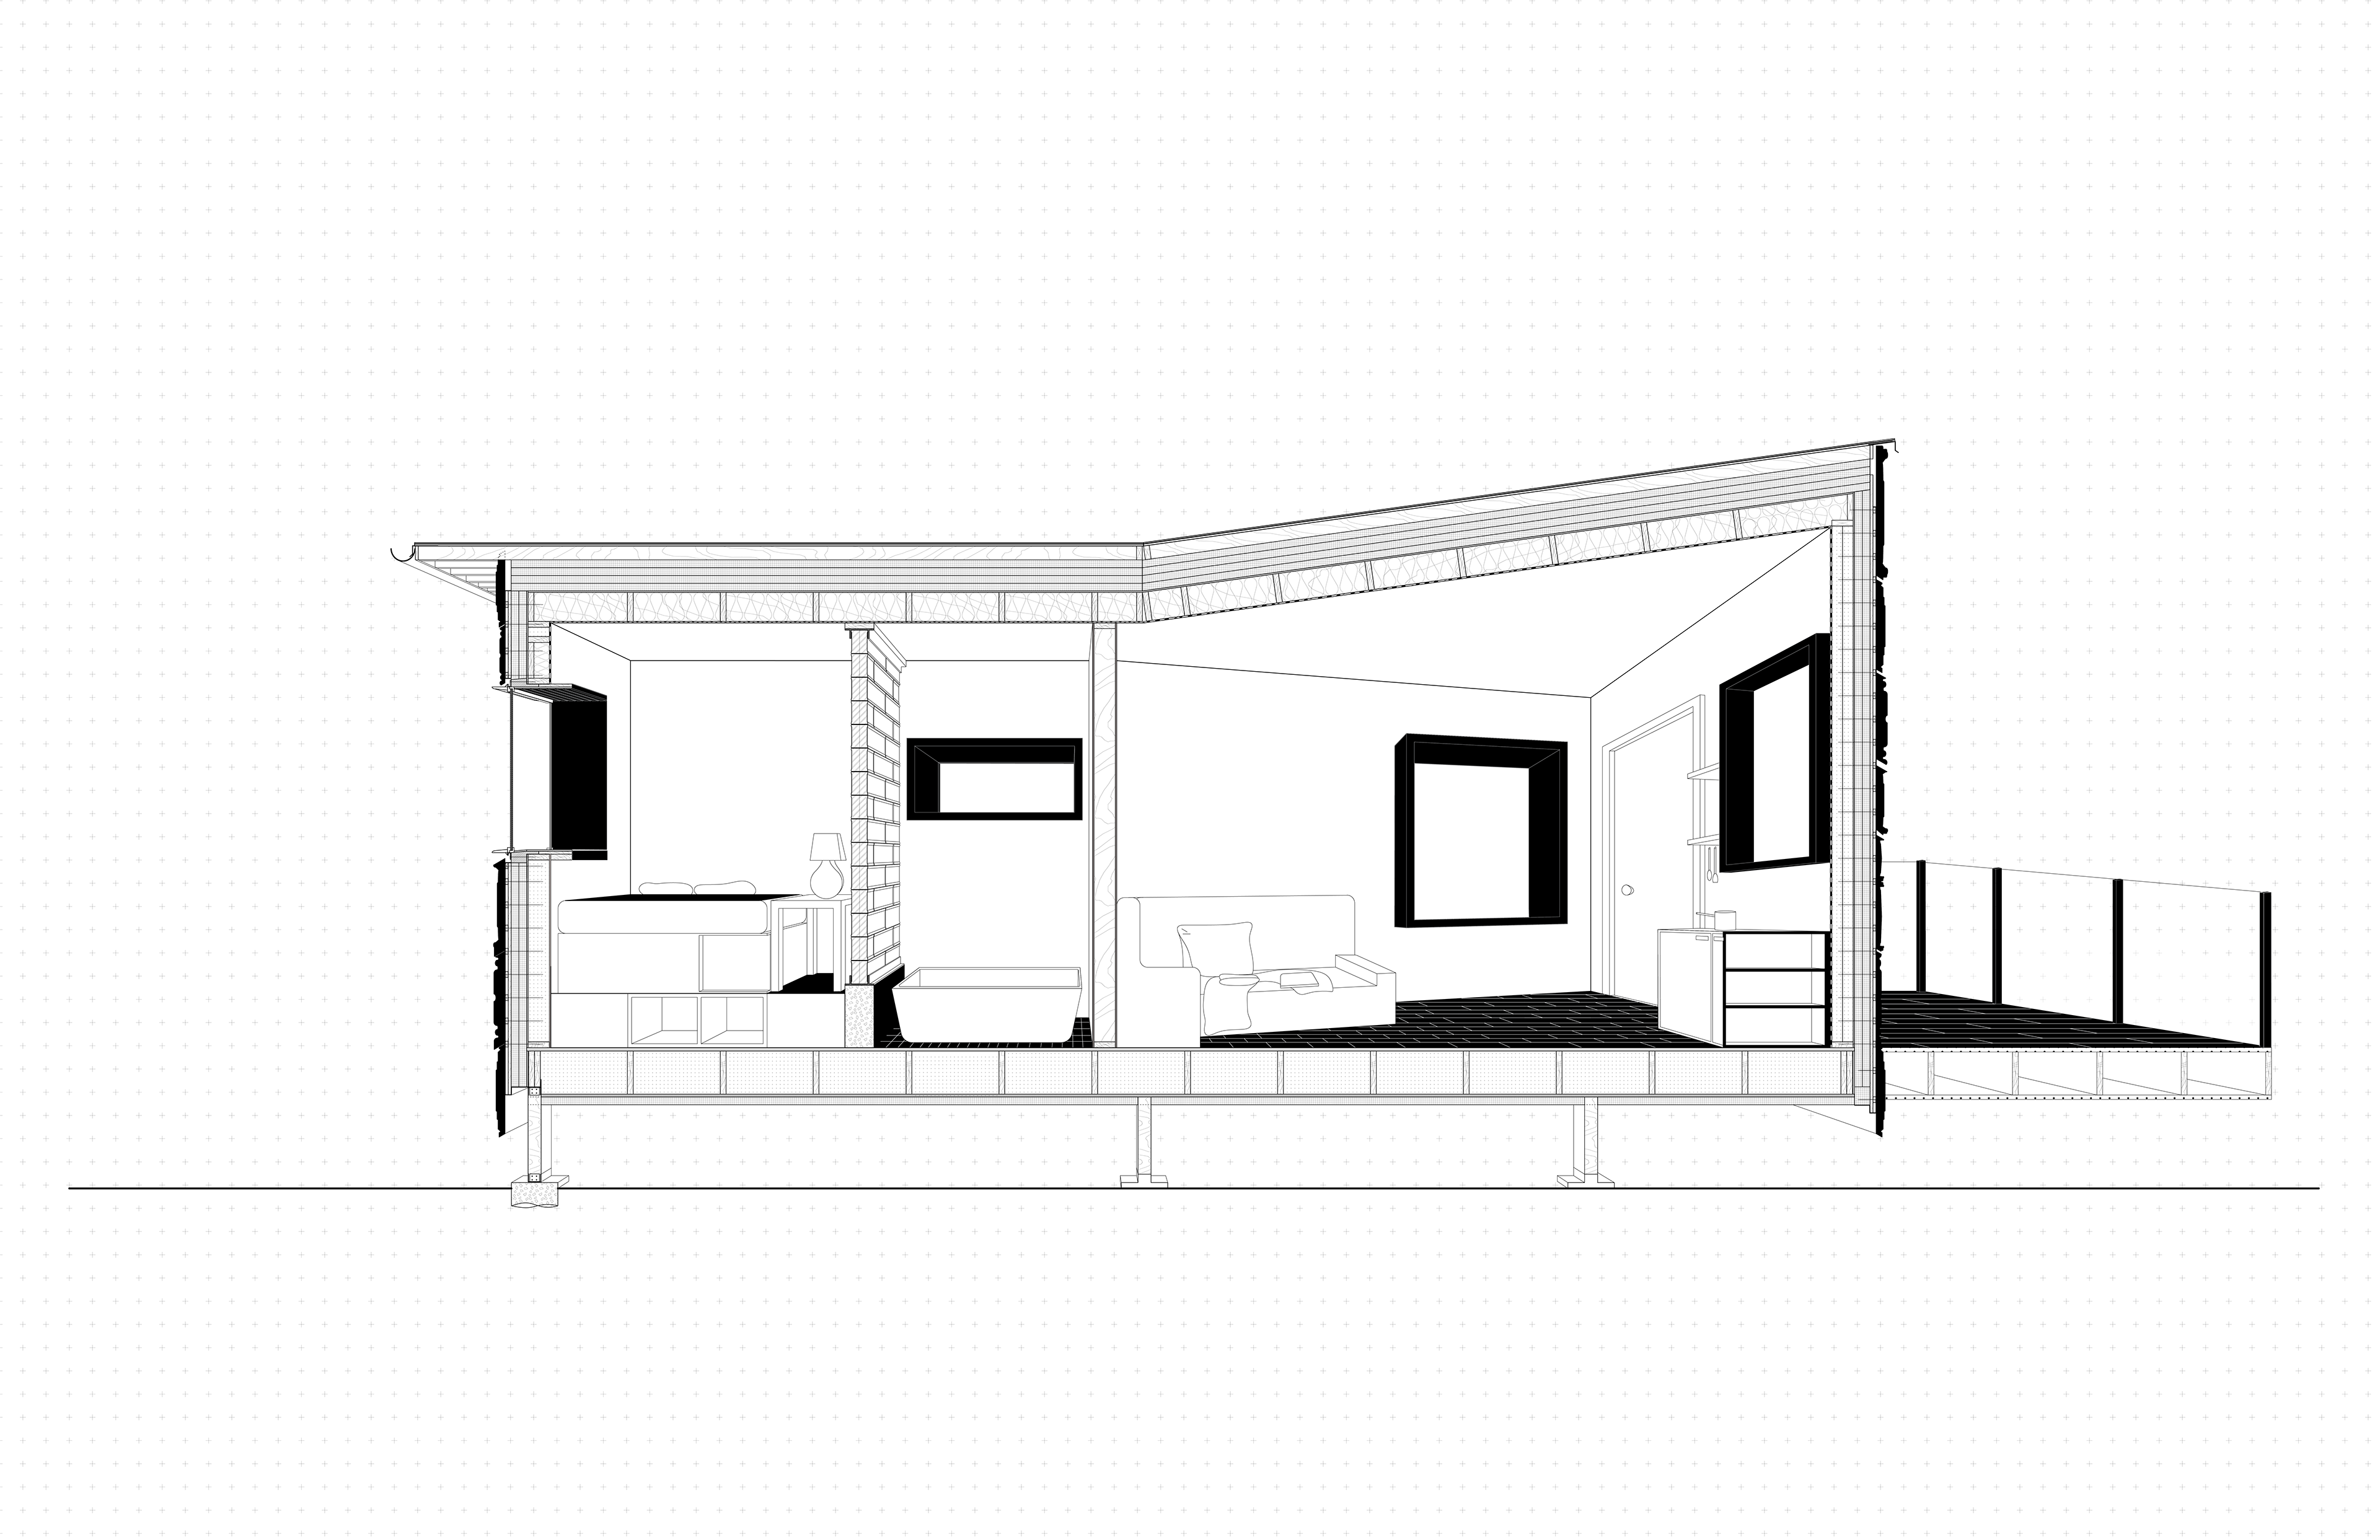
Section perspective
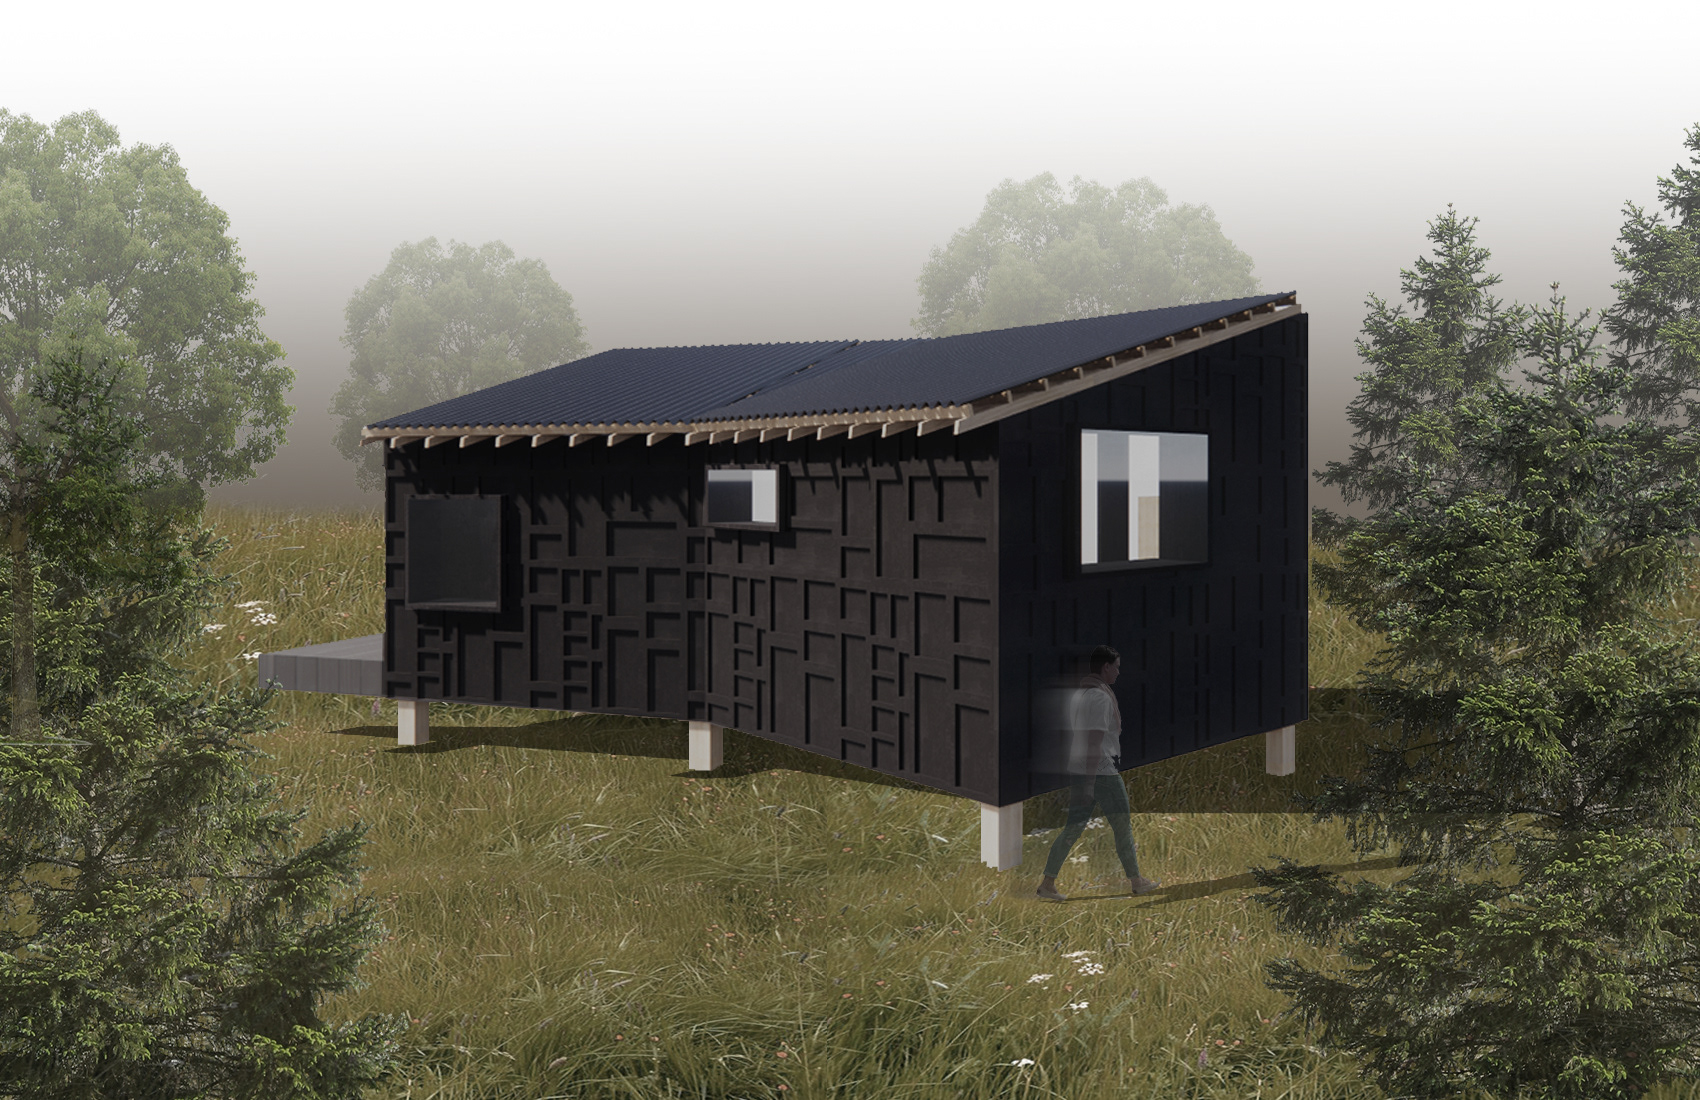
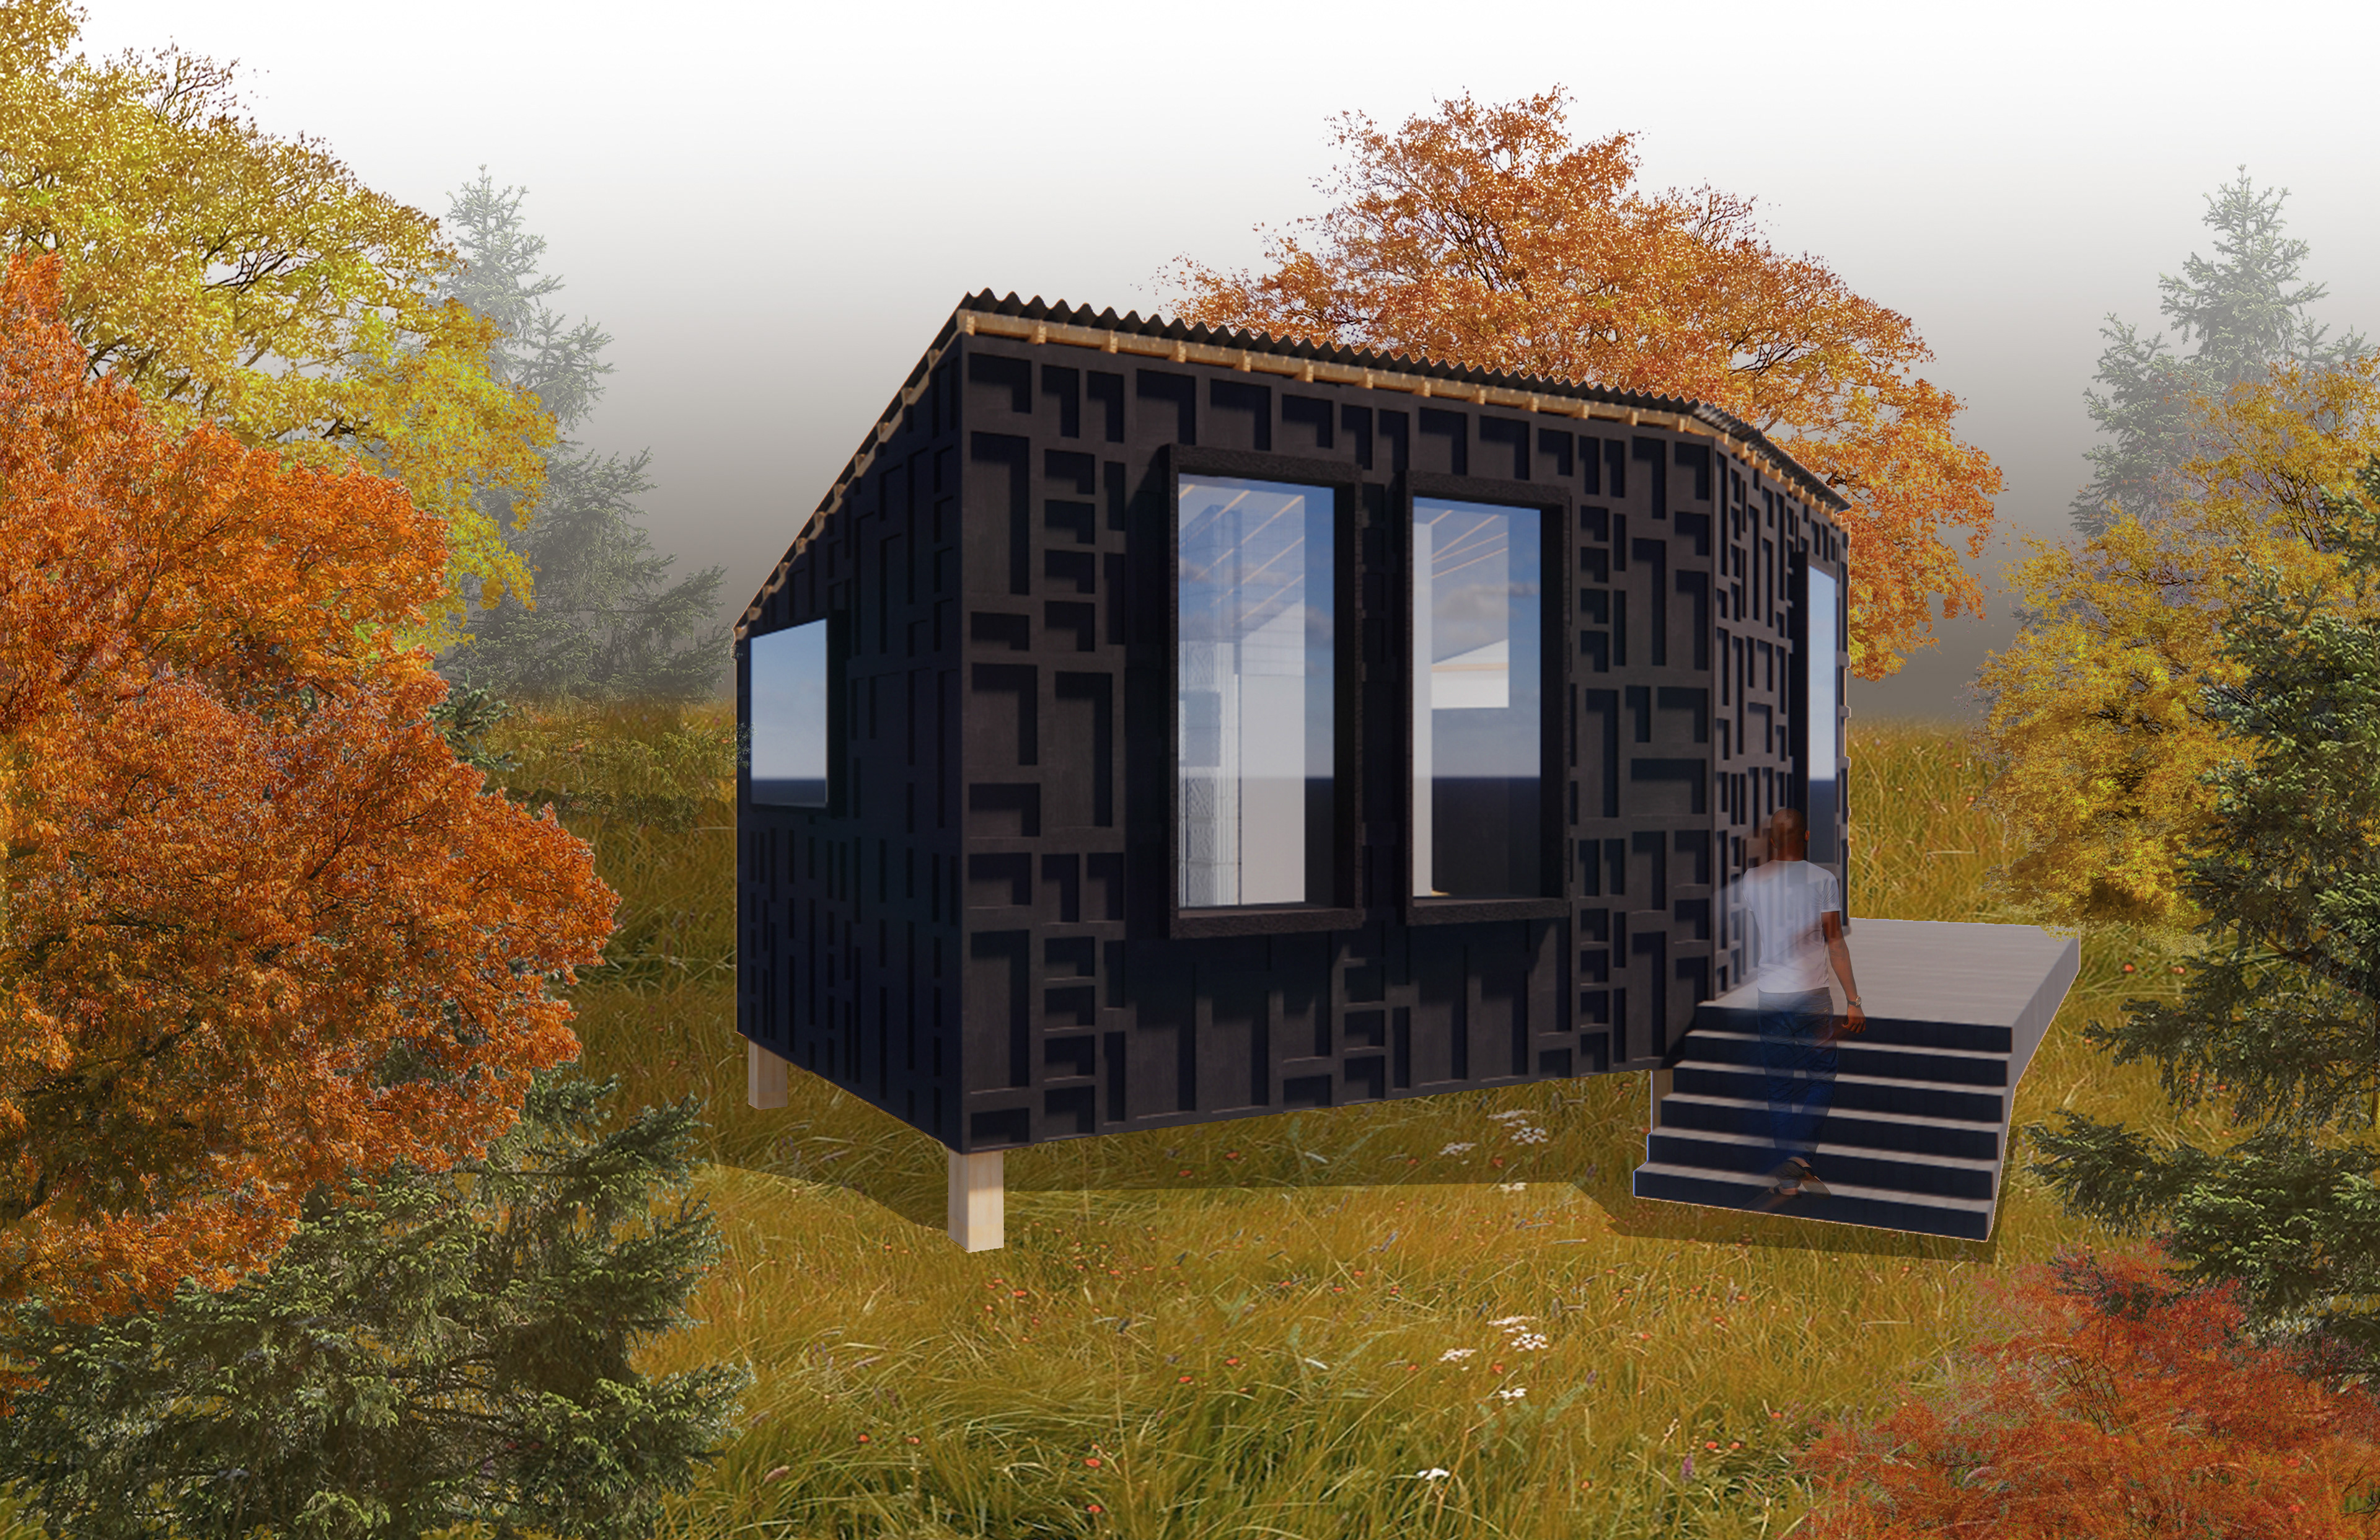
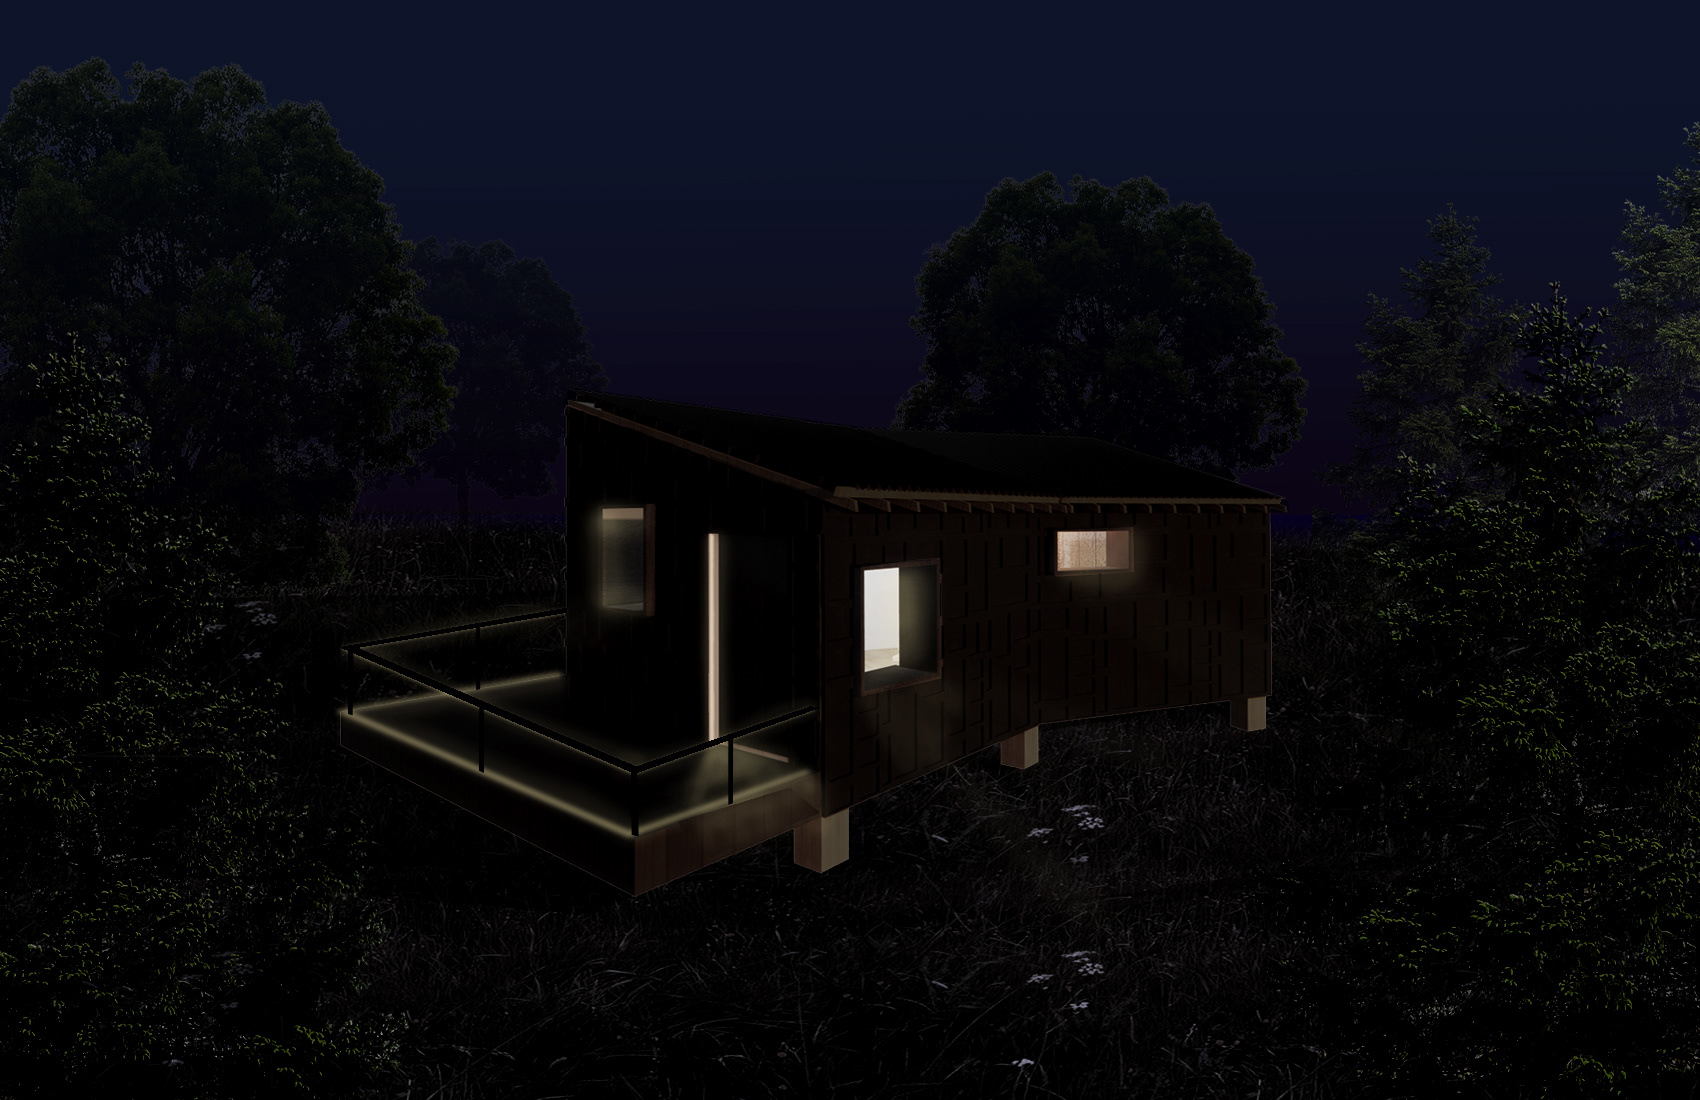
Renderings of final design using Enscape
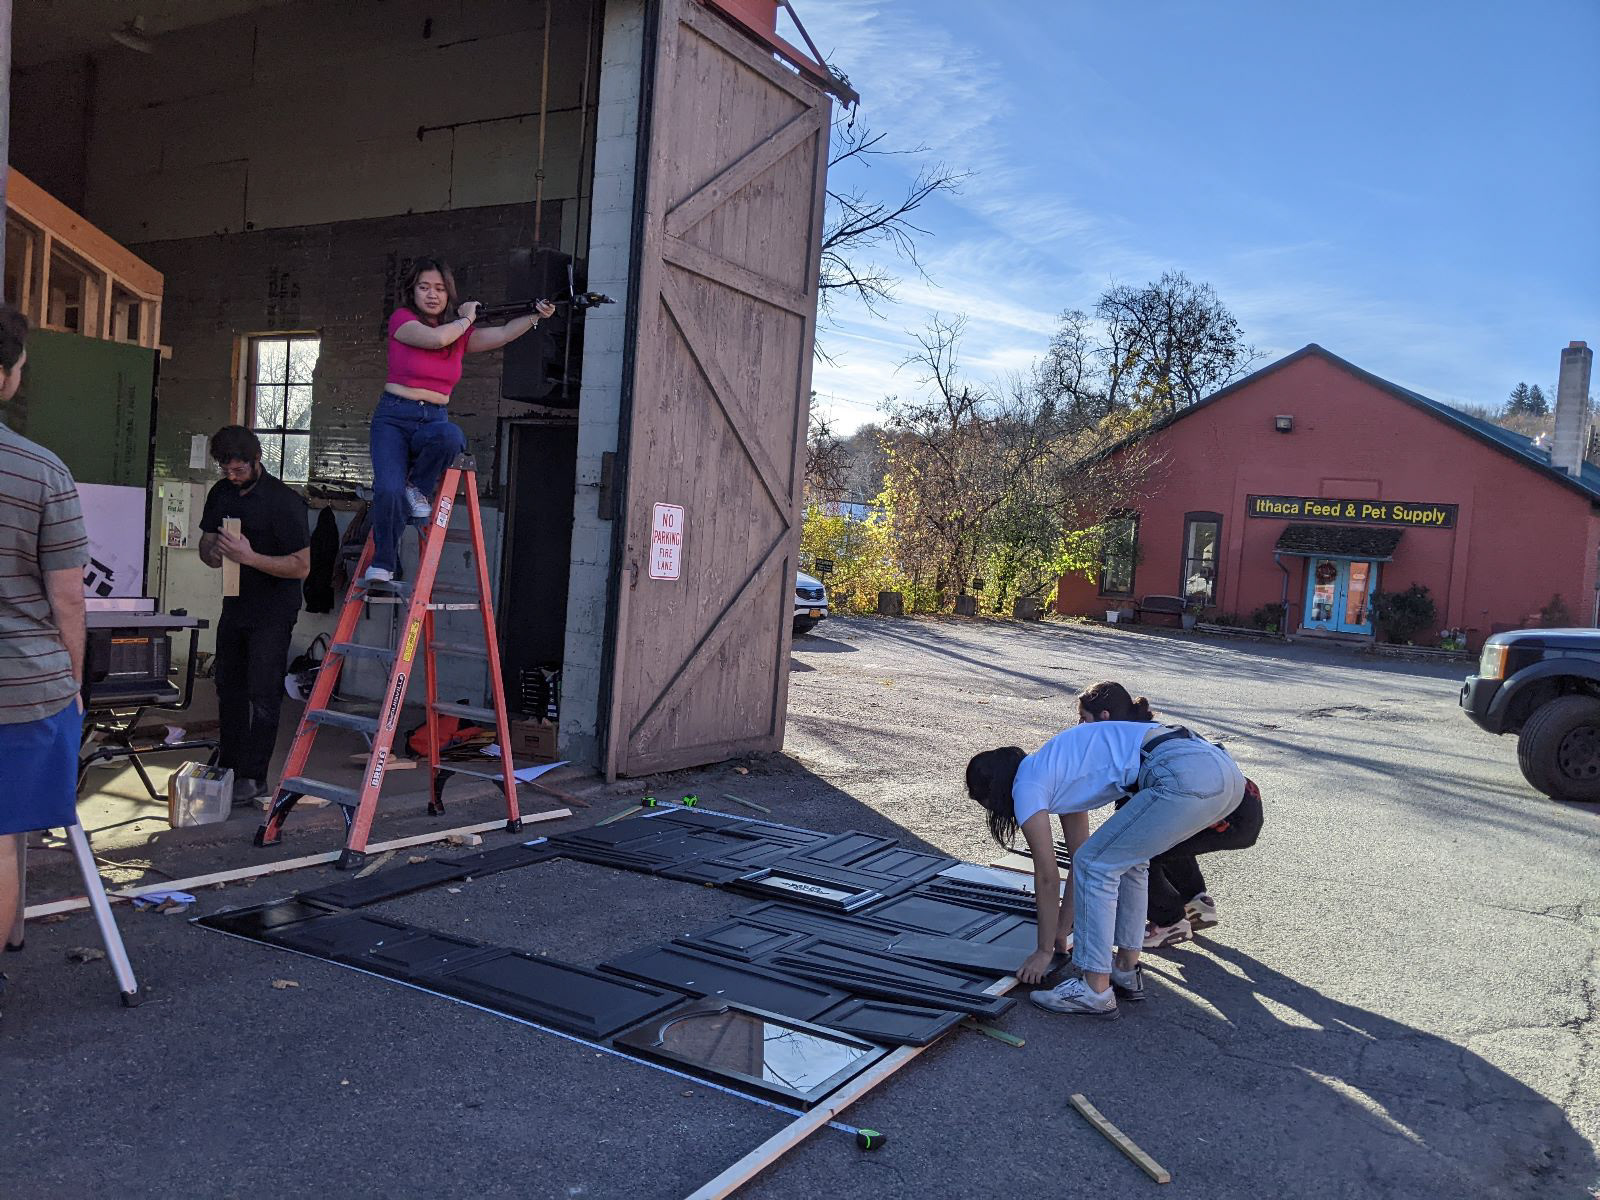
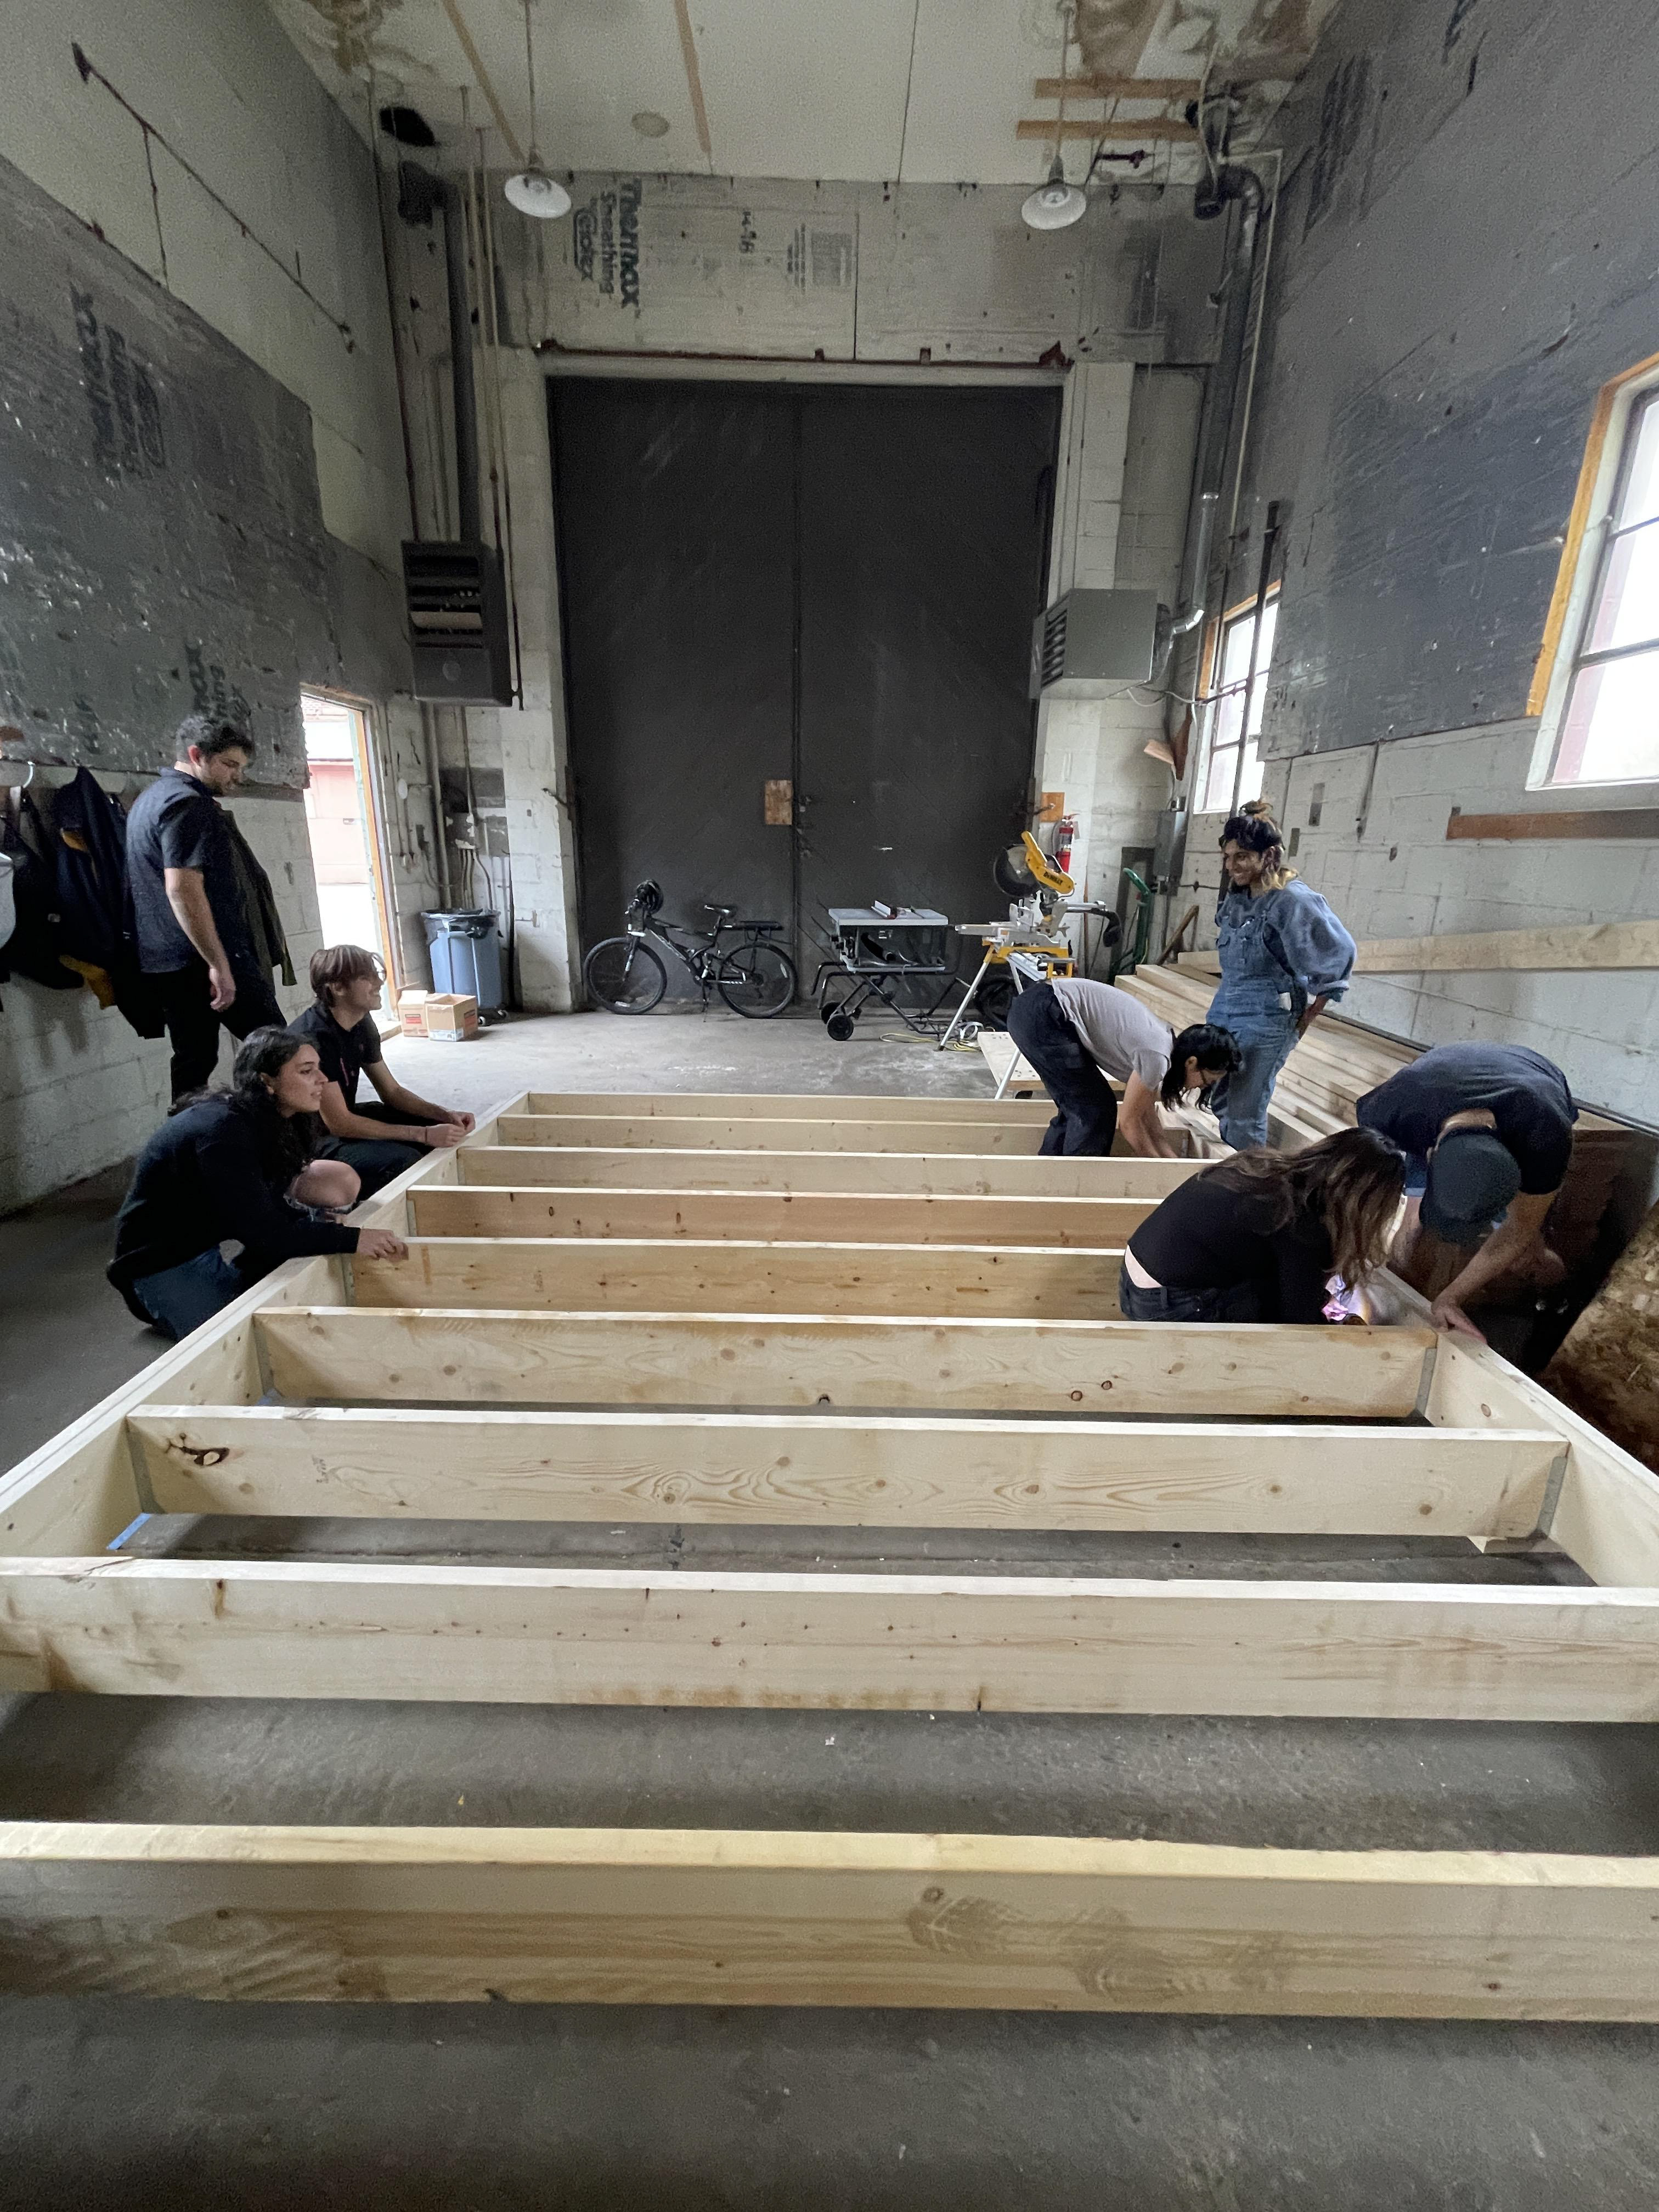
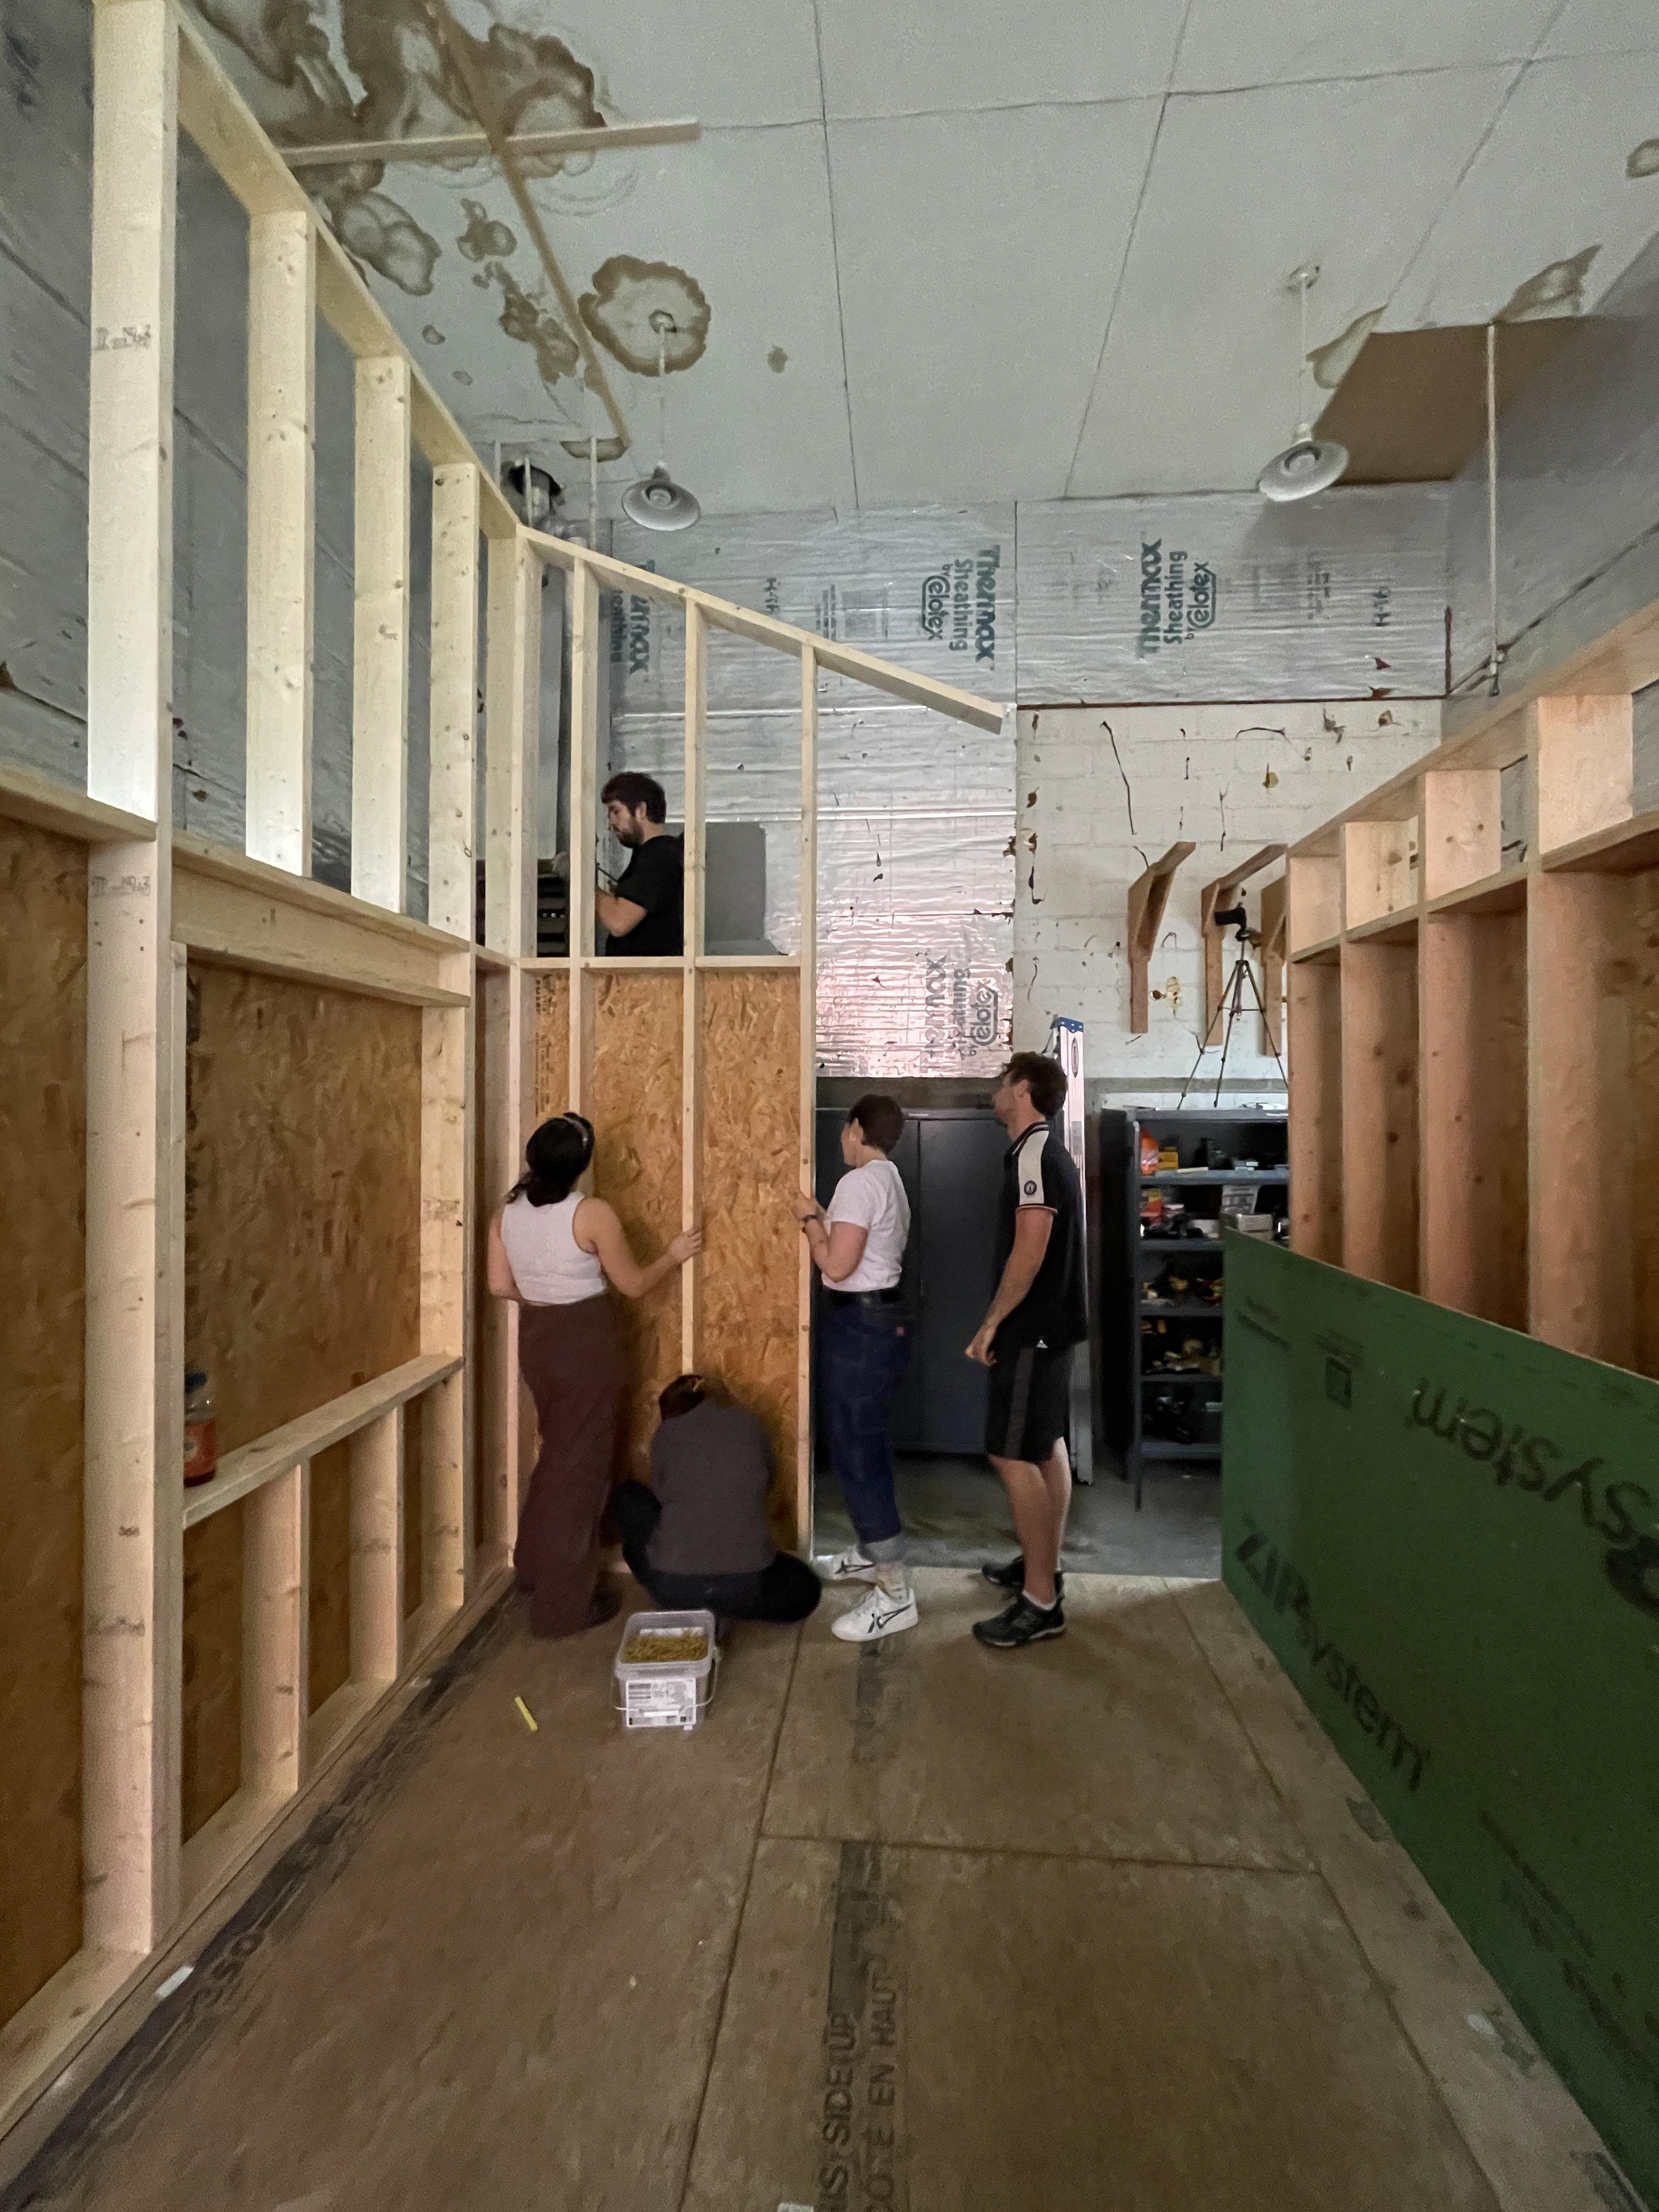
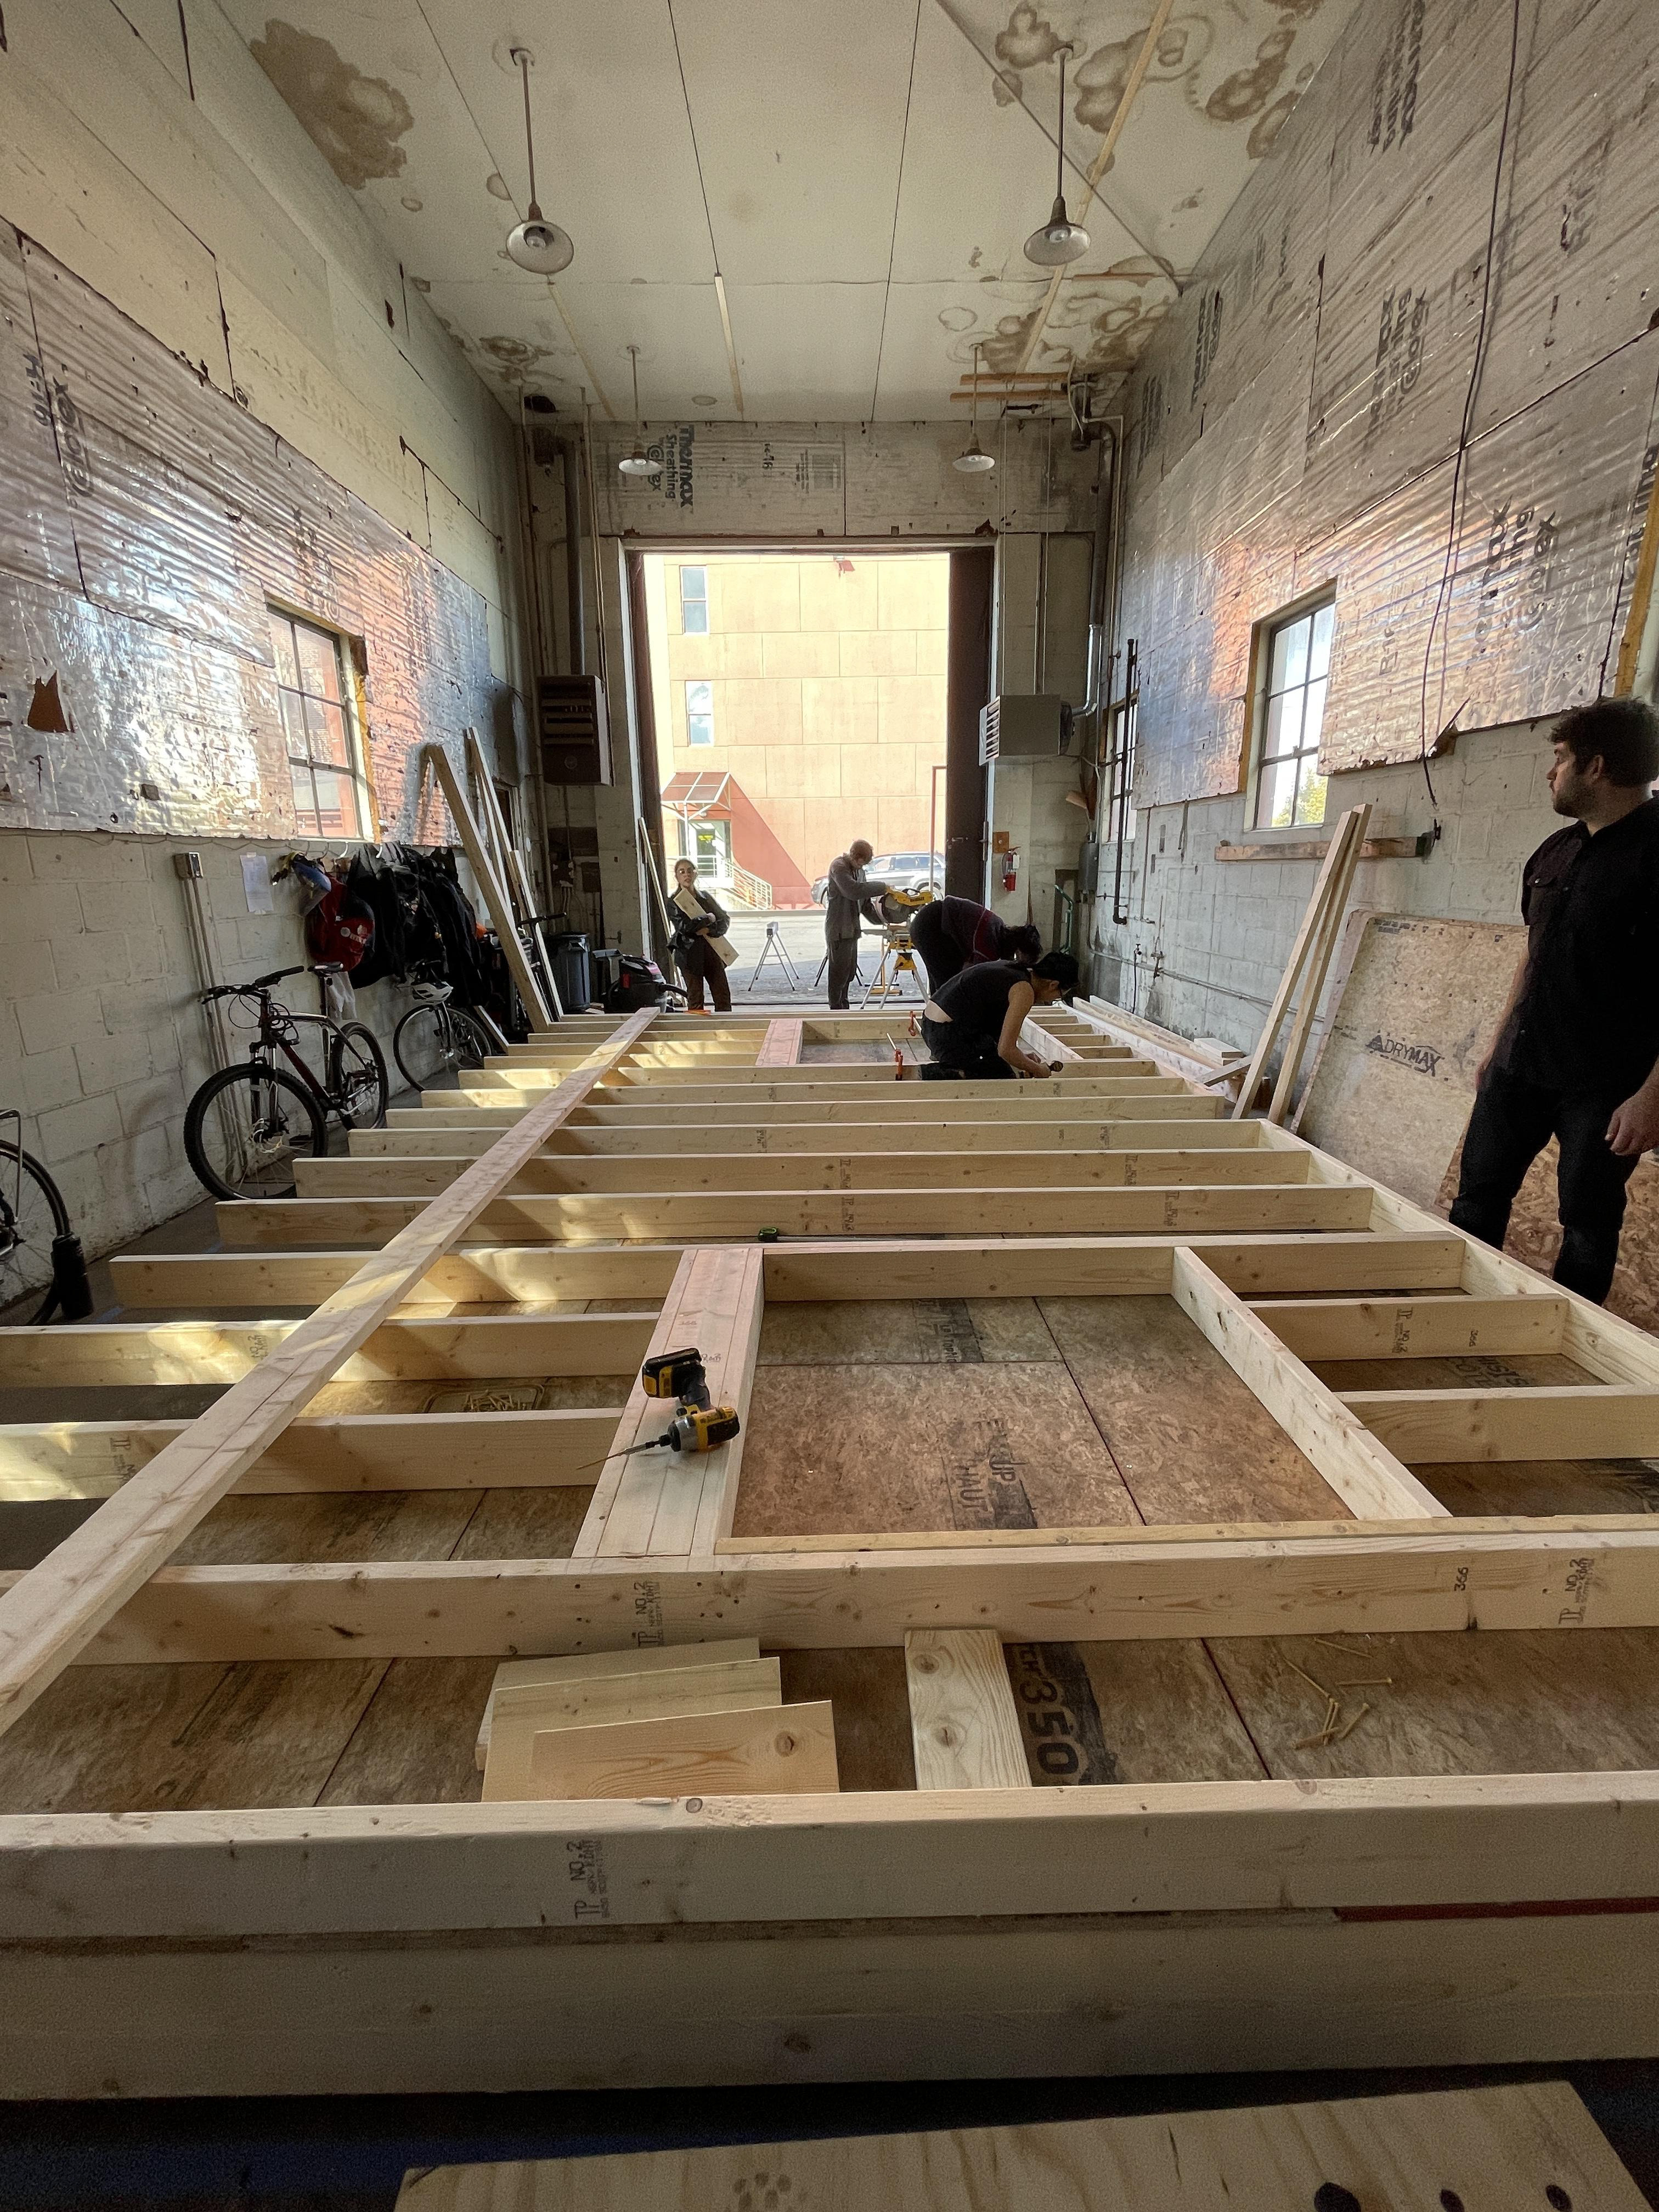
CONSTRUCTION IMAGES

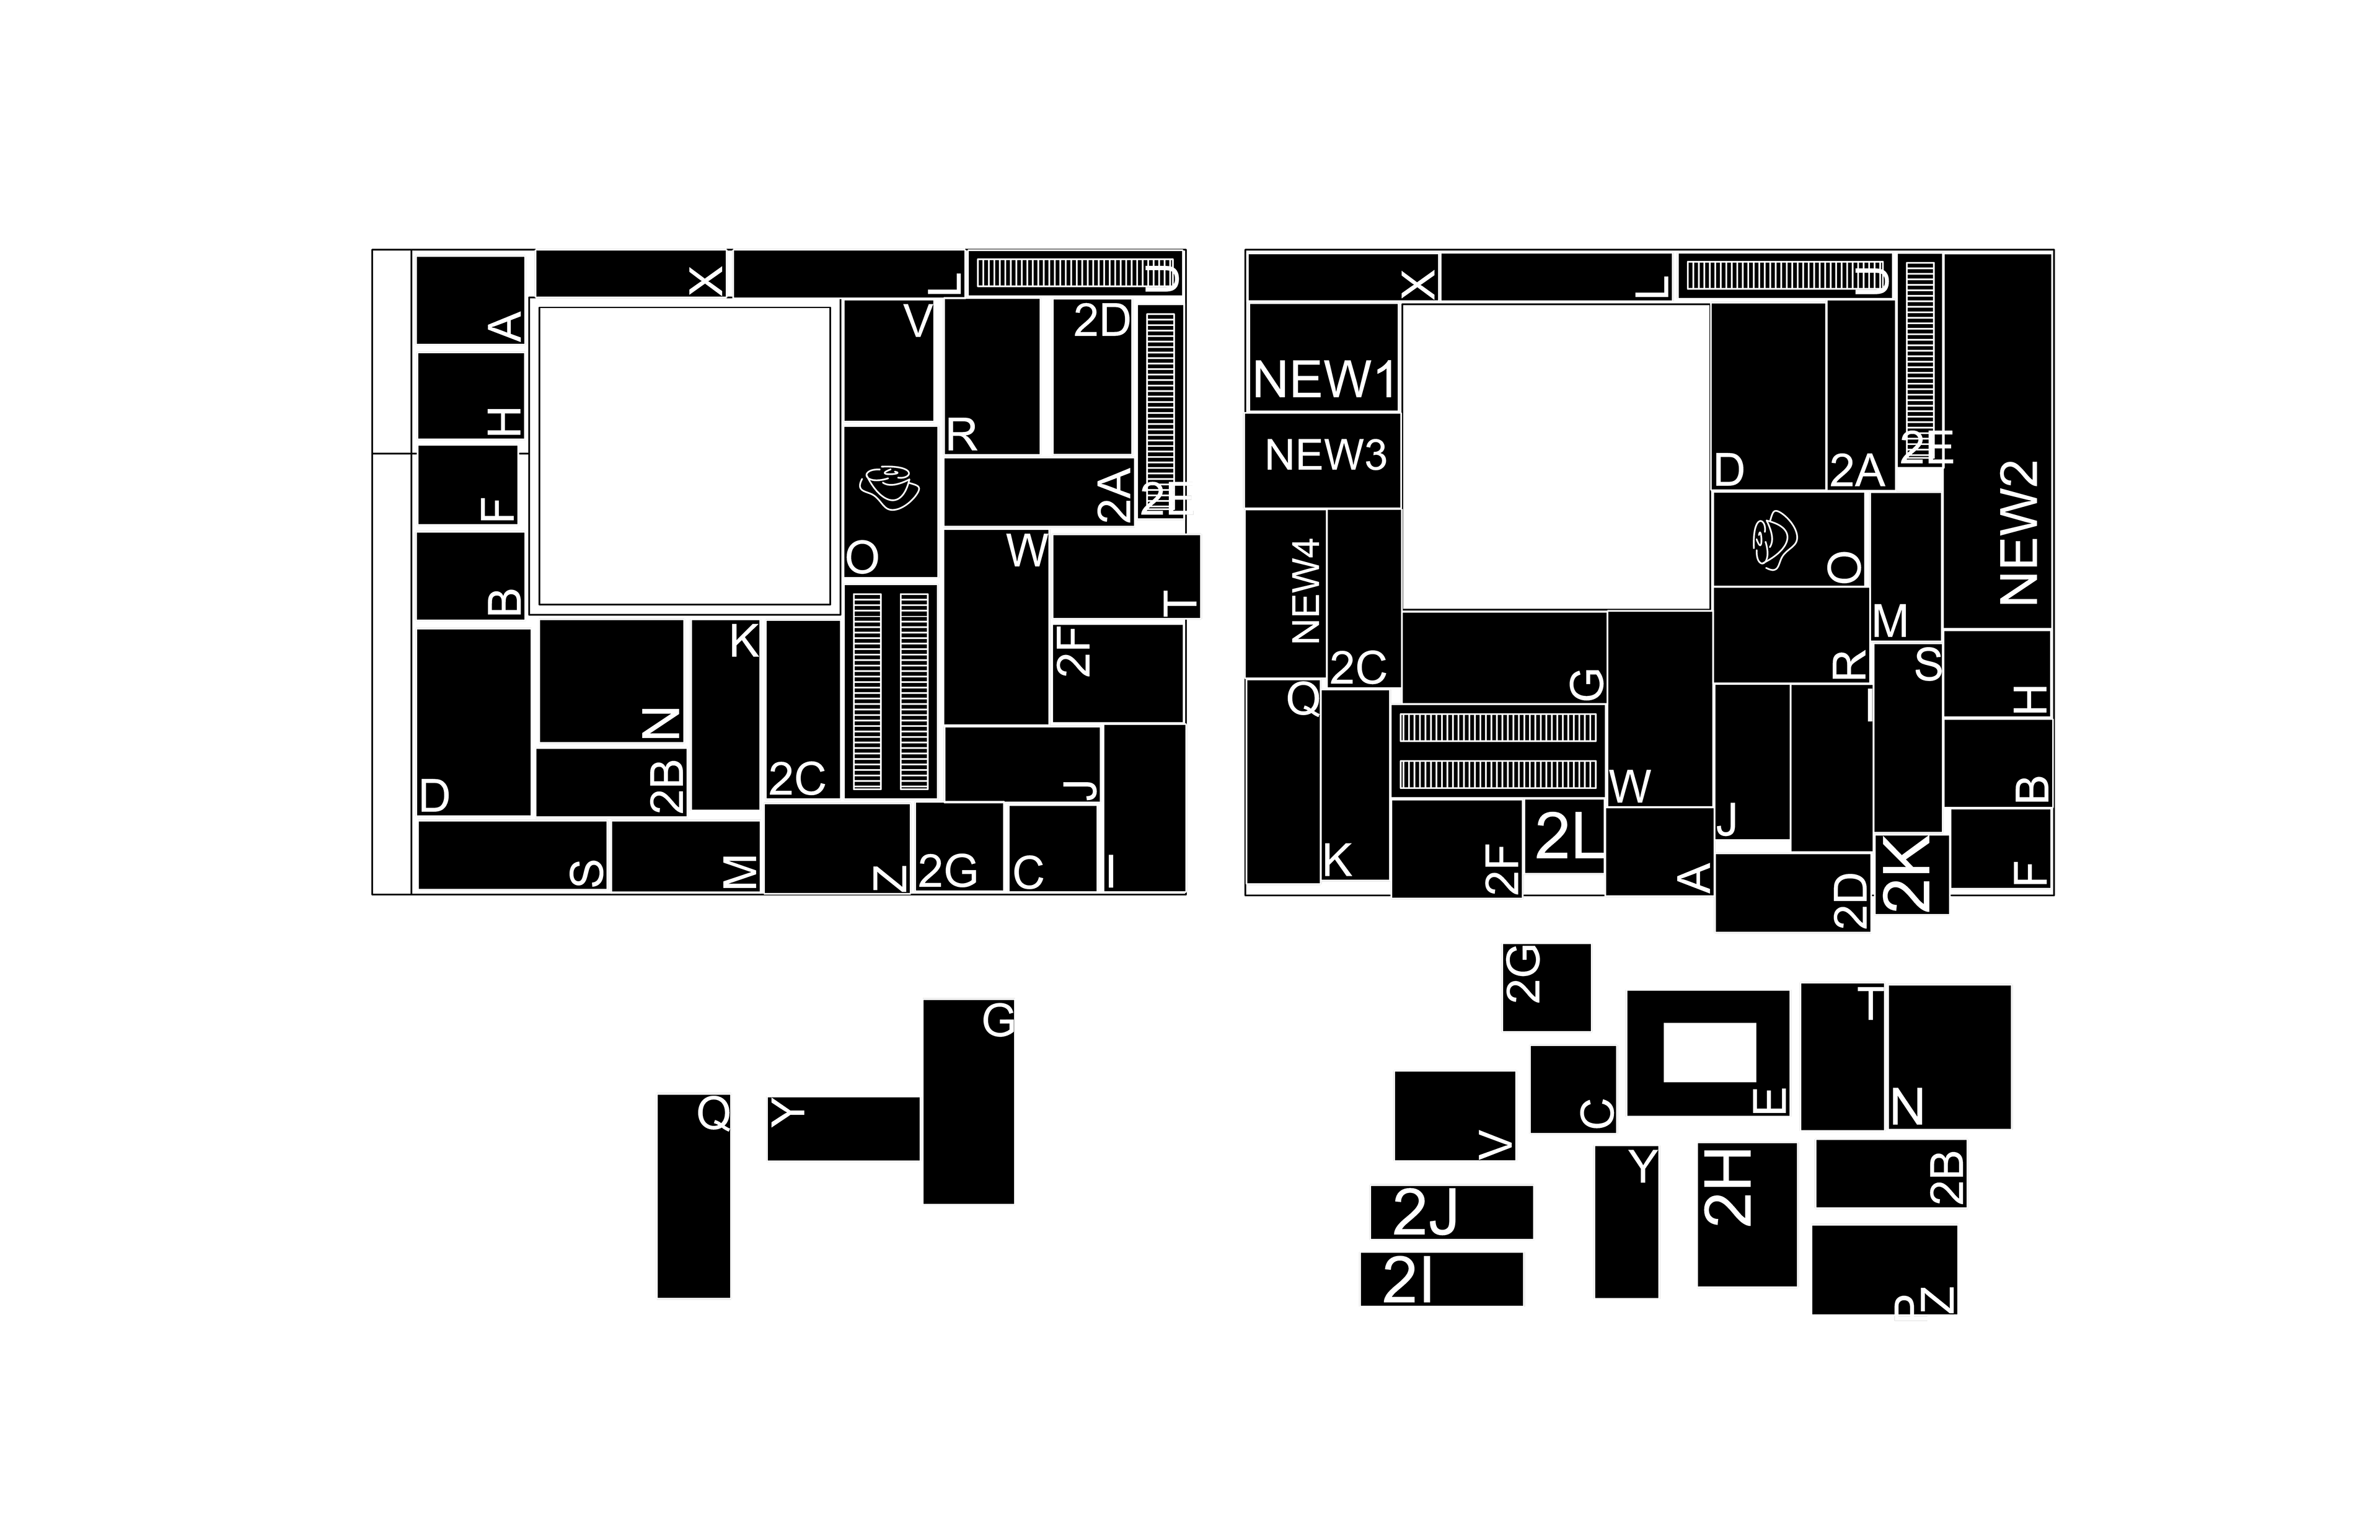
Organization of cabinet tiles + layout